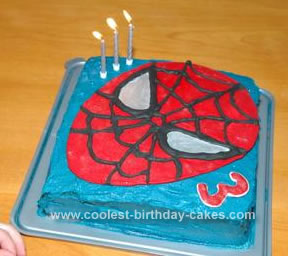
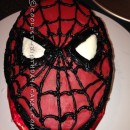
This Spiderman Cake was incredibly easy to make and very effective! It was the first time I had used Royal Icing to make a “run-out” shape and it really is easier than it looks, so definitely worth a try if you want to try something easy that looks really professional.
I made the run out Spiderman face and lettering a couple of weeks before so it had time to harden and dry out. I made some Royal icing in a thickish consistency and coloured it black. Using a pencil I traced a Spiderman face (I used a picture from one of my son’s t-shirts) onto some baking paper (non-stick paper)then, with the black icing, piped the outline, eyes and spiderweb pattern using a writing tube on the icing bag and left it to dry for a few hours.
When it was dry I made some more royal icing but a bit runnier and coloured most of it red and left a little bit white for the eyes. I used a teaspoon to fill in the gaps with the red icing (and the white for the eyes), sprinkled the red parts with red edible glitter and left it to dry for a couple of days.
I made the number 3 in the same way. When it was dry I painted the eyes silver with silver edible paint (available from cake decorating suppliers). On the day of the party I covered a square chocolate cake with blue buttercream, sprinkled blue edible glitter onto it and placed the hard, dry Spiderman face and number 3 onto it. So easy and great for making in advance so you don’t have to do it all the day before!


Your comment has been sent successfully.