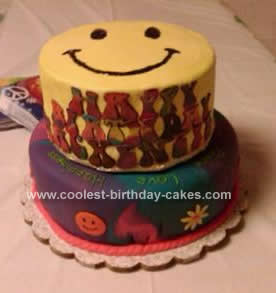
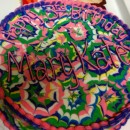
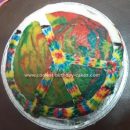
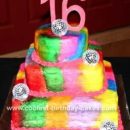
My niece wanted to do a tie-dyed theme for her birthday this year, and as I didn’t want the colors to come out looking more “marbled” than tie-dyed. I looked for instruction on the internet & found some tips by Cake Boss’ Buddy Velastro. That made the whole process of a Tie-Dyed Birthday Cake so easy! He said to make “logs” of each colored fondant you want to use, then twist them together over and over.
The next step, he said, was to cut the twisted fondant in half-but I just folded mine in half- then rolled it out on a surface dusted with powdered sugar to 1/8″ thick, being sure to pick it up often to insure it isn’t sticking to the surface and to turn the fondant or change direction when rolling to insure it’s even.
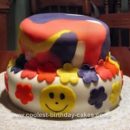
There are several ways to transfer the fondant from the rolling surface to the cake-I folded it in 1/2 over the rolling pin, centered the rolling pin just above the iced cake, and laid it gently on top, then proceeded to smooth and trim. For the bottom border, I just rolled out a log of pink fondant and used a small knife to make slices on the top for a simple, yet decorative effect. I tried this technique-minus the cake- with the lettering for the side of the top tier, so if it didn’t turn out I still had plenty to practice with.
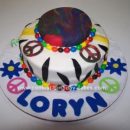
The side decorations for the bottom are just cut out using daisy and circle fondant cutters, then decorated with food writers & extra fondant. The happy face was made with decorators black glitter gel. It was a big hit and the girls were most impressed by the fact they could touch the bottom tier without messing it up!

Your comment has been sent successfully.