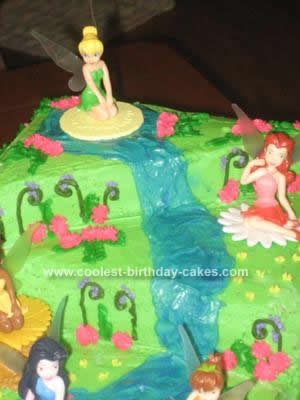
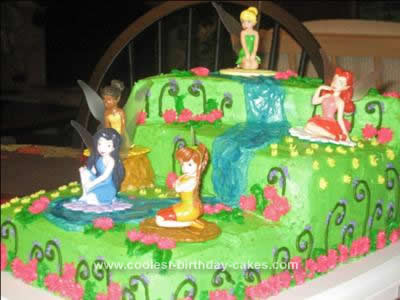
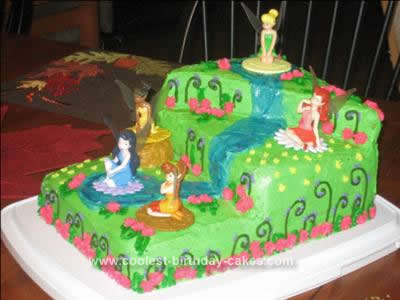
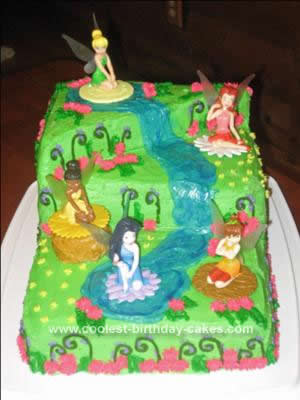
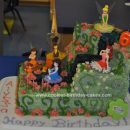
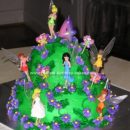
I made this Homemade Tinkerbell and Friends Birthday Cake for my daughter’s 4th birthday and she loved it!
I made two of the Wilton’s 9 x 13 cake pans plus a couple of cup cakes. I used a total of 5 cake mixes. Lay one 9 x 13 cake on your cake sheet. Cut the other 9×13 in half and lay it on top of the other layer so that the edges meet on one side. With the remaining 9×6.5 cut it diagonal and layer that on top your other two layers. Next, add doll rods to add strength to the cake.
I did a crumb coat and then put it in the freezer for a little while to firm up. While it was in the freezer, I made my butter cream frosting and tinted it in the following colors:
Leaf green (a lighter version) =base of the cake
Leaf green (a darker version) = leafs = tip #67
Moss green = vines = tip #4
Rose Pink = flower = tip #30
Violet = dot flowers on vines = tip #2
Sky blue = water
Lemon Yellow = little flowers = tip #16
Brown & lemon yellow mixed = mushroom
After spending some time in the freezer it made it easy for me to frost my cake in the green. Next I added the blue stream that flows down all three layers. After I had my water how I wanted it I added some blue sparkle gel to make it look like real water. After the water, I placed my mushroom and fairies. I purchased my fairies from Amazon (Tinkerbell Fairy Friends Signature Cake Topper). They are actually stamps that my daughter was able to keep as a present after we cut the cake. The last step is to add your flowers, vines and leafs.
This is my first time making a multi layer large cake as well as flowers, vines and leafs. I had a lot of fun making this cake!
I love this cake idea. I’m going to attempt it for my boy/girl twin birthday. (One cake Jake & the Neverland Pirates)
How do you do the cake rods? Just 4 corners of all 3 layers then it goes in freezer?
I did not use cake rods or freeze the cake. I just layered the cake using butter cream icing. Do what is easiest for you and have fun with it!