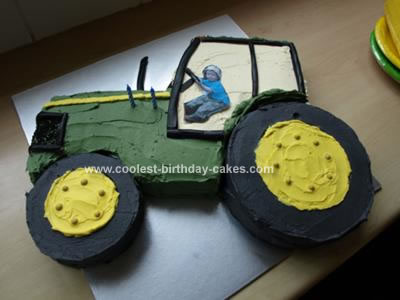
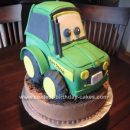
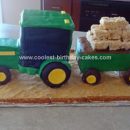
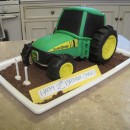
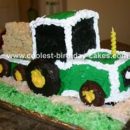
My husband and I made this Tractor Cake with Driver in 3 steps. 1) Bake the cakes – 1 13×9 cake and 2 standard round cake tins. 2) Refrigerate the cooled cakes for at least 6 hours. 3) Cut and shape.
My husband made a template using a John Deere catalog, and cut the template into 3 pieces. Placing the cooled cakes in the fridge made a tremendous difference to the ease in icing – there were much fewer crumbs and the icing stuck to the cake much more readily than with other designs I have made in the past using the same cake recipe.
We used equal quantities of black and green icing, and slightly less of the yellow and white (no coloring used) buttercream frosting. For the tires, we used a bowl smaller than the circumference of the round cakes to create a perfect circle to ice around with the black icing, and this way there was no intermingling of the black and yellow. We used round chocolate covered candies (similar to m&ms but spherical) as wheel nuts, licorice for cab and grill outline, and black sprinkles (look like caviar) to fill in the grill, which gave it a filter like appearance. We also made a windshield wiper which you can’t see in this image. The John Deere stripe was simple – just put a few tablespoons of yellow into the corner of a plastic sandwich bag and snip the corner off to the width of desired stripe, and then squeeze onto the cake. We got the idea to use the photo from this website, and after the cake chilled overnight we pasted the photo onto the cake using a bit of left over icing immediately before serving – I was concerned that if we had stuck the photo on too early that the butter icing would have soaked through the photo which was printed onto normal printer paper.
We printed the photo from Microsoft Word so that we could use the margin lines to measure exactly the length the driver should be in order to look realistic (4 inches long) – and our guests certainly thought it looked pretty good!
Your comment has been sent successfully.