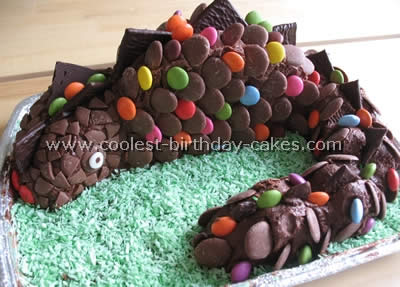
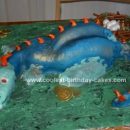
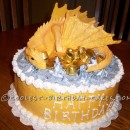
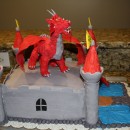
This cake is very simple to make but looks very effective, good for old and young alike. This one was for a 40th birthday! Start with a round cake; use a recipe that is quite firm so can be easily shaped. The cake needs to be quite thick so either use a fruit cake tin or use two sandwich tins and stick them together. It is also a good idea to double your recipe for spare parts as this one involves a lot of shaping and depending on the size of the board your using you may want a longer tail.
When baked and cooled cut the cake into two semicircles and turn one half onto the cut flat side for the main part of the body. From the other half cut a triangle from the end for head then semicircular bits from the rest for the tail. Cover the lot in chocolate buttercream then use your imagination for decoration! I used after dinner chocolate mint squares cut in half along the top then covered the rest with smarties and chocolate buttons stuck in at a slight angle to look like scales.
Firey nostrils were red smarties. Eyes were small mound of fondant icing on top of chocolate buttons and face covered in broken chocolate buttons for smaller scales. Finally board was covered with thin layer of buttercream then covered with green shredded coconut (to make it green put coconut in small bag with few drops food coloring, tie top tightly and shake bag!)
I really enjoyed all the creative cake ideas on this site. Thanks!
Not the easiest cake to cut and eat but an easy birthday cake to make and is great for chocoholics!
More Dragon Cakes and Creative Cake Ideas
Dragon Cake by Christine W., Poplar Grove, IL
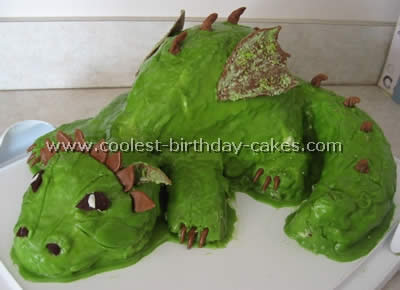
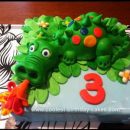
I got creative cake ideas from your site but had to change it since I did not have the ingredients for fondant. I used a 12″ round pan as well as one half of a ball pan to bake to cake, two boxes of Marbled Duncan Hines cake mix and homemade vanilla custard.
After the cakes were cooled I placed the “half of the ball” cake temporarily on the 12″ round cake and carved out a shape for the body and the tail. The remnants of the 12″ round cake were then divided up to make the head and the feet. I then removed the “half of the ball” cake and gave everything a coating of butter cream icing before freezing it. After a few hours I torted the cakes (the body had four layers!) and put a layer of homemade custard in between each torted layer (you can go with whatever filling you like).
Freeze again. When the custard was hard I pulled the cake out and placed the “half of the ball” cake on the carved out body as well as assembling the head and feet. I gave the cake another layer of butter cream icing to secure everything and help shape certain areas. Then I whipped up some fondant tinted with green and brown. After pouring the frosting on I touched up the areas that needed it with more. The wings, nails and horns are tootsie rolls that have been warmed in the microwave, rolled out with a rolling pin and cut to the shape I needed. The eyes and nostrils are made from gummy candy I happened to have on hand.
In the end my creative cake ideas didn’t take long to make, looked cool and tasted even better!
Dragon Cake by Beth C., Deerfield, NH
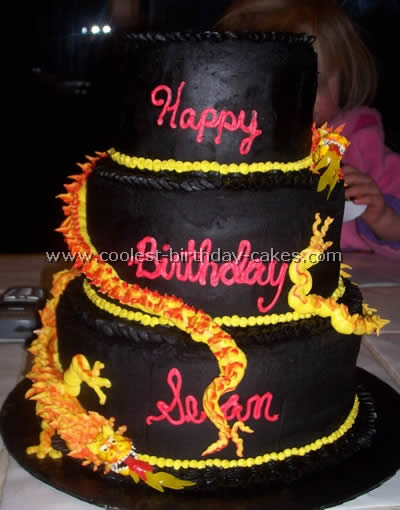
My son wanted a Chinese dragon theme for his eighth birthday. I searched so many online sights looking for creative cake ideas. He wanted black, red and gold as those are his karate school colors. I used two layers each of 9″8″ and 6″, each separated by a cardboard cake circle and supported with plastic soda straws. I just used boxed cake mix.
I started with chocolate buttercream frosting as dark as I could make it then added black paste color, piped shell borders on all layers. Then I piped tip#7 ball borders in yellow for contrast. The dragon heads are molded out of fondant and attached to skewers I painted them with paste coloring after they were dry. The tongues are pieces of fruit rollup that I cut and poked into mouths with a toothpick.
The teeth are white royal icing. I stuck the heads on the cake then used a tip #12 to pipe the bodies and tip #7 for legs. I used yellow buttercream and striped the bag with red. I used a leaf tip for the scales. I made the lettering in red.
