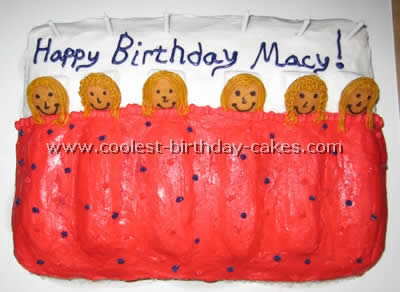
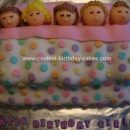
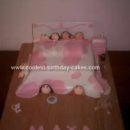
I made this sleepover cake for my daughter’s first sleepover on her 6th birthday. There were six girls total. I found the idea on your website for decorated cakes! I used vanilla wafers for the faces. All the girls are blondes so I used the same icing for each but tried to copy their style of hair. I used marshmallows cut in half for the pillows. It was so much fun to make and also a big hit! Thanks for all your great ideas!
More Slumber Party Cakes
Slumber Party decorated cake by Tina S., Portimo – Portugal
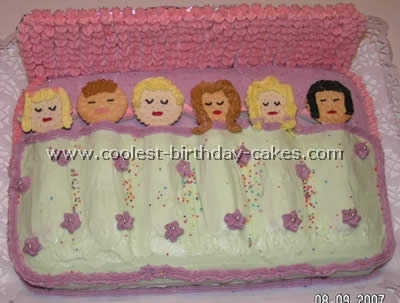
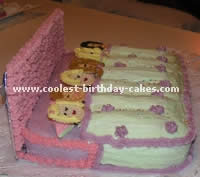
We prepared this cake using a rectangle cake pan. The “Dolls” are twinkles and the faces are salty crackers. The “pillows” are marshmallows and the headboard is made with cardboard covered in foil and then iced. It was a lot of fun to make. We got lots of ideas for this cake from this site for decorated cakes.
Slumber Party decorated cake by Karin D., Tolland, CT
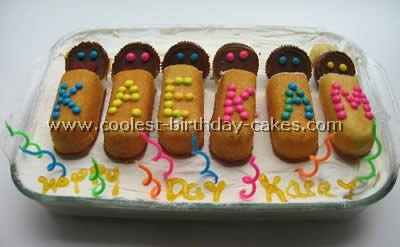
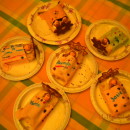
This year’s birthday request was for my daughter’s first sleepover party. Turning nine this year she wanted a hand in designing and constructing the cake. We started with her favorite thing, ice cream sandwiches! We bought a couple of boxes of the mini ones and laid them on the bottom of a Pyrex dish. The ice cream sandwiches were then topped with caramel topping and covered with Cool Whip. The cake was them put into the freezer to harden up.
About 30 minutes before the kids arrived we took Twinkies and cut the tips off to form “pillows.” A Reese’s peanut butter cup was placed over the “pillow” as a face and the rest of the Twinkie was used for the “sleeping bag.” My daughter then used candy dots to make eyes and put the initial of each girl on their “sleeping bag.” Curly candles and icing completed the look. She then presented the decorated cakes to her friends!
Slumber Party decorated cake by Christina H., Allentown, PA
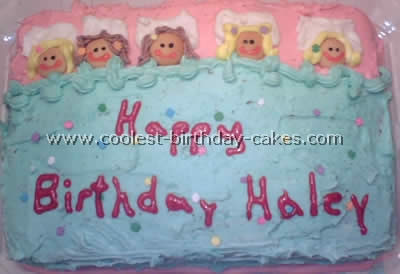
I saw someone’s cake on this website for decorated cakes and thought it was adorable. This is the first elaborate cake I’ve ever made and it is for my niece’s sleepover party. She’s turning nine. I made two square cakes and put icing between as well as used buttercream icing for the outside. I bought gel icing to do the eyes and mouth and used mini Nilla wafers for the faces.
I just colored the icing in different bowls so I had what I needed for decorating. To do the brunette hair color a neighbor suggested I add cocoa powder to the white icing and it worked nicely!
Thanks to those who posted decorated cakes before me because your cakes were wonderfully cute!
Slumber Party decorated cake by Gemma S., Sussex, UK
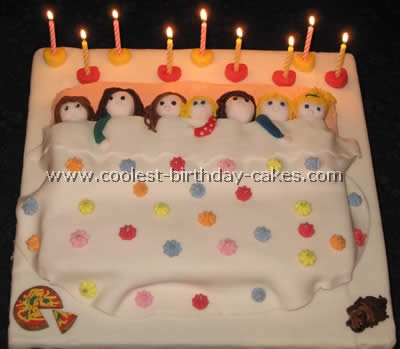
Even though I enjoy making the odd muffin and loaf cake I’ve never attempted decorated cakes like this. But the birthday comes around and you think “Oh wouldn’t it be lovely if…” So I searched around and found the Family Fun website recipe. I fully intended to use buttercream as directed but when I went to my local cake store I was advised that doing the buttercream would be way harder than rolling out some sugar paste. I was a little dubious as I always thought using sugar paste sounded tricky (And at first it was, mainly trying to cover the board.) But then everything seemed to come together and I had a ball making each girl for the cake.
When I decorated cakes I tried to get a likeness of each partygoer mixing different colour sugar paste for the different hair shades (For the hair I pressed the sugar paste through a garlic press; took me back to Play-Doh Barber Shop!) and eye colour. I even got adventurous and started making patterned pajamas pizza’s and our Yorkshire Terrier Poppy. It was a long day bent over a table making minute eyes and noses but I confess I did have fun and the reaction was more than worth it!
The girls were delighted at their icing doppelgangers and my daughter, Tiger, was just thrilled. It really did top off the sleepover and pulled the theme together beautifully.
Slumber Party decorated cake by Christine G., Swansea, MA
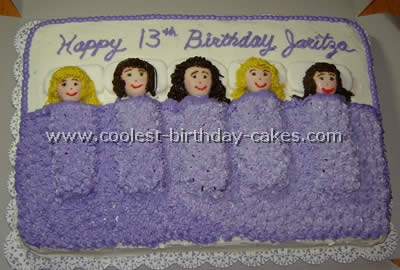
The pan size was 12×18 half sheet for this cake. I used three cake mixes using most for the pan and then made mini loaf pans for the bodies. I had to cut the mini loaf pans cakes in half and placed end to end. I have decorated cakes before but have never used fondant. This was my first try. The faces were made from fondant and painted with food coloring.
Slumber Party decorated cake by Rachelle N., Metairie, LA
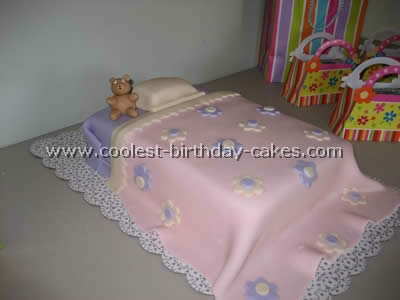
For this cake I baked a 12x18x2 in sheet cake. I cut the cake in half, filled the center and laid the other half on top. It was iced with pink butter cream icing and then prepared for fondant. So that the fondant was not too thick I cut the lavender to about 15×7 and laid it over the top. I then cut the pink to about 12×18 and laid it slightly over the lavender.,
The pillow was made with a piece of cake that had been cut earlier to even the cake. I placed a piece of fondant on the bottom then the cake which I iced lightly then I topped with another piece of fondant. The teddy bear was formed by making balls of brown fondant and making mouth and eyeballs with an icing writer. Finally I put the decorated cakes on a board.
Slumber Party decorated cake by Kristen H., Lenoir, NC
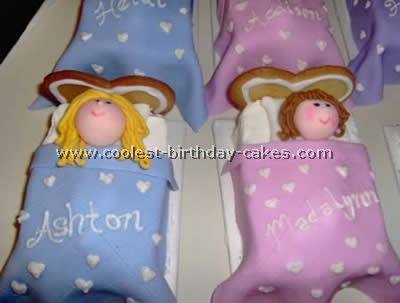
I made 10 of these mini decorated cakes for a slumber party. The little girl having the party wanted something special and these just seemed a perfect fit to her party theme.
Each one is personalized to look like each girl attending and has her name on it. Every part of the decorated cakes is edible! I began several days ahead of time by tinting Wilton rolled fondant using Wilton “copper” paste coloring and rolling 1-inch balls for the heads.
I added tiny balls for the noses (“glued” on with a little dab of water… if you use too much water it will make the fondant sticky and shiny… I recommend using a small clean paintbrush). I drew on the eyes and mouths with a black food-marker and used powdered sugar tinted pink for blush/cheeks on each one. I tinted rolled fondant both yellow and brown for the hair and used a STRONG garlic press to press out strings of it for the hair… which I “styled” and “glued” on to the heads using a little water.
I cut the cakes from an 11×17 sheet cake and frosted each one in white homemade buttercream icing. I then tinted Wilton rolled fondant into pink blue and lavender shades and rolled it thin for the blankets. I used a tracing wheel (for sewing) to trace “quilted” patterns onto each blanket (this takes a lot of time to knead the color into the fondant and roll it out… it is tough stuff… so be prepared to spend a lot of time on it or by the pre-colored variety).
I cut a white square of fondant for a pillow to go on each bed I also cut rectangles of fondant out to look like “bodies” beneath the blankets because it looked funny with just the head and a flat blanket. I then placed the heads and blankets on them. I baked heart shaped cookies for the headboards and decorated them with Wilton ice-a-cookie and let air dry until hard. I “glued” them to each bed using icing. I then added the icing hearts and names to each cake. It was a lot of fun to make these decorated cakes and got rave reviews at the party…. but they took A LOT of time.
Slumber Party decorated cake by MaryKay C., Kiev, Ukraine
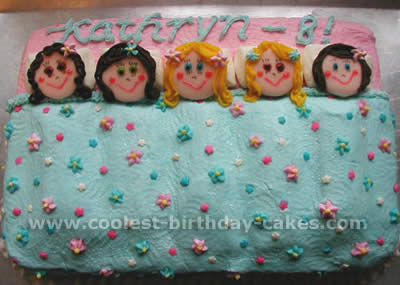
For my daughter’s eighth birthday we had a flower-themed sleepover party. This cake idea was adapted from the sleepover cake found on the FamilyFun website.
Instead of vanilla wafers for the faces, I cut circles from flesh-tone-tinted rolled fondant and used gel icing for features and buttercream icing for hair. Instead of fruit roll-up ruffles, I piped two rows of ruffles using white buttercream icing (visible in second photo).
We decorated the bed coverlet with a combination of store-bought flower sprinkles and royal icing drop flowers we had made several days earlier and let dry. I also used 1.5 marshmallows for each pillow (just snip one in half and then press together and roll lightly with rolling pin to make pillow shape).
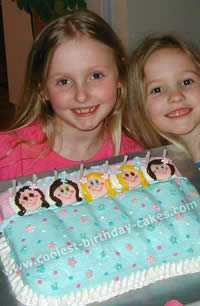
Since there were 16 girls and the cake was just a standard 9X13, we also made butter cookies and chocolate cupcakes with roses on top, piped with buttercream.
Slumber Party decorated cake by Amy W., Blair, NE
Slumber Party decorated cake by Christy M., Fort Worth, TX
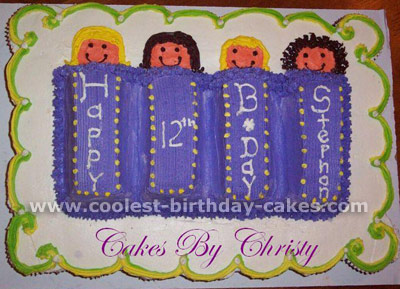
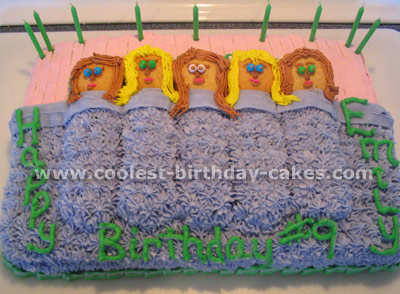
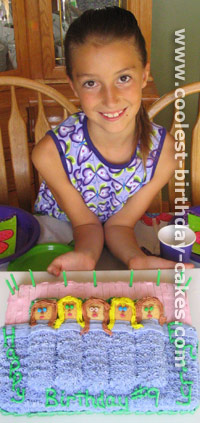
I made this for my 12 yr. old daughters sleep over party. I made 35 cupcakes for this cake. I made sure that when they were out of the oven I laid a cutting board on top of the cupcakes so that they all cooled evenly. After they were baked and cooled, I put them in rows (seven across and five down).
Before icing the top, you must add a dab of icing to the bottoms of the cupcakes. This keeps your cupcakes from moving, like a glue. Then with #789 tip I added my frosting to the top. I did a double layer of icing so that I could smooth it out. These little decorated cakes came out great together.
The girls under the blanket are just extra cake cut into rectangles and then iced and decorated. The faces are made of icing with tip #4. Below you will find the icing recipe I used for this cake.
Butter cream Icing: 5 tablespoons of water, 1/2 cup of vegetable shortening (I use Crisco), 2 teaspoons of vanilla, 1/4 of a teaspoon of butter flavor, 1 lb. of powdered sugar, combine all ingredients and beat on medium speed until well blended (about ten minutes). This makes approx. 3 1/2 cups of icing.
