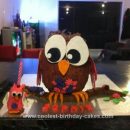
It was July in Iowa, hot and humid. My oldest son’s love of owls inspired me, so I scoured the internet for pictures of owls and owl cakes. I had never attempted a vertical cake, and I thought it would be fun to try. I saved my favorite pictures on my computer and sketched out my design. I tried researching internal cake structure but didn’t have much luck finding anything helpful. I am just not very good at finding things on the internet. I did learn that when layering cakes, using denser cake on the bottom helps support the weight of the cake.
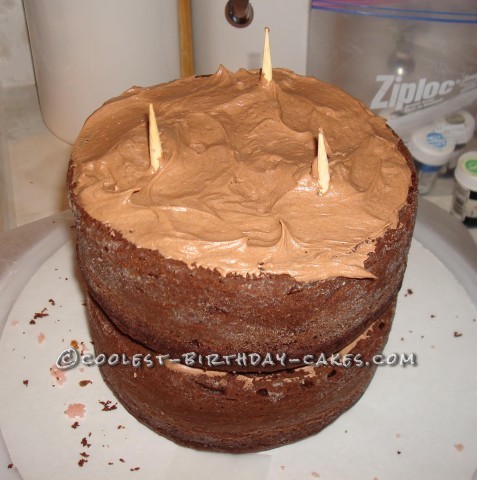
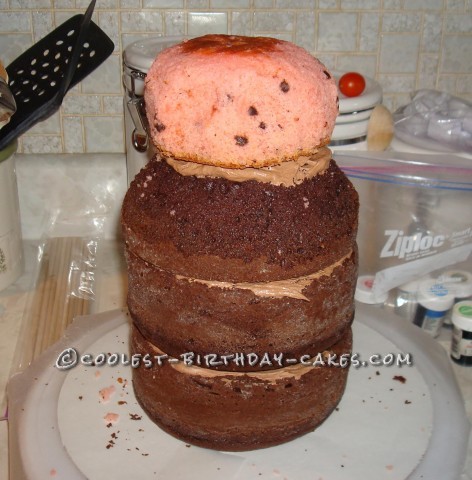
I knew from previous experience that denser cake is also easier to carve, so I made 4 round dense cakes. Two were simply leveled out and stacked on bottom and the next two were sculpted into the owl’s head and neck, using tasty homemade butter cream frosting between all layers. I used corn skewers as my internal support. They had always kept my cakes in place before, why would they fail me now? As a self-taught cake decorator, I really had no clue what I was doing, but I forged on, determined to make a super cool cake for my son.
Next I covered the whole cake in butter cream frosting. Since I would be covering the cake in fondant feathers, I opted against the base layer of fondant I would normally use. I started cake decorating five years ago and have always used homemade marshmallow fondant. It’s so tasty, and I make it myself using simple ingredients (marshmallows, shortening, powdered sugar, and a little water). I use Wilton food coloring to tint my fondant. There’s so much more variety of colors to choose from, and they have lasted me a long time. They are way better than the 4-pack food coloring I used to get at the grocery store. Those have lasted a long time too because I never use them!
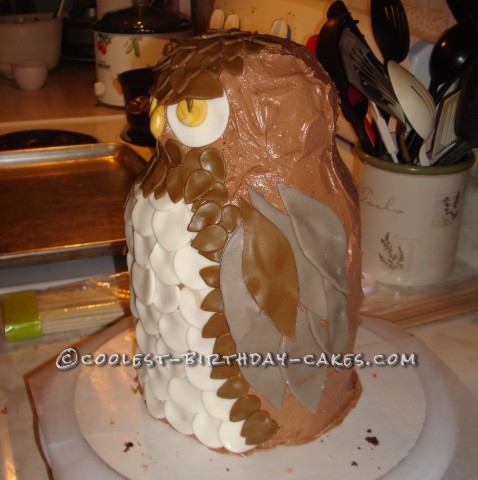
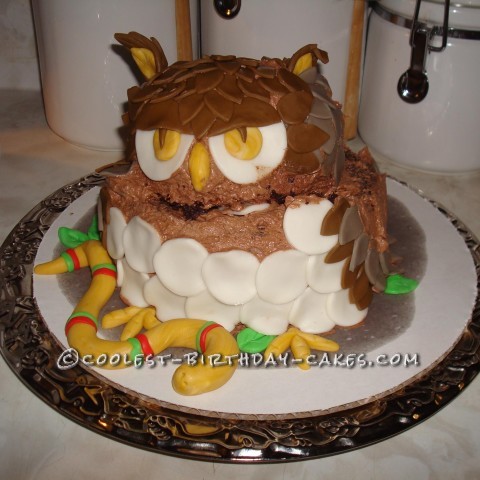
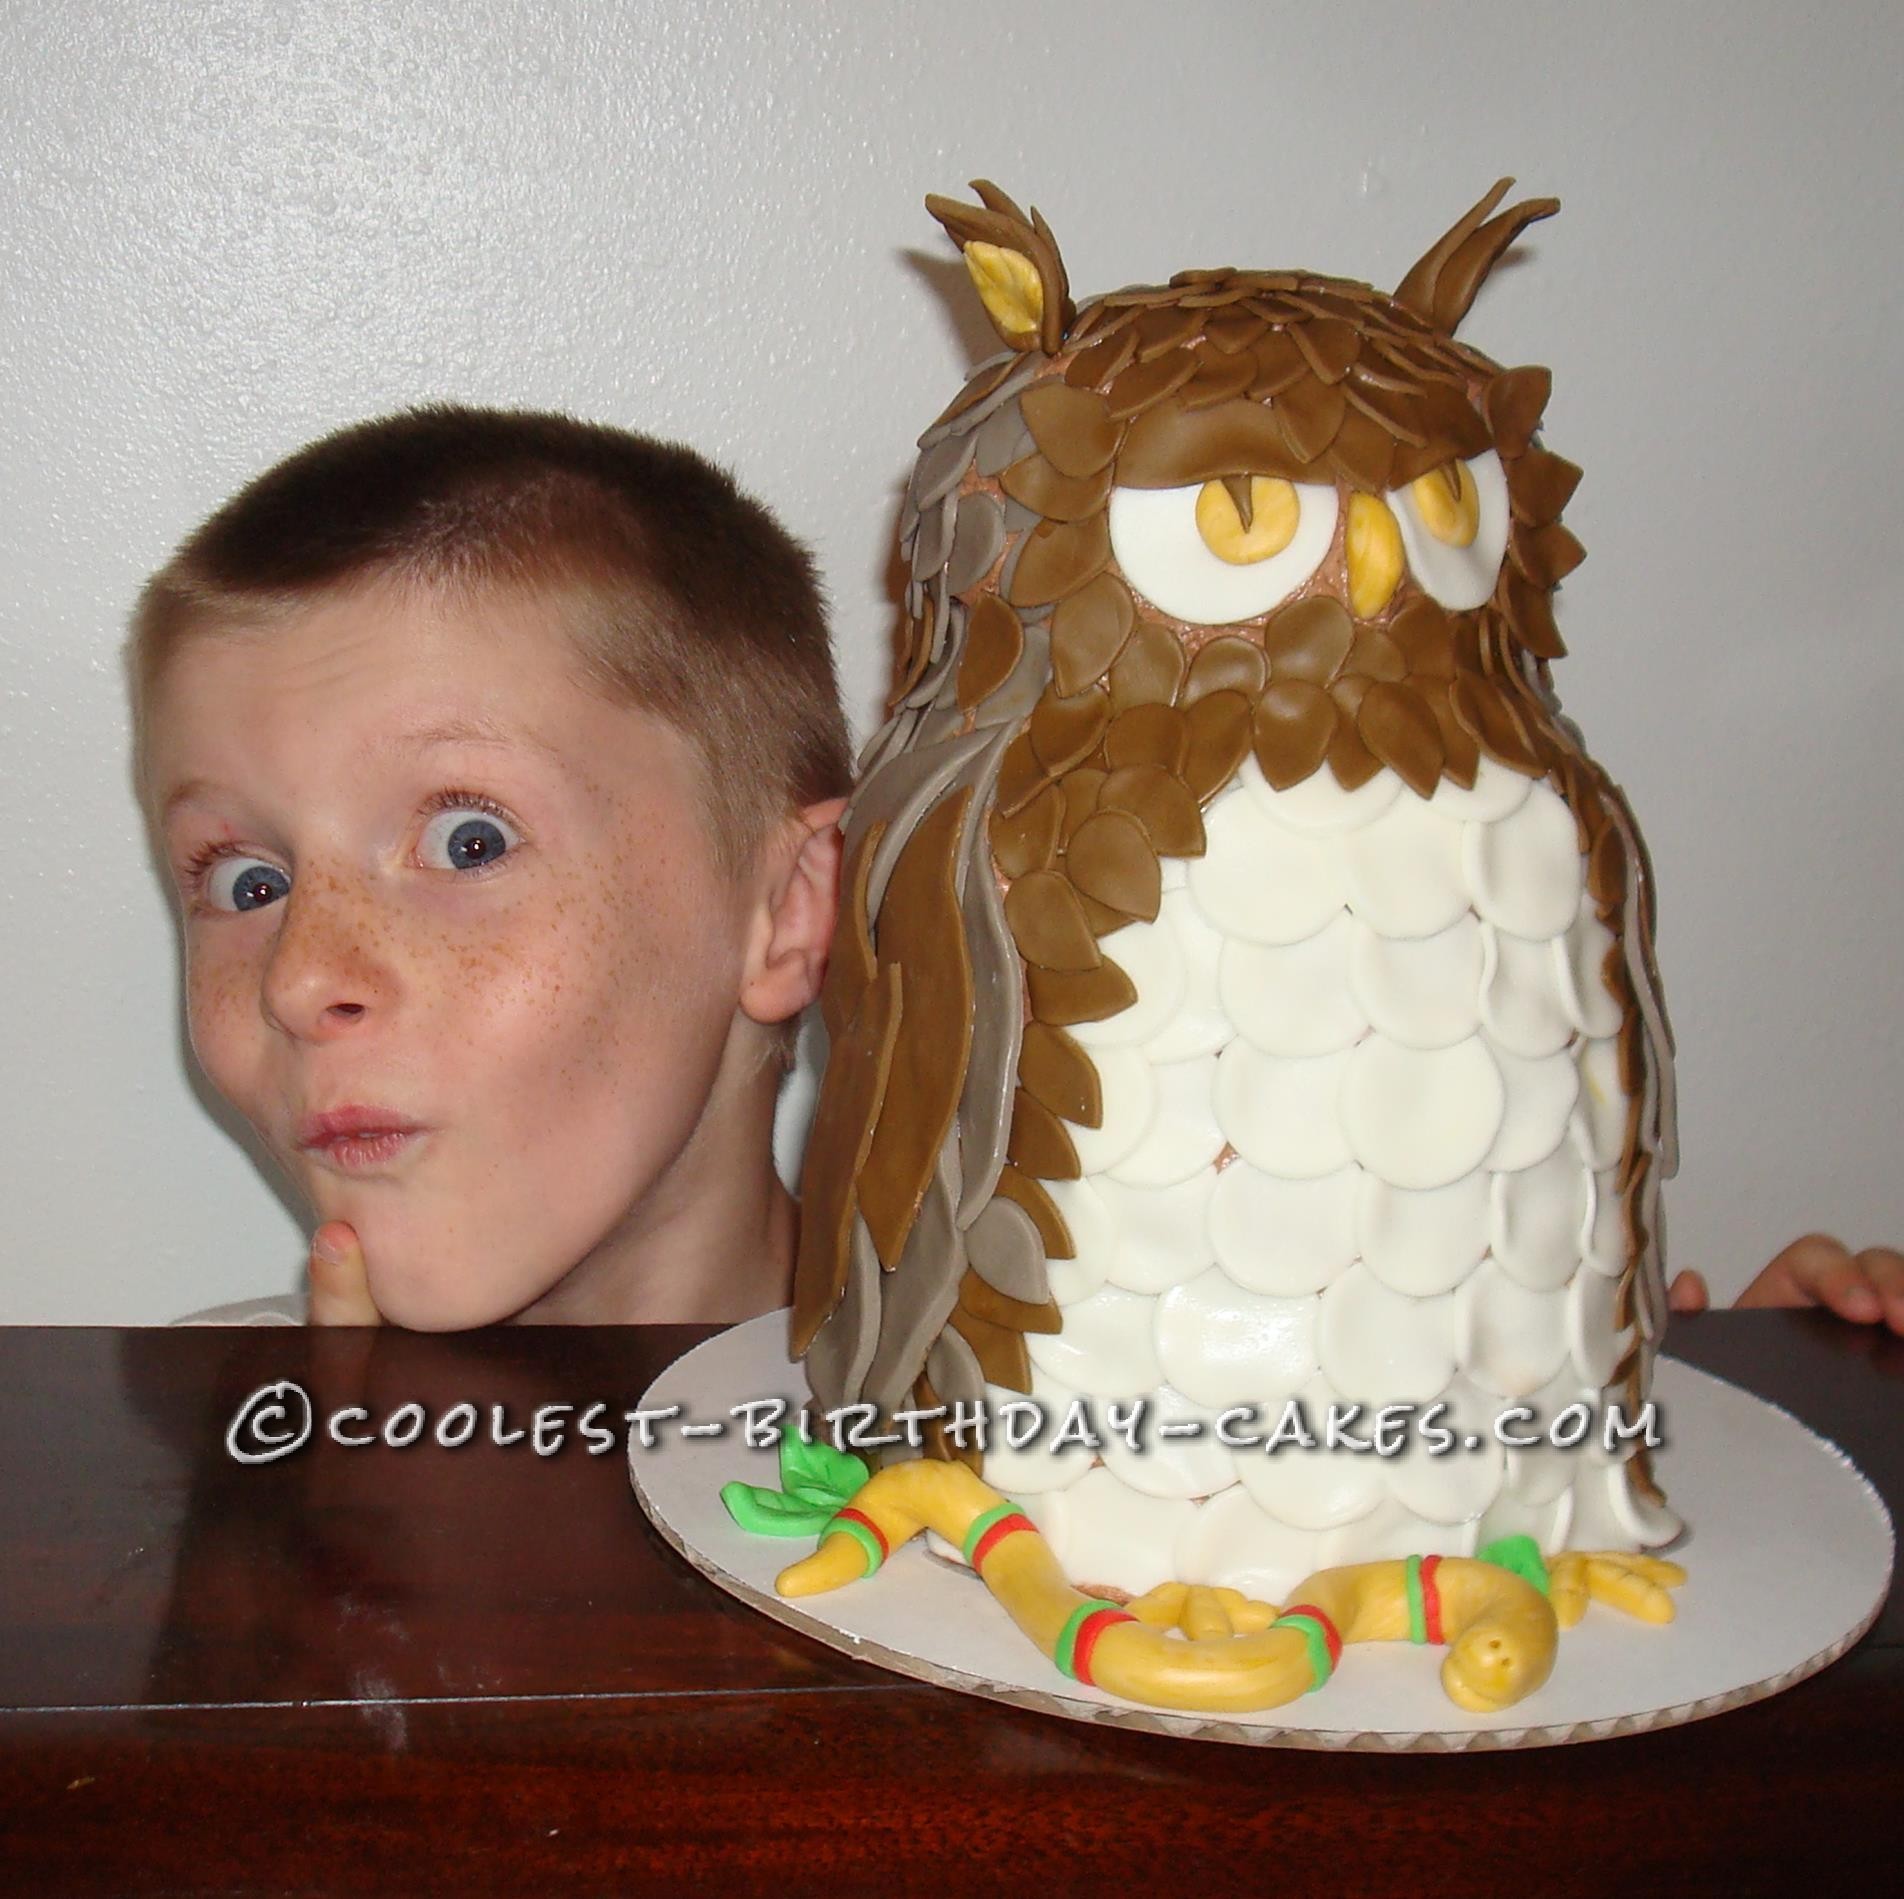
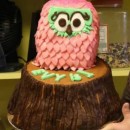
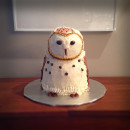
Using my design as a guide, I started by cutting out and applying the eyes then added feathers cut using a leaf-shaped cutter. I used smaller feathers for the head and back. I opted for white circles for the breast area of the owl. I cut out the long feathers with a paring knife. After the feathers were all on, I added the ears, feet, and a snake (my son’s request from reading the Guardians of Gaâhoole books). I finished the cake the night before my son’s birthday. I was pretty proud of my creation, and my son absolutely loved it. We snapped a few pictures to capture the memory.
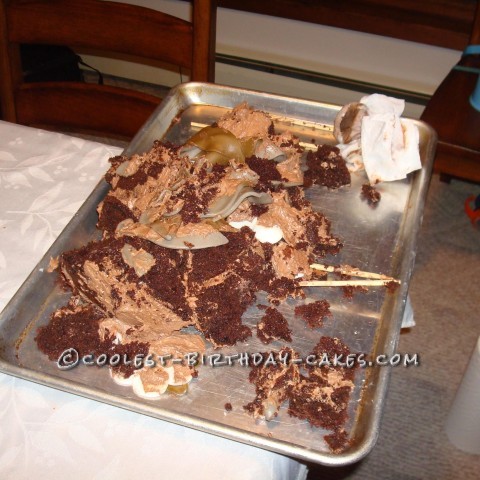
In an attempt to keep Mr. Owl safe from curious little hands, I put him on the back of the piano and went to enjoy some relaxation in the other room. Little did I know my elation at making such a fabulous cake was about to come crashing down. A while later my husband and I heard an unusual sound. He went to check it out and discovered a mess behind the piano. My beautiful cake was in ruins. I’ll admit it. I cried. Hard. All the hours and love put into my son’s cake were just gone. I was devastated. I left my husband to clean it up while I cried in the other room.
Later, when the tears had stopped but not dried, I went to see what was left. The top and bottom layers were mostly intact, so we stacked them up and decided it was a fine cake for a 9-year-old.
We are approaching the third anniversary of the Great Owl Cake disaster, and I can finally laugh at the experience. As tough as it was, I have learned a couple things. First, internal structure is vital for tall cakes! I still don’t know how to make internal supports for cakes, by the way. I just know it’s important. Second, there’s such a thing as high humidity frosting. That July weather is not kind to normal butter cream frosting. It just melts. I don’t know why I didn’t think of that before, but I know it now, and I’ll never forget! Finally, I learned that not all cakes will turn out to be masterpieces or even if they do, they might not make it to the party they were meant for. But that’s okay. Learn from your mistakes and keep trying. I still love cake decorating, so I think maybe the Great Owl Cake wasn’t such a disaster after all. Our family’s memories of the coolest owl cake ever will last a lifetime.
