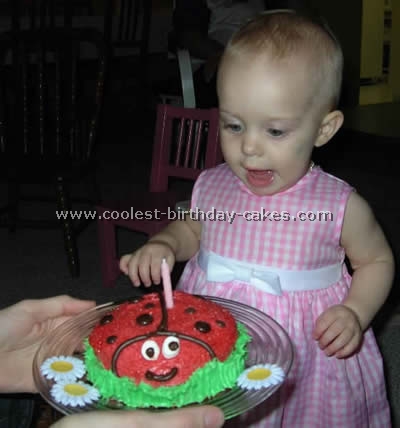
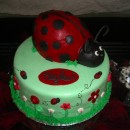
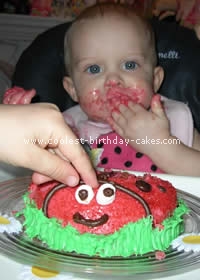
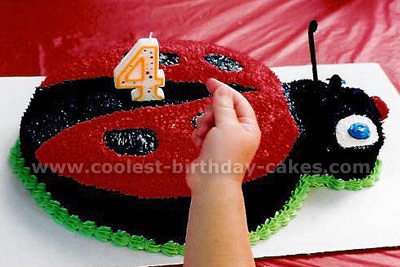
I frosted the ladybug birthday cake with red frosting and then covered it with red sprinkles. I used brown m&m’s and smarties for the spots. I piped chocolate icing for the lines and the middle of the eyes. The white of the eyes is mini marsh mellows. I colored icing green and used a fork to apply it and make it look like grass.
First birthday tip: I always make a small cake that is super cute for the baby. It is the one that gets in all the photos and the one that baby gets to hack into. Then I either make an identical larger one for the guests or do matching cupcakes. First birthdays are all about the baby putting her face in her cake!
More Ladybug Cakes
Cake by Jennifer M., Cleveland, OH
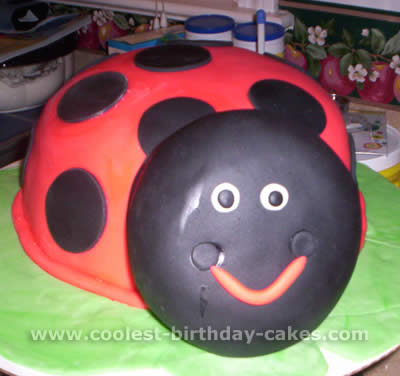
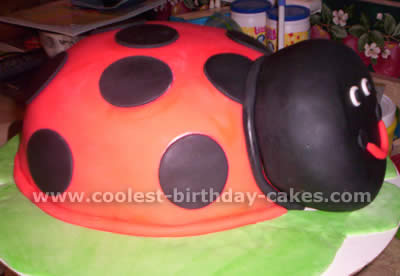
This is how I made my ladybug cake: I made a 12 in. cake, 8 in. cake, and a 6 in. cake. Once the cakes cooled (usually the next day), I torted the cakes (made layers of cake and frosting).
I put the 8 in. cake on top of the 12 in. cake and formed it into the body of the ladybug. I then rolled out some red rolled fondant (you roll it out just like pie dough; you roll it to be bigger then the cake). Drape it over the cake and gently form the fondant to the cake, smoothing it with your hands (gently smooth the sides and get the wrinkles out, without tearing the fondant).
I then took the 6 in. cake, formed it into a ball, and rolled out some black fondant. I rolled this piece out way bigger then the head also using a small round cookie cutter. I cut out some circles for the spots on the ladybugs back. I took a very small round cutter and cut 2 pieces out for the face (save all the left over fondant).
Next, I took 2 dowel rods and pushed them into the head of the cake and pushed the other ends into the body. There may be a gap in between the head and body. I made a rope out of the black fondant and put it around the back of the head. I also decided to do the same thing in red for the bottom of the ladybug cake.
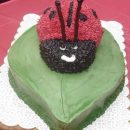
I took some white fondant to make round circles for the eye, adding little black pupils. I also took a small amount of red and made a small rope for the mouth. I took some green fondant and just attached it to the cake border to make it look like she was sitting on a leaf. Attach the black spots using just a touch of water. Finish it off by adding red or black licorice as the antennas.
Cake by Colleen B., Linden, NC
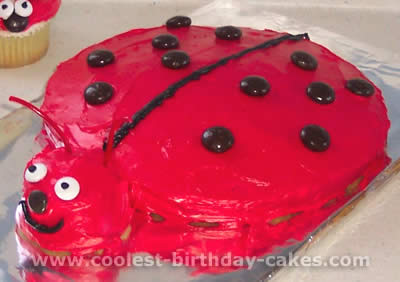
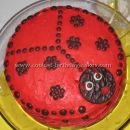
I used the color gel in order to make the icing red. I used black licorice, junior mints, white M&M’s. I used a 9″ round cake pan for the body and a cupcake for the head.
The cake idea was gathered from a magazine and the internet, but was modified, as I did not have a cake pan that would allow me to make a dome cake.
For the open winged ladybug cupcakes, I simply cut the top off of the cupcake, cut it down the middle, and iced it, placing the “wings” open.
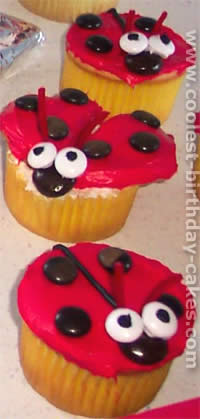
Cake by Ginger D., Plaucheville, LA
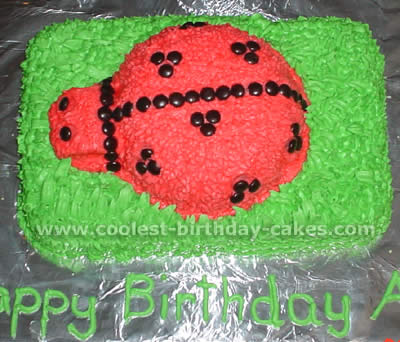
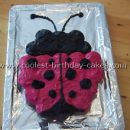
For my little girl’s 1st birthday we decided to have a pink ladybug theme. For her little ladybug cake we baked in the little mixing bowl from Pampered Chef. The ladybug cake is iced with pink icing and then we used black M&M’s for the embellishments (her birthday is in October–close to Halloween).
For the larger ladybug cake I baked a sheet cake and a second cake in the larger Pampered Chef mixing bowl. We dyed icing green and dragged the icing up to make grass and of course used the pink icing for the ladybug and the black M&M’s for the embellishments.
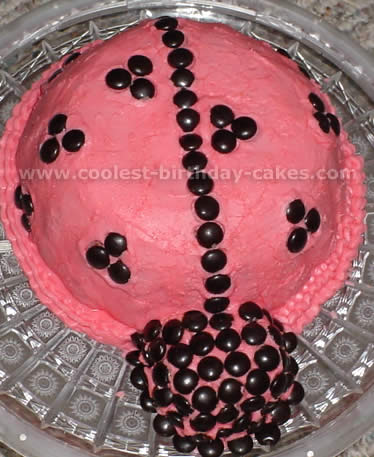
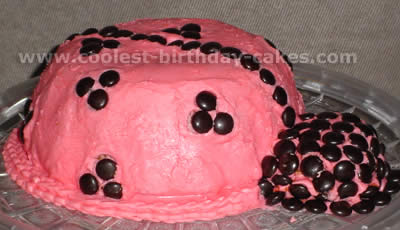
Cake by Kimberly N., East Baldwin, ME
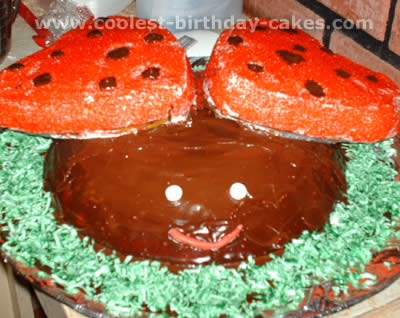
This ladybug cake was my first homemade cake for my daughter’s third birthday. I baked three cakes: one in a stainless steel bowl and two smaller heart-shaped ones. I froze the cakes for easier frosting.
For the ladybug’s body I made a simple ganashe with semisweet chocolate and heavy cream (8 ounces of chocolate to 1 cup of heavy cream worked beautifully) in my blender. I chopped the chocolate, added 1 cup of very hot cream, and blended until the chocolate completely melted.
While the ganashe cooled a little I frosted the cake (made from the bowl) with a thin layer of decorator’s frosting. I then poured the ganashe over the cake smoothing it over the sides with a knife to ensure complete coverage. I didn’t worry about making puddles as I covered any drips with green coconut.
The two hearts were placed in thin cardboard wrapped in foil. I frosted both with white frosting and completely coated with colored sugar. The spots were made from leftover ganashe and painted on with a skewer.
To assemble the ladybug cake I placed 2 short skewers in the round cake on both sides, then balanced the hearts on the top of the cake and anchored them with three long skewers at the point and about an inch below on each side of the wing. I finished off with Smartie eyes and a pink tootsie roll mouth (heat for a few seconds in the microwave to make pliable). I was thrilled with how cute this ladybug cake turned out.
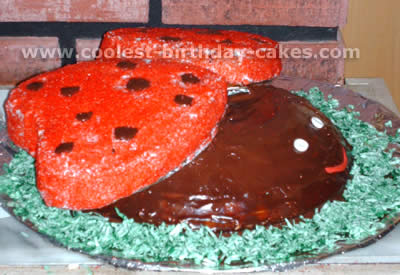
Ladybug cake with Daisy cake by Melissa M., Santa Rosa, CA
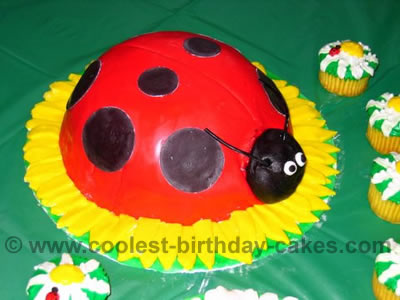
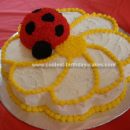
I decided to do a garden theme. I used a Pyrex 2 liter bowl for the ladybug cake. I sliced off the bottom to make it sit evenly. I sliced the cake in half horizontally so I could put buttercream in the center and then frosted 1/4 cup buttercream on the outside of the cake. I used rolled fondant for the decoration of the ladybug cake and used gel food color paste to dye the fondant.
The measurements for the cake are: head = 4 oz black fondant, spots = 1 oz fondant, red body = 20 oz red fondant, grass that the cake sits on = 12 oz green fondant, and the remaining fondant is tinted yellow for the petals. Roll the yellow fondant thick only when cutting the petals.
I wanted my daughter to be able to play in the cake and the fondant is so smooth it wouldn’t have been fun. So for her, I made another cake in a small Pyrex bowl. I covered it in yellow butter cream and made sure to make extra fondant when making the Ladybug cake to use for the daisy cake.
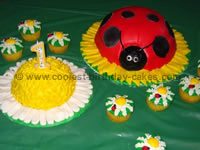
With the leftover batter from the daisy cake, I made cupcakes and decorated with buttercream icing also with the daisy theme. For the ladybugs on the cupcakes, I used leftover fondant.
It was so fun and really easy. I did make a practice cake a week prior to her birthday because I had never worked with fondant before.
Ladybug cake by Tomara B., Boynton Beach, FL
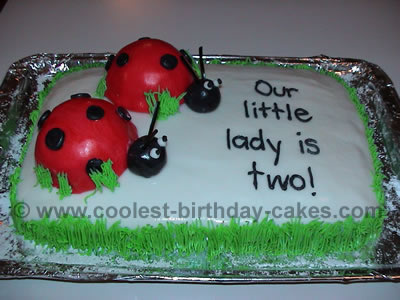
For my daughter’s 2nd birthday, I decided to have a ladybug theme. I thought of the cake idea myself and this is one of those birthday cake recipes that’s pretty simple to make.
I started off making a regular rectangular cake. Then I iced it and covered it with white fondant. I also made 2 mini ball cakes which became the 2 ladybugs. They are also covered with red fondant, and then add black fondant balls for the dots and the head. Plus, two little licorice pieces for the antennae. Next, I colored frosting green and used a special “grass” tip for all the grass. Finally, with black icing I wrote in the message.
Ladybug cake by Elizabeth H., Acworth, GA
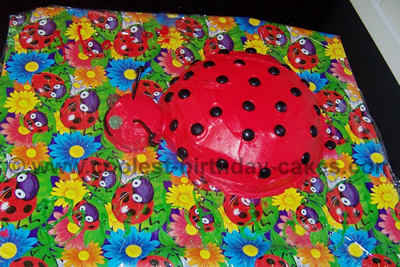
WHAT YOU NEED for this ladybug cake: 1 baked dome cake (made in a 1 1/2-quart bowl or 6-inch sphere), 1 baked cupcake, 3 cups red frosting, 12 Junior Mints, 2 green gumdrops, and Black shoestring licorice.
WHAT YOU DO to make this ladybug cake: Turn the cake and cupcake upside down and frost them with red icing. Place the mints on the body for spots. Add the green gumdrop eyes and the licorice antennae, and the ladybug will fly away home. I used black M&M’s I ordered from the www.mms.com
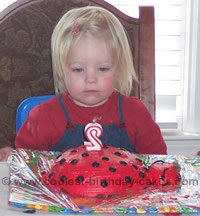
Ladybug cake by Elena G., Nanuet, New York
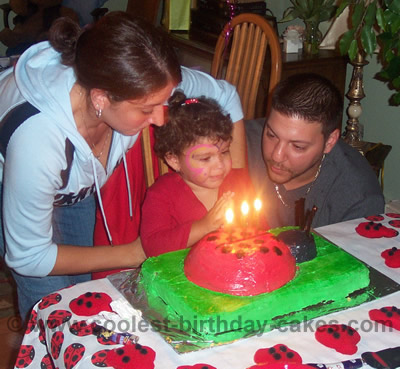
For my daughter’s 3rd birthday we had a ladybug theme. This ladybug cake was a very easy cake to make. For the body of the ladybug cake, I used a large glass mixing bowl and a coffee cup for the head (make sure they are both OVEN SAFE) and made those vanilla.
I baked a sheet cake, chocolate, and placed the ladybug on it. I tinted frosting green and got green cake sprinkles to make it shimmer. For the dots, I tinted frosting black, but I think fondant tinted would have worked better. I used licorice for the antennae and that was it! Perfectly themed ladybug cake for our little lady.
Ladybug cake by LuJuana T., Howe, OK
Ladybug cake by Carrie A., Dothan, AL
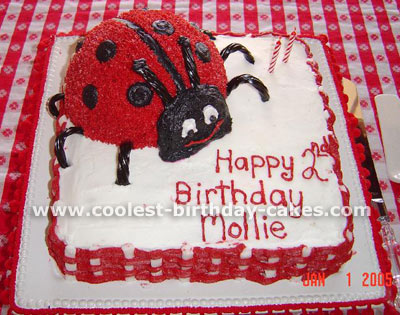
For my daughter’s 2nd birthday we had a ladybug theme. This was a fun ladybug cake to make. I used black licorice for the legs and antennae, sat the ladybug cake on a cake plate, and trimmed with red pompom fringe for an extra special touch.
Ladybug cake by Denise R., Lutcher, LA
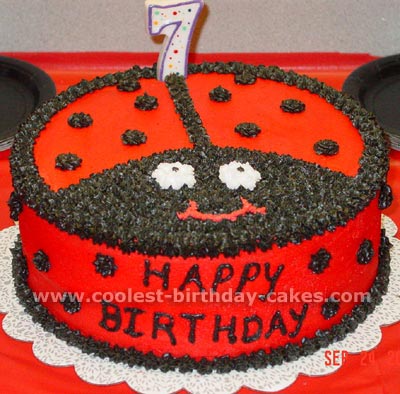
My daughter wanted a ladybug cake for her 7th birthday. I used a 10′ round pan. I baked two layers, putting her favorite filling of lemon between them. I then used a no-taste red coloring to make the icing. I iced the ladybug cake red then came back with the black.
