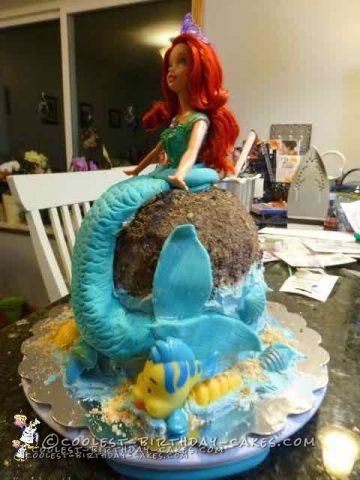
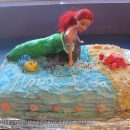
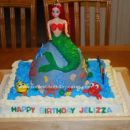
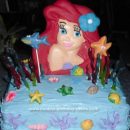
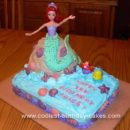
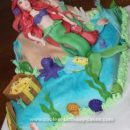
My youngest son’s girlfriend’s daughter (5) asked me to make her a Little Mermaid birthday cake for her birthday. She had seen the Elsa and Anna doll cakes I made for the first time for my granddaughter’s birthday party a couple weeks earlier and wanted an Ariel version for her birthday. So, I told her I would make her one.
First I had to figure out if I should make Ariel as a mermaid or as a princess. I decided to try the mermaid. Why not?! I had such a hard time finding a Disney Little Mermaid doll! Everything is Frozen right now, of course! I finally found one, but she did not have the “shell” top. It was a dress top. Oh well! Who would know. I bought the doll, but still took a couple days to shop in other stores to see if I could find Ariel as a Mermaid instead of a Princess. No luck! So, I settled on what I had.
Now to search the internet for pictures of Little Mermaid birthday cake ideas. I decided to make the cake the same as I did the Elsa and Anna cakes, but I would make the top part look like Ariel was sitting on a rock. Oh, and I also had no luck finding a Flounder and Sebastian to put on the cake. So, I went to Ebay, found a Flounder and bought it. Dummy me for waiting a few days and looking for Sebastian. I actually found a Flounder and Sebastian in one auction, bid on it, and then forgot I bid on it! I got busy helping my parents with a garage sale and had won the auction without knowing it. When I realized I had won, it was too late to get Sebastian for her on time for the party. I decided to figure that out later.
Little Mermaid Birthday Cake Directions
- 3 days before party I made the cake parts. I used two 6 inch round Wilton cake pans, and I have a Pyrex small bowl that is exactly 6 inches across and fits perfectly on top. It’s also the perfect height for the doll when I stick her down into the cakes.
- I made a Duncan Hines white cake mix, only I added 1 cup of sour cream, 4 eggs, 1/2 cup water and 1/2 cup oil. This makes it like a sponge cake and is dense enough so that it will not “smoosh” from the weight of the cakes above. It tastes great too!
- I made one cake mix at a time. It does take two cake mixes, and there will be leftovers for a 8×8 cake for later.
- I baked the two round cakes in a 350 degree oven till a toothpick came out clean. Then I turned down the oven to 325 degrees and baked the round Pyrex bowl till the toothpick came out clean.
NOTE: Make sure to use Pam spray with flour, and wipe around your pans well with a paper towel. The cakes come right out, no problem!
- I let the cakes sit in the pans on a wire rack for about 10 minutes and then turned them upside down on wax or parchment paper and let them cool completely.
- Then I put them into gallon sizes Ziploc bags, separately, and refrigerated them. I did not have time to get to the decorating part till the next evening.
Time to decorate the Mermaid Birthday Cake!
- If the cakes were a little rounded, I carefully shaved off a little with a sharp bread knife.
- I make my buttercream frosting using butter and Crisco.
- I invested in a rotating cake decorating platform. Love it!
- First I took a paring knife and cut a hole in the middle of each cake for the doll’s legs.
- Then I put down a large dab of frosting on a cake plate or board and set the 6 inch round cake down on it.
- Next, I add a nice layer of frosting and the next layer of cake, another layer of frosting and then the domed top.
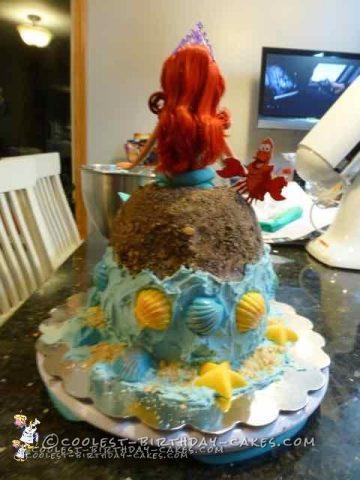
- Then I crumb iced all the cakes together. Because the top would be a “rock” I didn’t have to make the frosting smooth.
- I added a nice layer of frosting.
- I ground up the 100 cal. Oreo cookies in my food processor.
- I added a few Nilla wafers. That was the hardest part of the mermaid birthday cake.
Note to Self:
Next time lay down paper towels all over the counter top to catch leftover cookie crumbs. What a mess it is to put cookie crumbs all over the top 1/2 of the cake and stick them to the frosting. But, it turned out just as I pictured in my mind. So I smiled and cleaned up mess on counter and floor.
Finishing up the Little Mermaid Birthday Cake
- Next, I tinted some frosting a nice light blue.
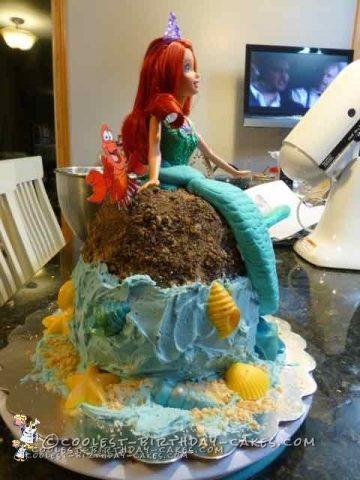
- I sloppily applied it to the bottom 1/2 of cake and onto the plate. With this cake you don’t have to be too neat. Make it look like waves, water.
- Now for the tail… hmmm… I had NEVER tried fondant. So thought I would just do tail as frosting stars (using a star tip). I practiced on a piece of wax paper and had a hard time getting a color green for her tail that I liked. I didn’t like how it looked on the wax paper. So, off I went to the store to buy some fondant.
- I bought white fondant. I already had the gel colors from Wilton I used for the Anna and Elsa cakes.
- When I got home I broke off some fondant and squeezed on some aqua gel color… knead, knead, knead! My hands were GREEN. Yikes! Guess what?! Wilton gel colors wash right off. WOW! I’m so impressed! It’s nothing like the stuff you buy in grocery stores that stay on your hands for days.
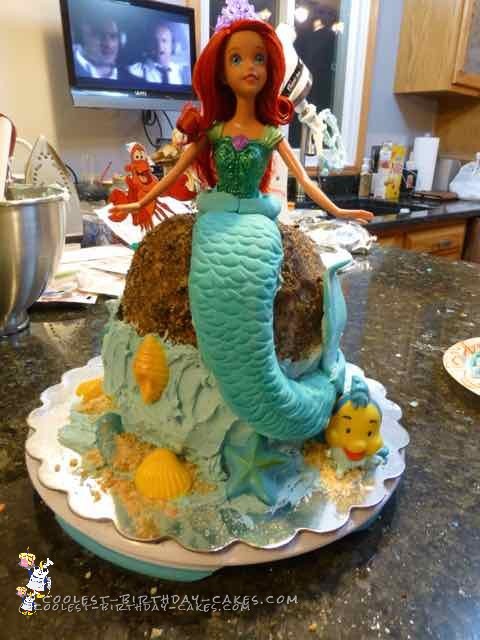
- I made a tail and I used a teaspoon to make scales.
Then, I curled the bottom of her tail and put some frosting on it to stick it to the cake. I was worried that it was too heavy so I put a toothpick in at the top to hold it. - Next, I found a pattern for a mermaid tail online and I printed it out.
- For the fins I roll out fondant and cut two fins. I drew some lines on them and attach them with frosting. Voila! It looked great!
- I had purchased a chocolate mold of shells, so I made two different colors of shells and put these around the cake.
- I added some crushed Nilla waffers to look like sand, added Flounder. As far as missing Sebastian was concerned, I printed out a Sebastian image, cut him out, and pasted it to a toothpick.
My Little Mermaid birthday cake was DONE! …and a little girl was Happy Ever After!
