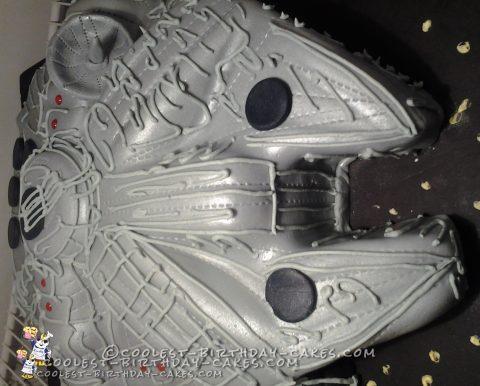
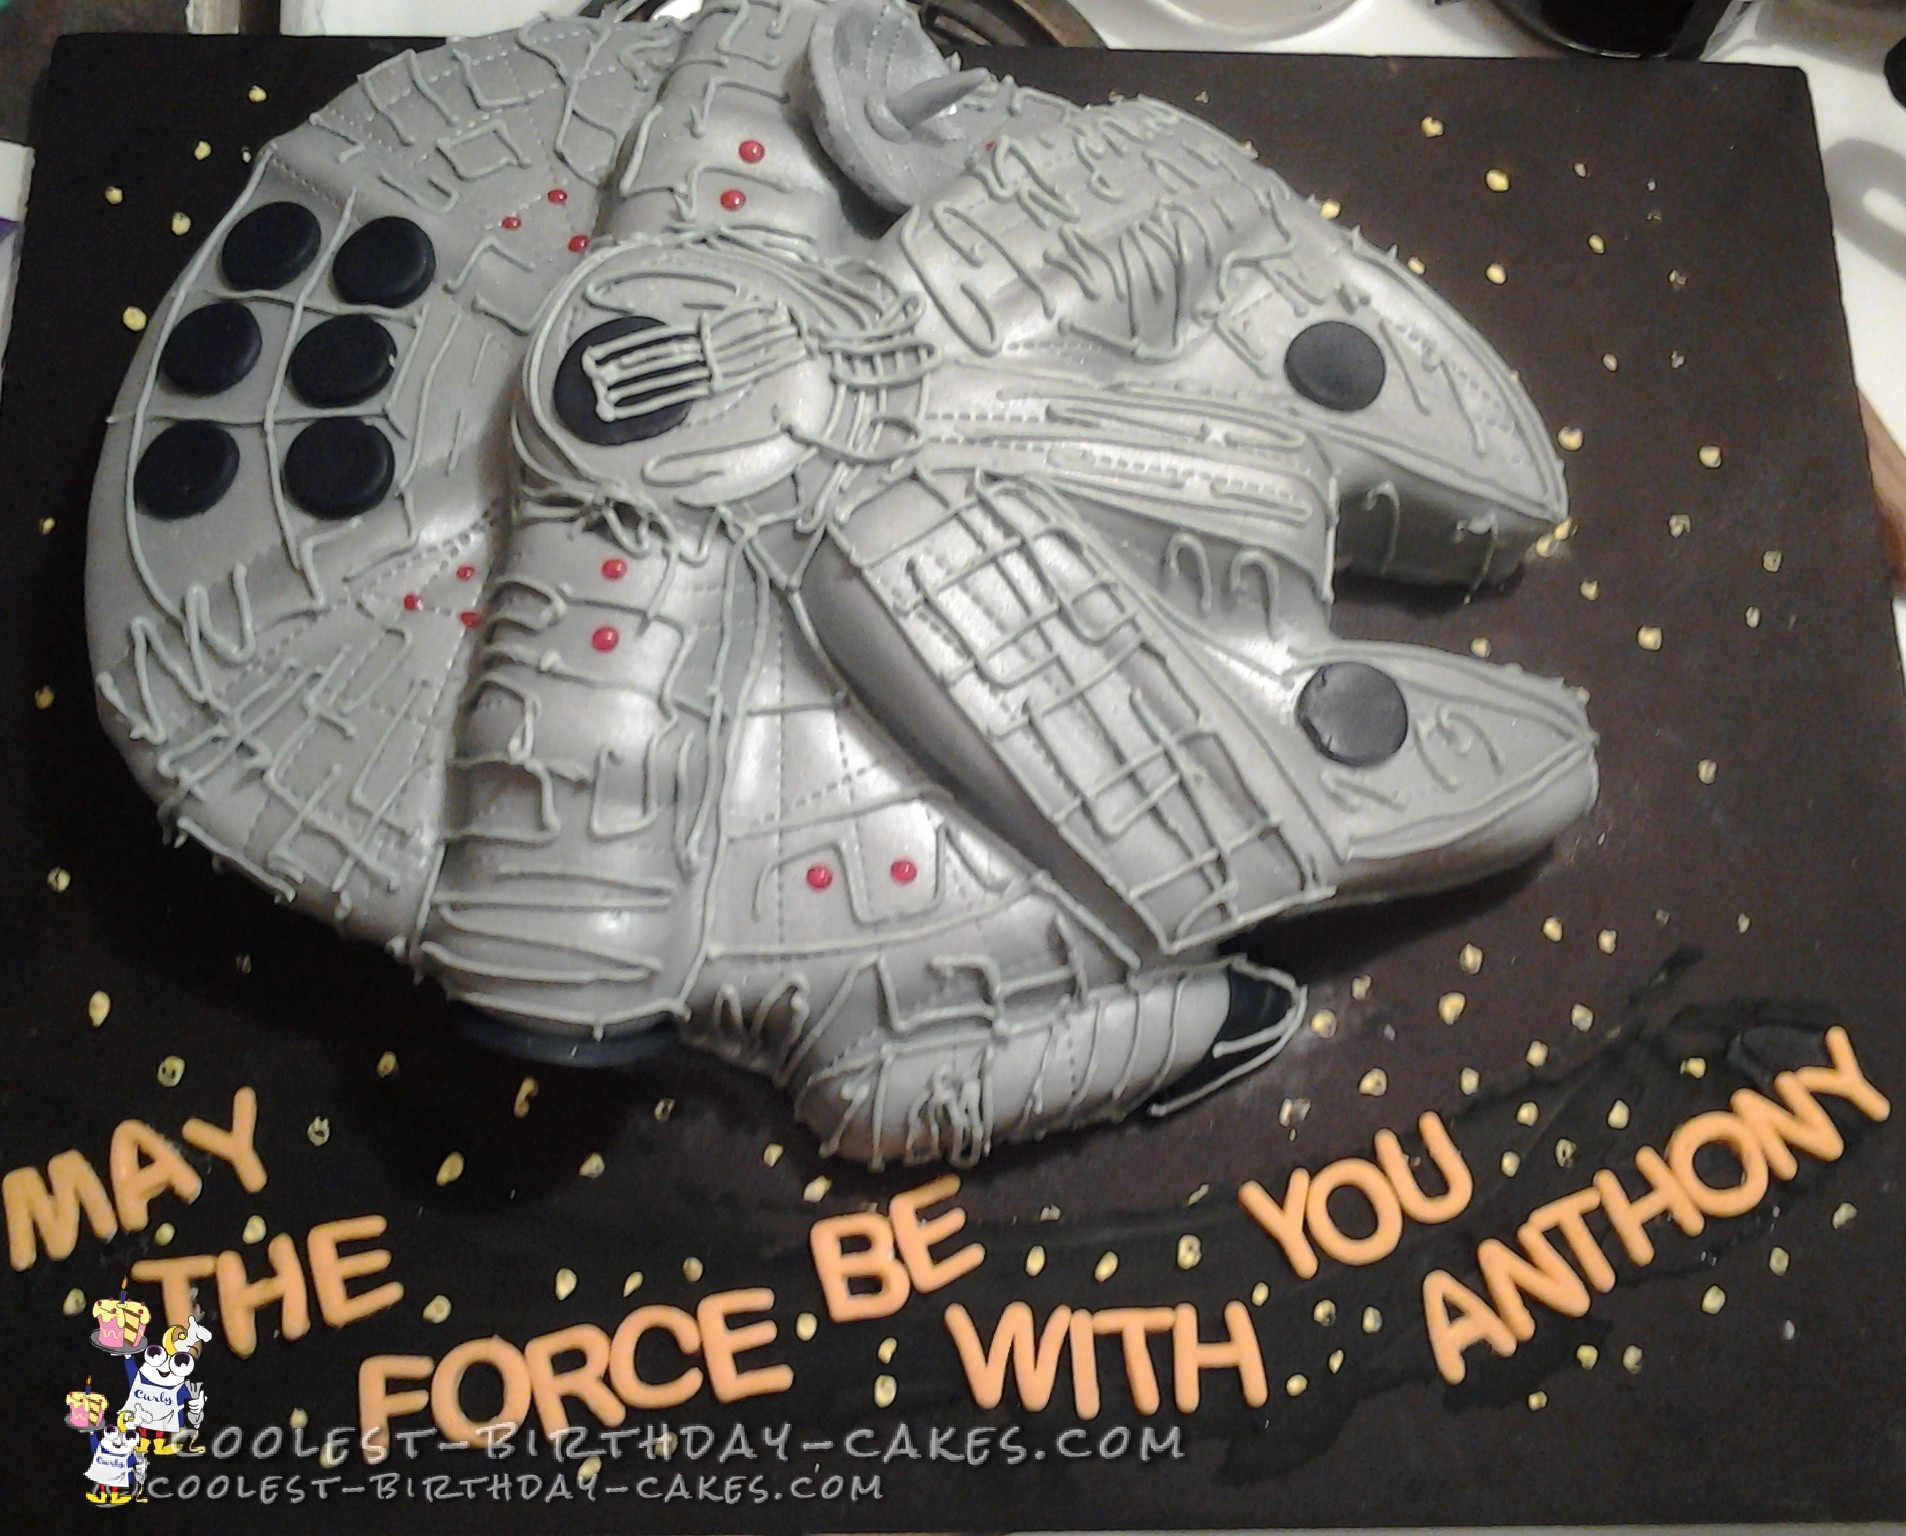
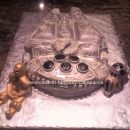
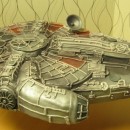
I made this Millennium Falcon Star Wars cake for a Star Wars fan’s birthday.
I was shown a picture of a Millennium Falcon ship and was asked if I could replicate it in cake form. I was excited and up for a challenge!
Millennium Falcon Star Wars Cake Instructions
- The 1st thing I made was the satellite, since I knew that had to be sturdy. So I made 50/50 of fondant and gum paste and put it away to dry for 24 hours.
- I then baked 2 boxes of chocolate cake mix in an 11 x 15 pan.
- I printed out pictures of the ship from all angles.
- While still in the baking pan, I put the cake in my freezer to firm up.
- The next day, I pulled out the cake from the freezer and made some Swiss meringue buttercream. The cake sat on the counter for about 30 minutes, thawing out. I needed it still firm, but soft enough so I could carve.
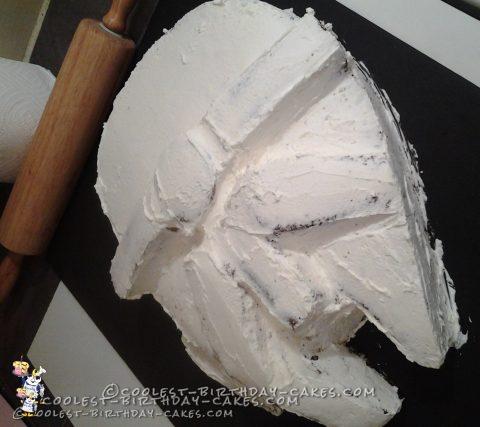
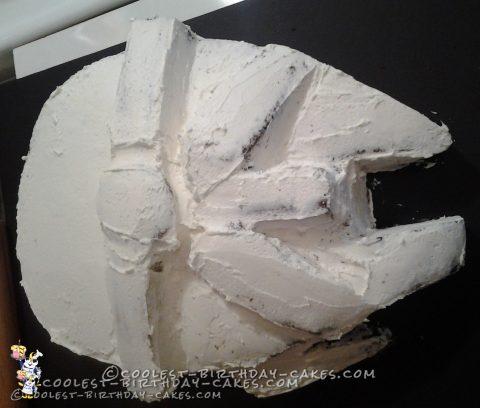
- I put one of my frying pans over the cake so I could get the rounded part right, and then just used a knife to carve out the Falcon ship.
- I used the corners of the cake and sliced them in long 1 1/2 in strips and placed on the top of the cake for the structure.
- I did a crumb coat and popped the cake in the fridge.
- I took the fondant (that I had also made in advance) and rolled it out.
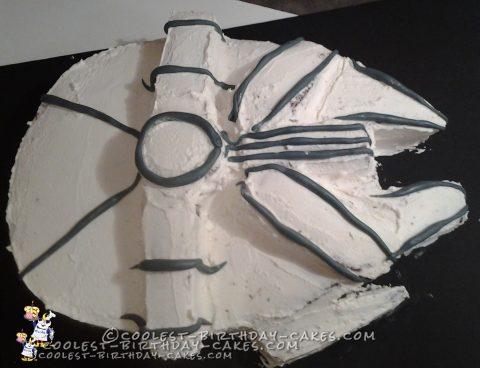
- I added some pieces of the fondant and on the crumb coated cake to give it more detail before the fondant would be placed on the top of the cake.
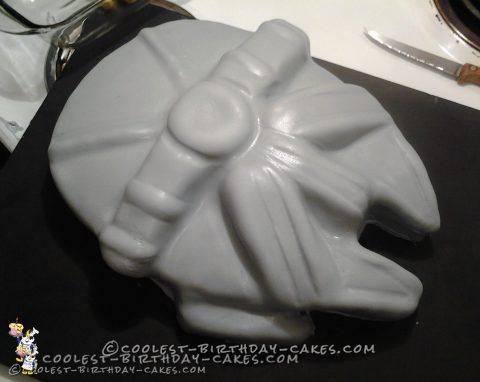
- I then put the fondant on the cake and just used my hands and the fondant ball tool to smooth it.
- I used various fondant tools to get the lines all over the cake.
- I used Wilton sparkle gel in a red color for “lights” on the cake.
- I also used Wilton color mist spray, in silver. For the first time, surprisingly, it did not taste bitter and gave the cake a nice sheen.
- I also had some gray icing in a piping bag with a small round tip and did random frosting details all over the cake.
- I used yellow colored frosting to make the “stars” on the black board.
- I used orange fondant and letter cutters for the words at the bottom. I had to smear some black frosting on the board so that the letters would stick.
I was super pleased with the result. The birthday man was pleased as well!
