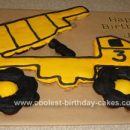
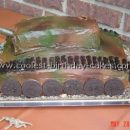
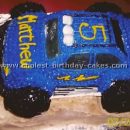
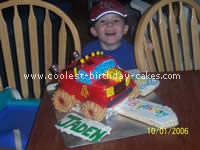
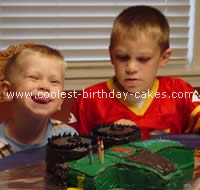
I browsed through a lot of Monster Truck picture cakes and finally came up with this one. I used the 3d car cake pan used lollipop sticks to hold the doughnuts on the car instead of using pillars to hold the car up to look like a Bigfoot I used cupcakes underneath it took about 6 cupcakes and in stead of a cake plate I used cardboard wrapped in foil. For the bumpers i used lots of frosting and wafer cookies. It does not transfer easily it fell apart a little in the car so if you make this kind of cake don’t put the car on top of the other cake until you get to where you are going. For the bottom cake I used cupcakes for the bumps and covered it all in chocolate frosting.
More Monster Truck Cakes
Monster Truck Picture by Kim M., Johnson City, TN
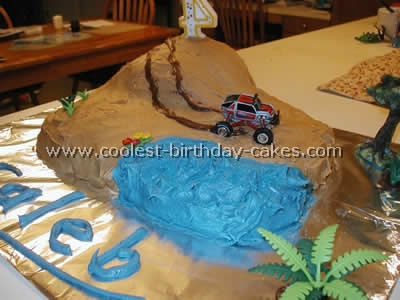
This monster truck picture cake was simple to make but took some time decorating (although I was able to do it with three young children at my feet but recommend you having some time to focus).
Bake a 9×13 cake for the base and then any size Pyrex mixing bowl or bundt cake for the sand dune. Cut the shape of sand dune you desire (I used 1/4 bundt cake) and stick it on with toothpicks and frosting. I used buttercream frosting and homemade chocolate frosting (recipe on back of cocoa box) and mixed in appropriate colors for the water then mixed buttercream and chocolate together to create a “sand” color.
Pipe in chocolate tires tracks and add any other decorative goodies.
Monster Truck Picture by Pam C., Minden, LA
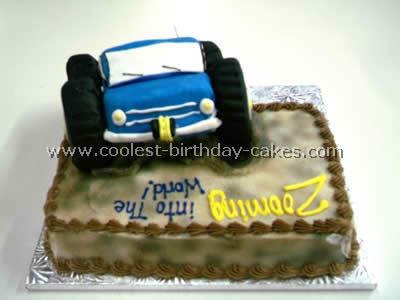
I made this cake for a couple in our church that was doing their nursery in Disney 4 x 4 trucks. It is all edible. I first made two 9 x 13 cakes and iced one in butter cream and airbrushed to look like a mud hole. The other I had cut out a rectangle and then cut out the “cab” of the truck.
The tires are 4″ round cakes. I used them to measure for the rectangle of the truck. I gently iced the rectangle and covered it in blue fondant. I gently iced the cab and covered it in fondant then cut out the windshield and side windows with white fondant. The tires are covered with black fondant and I made designs around them to look like mud tires.
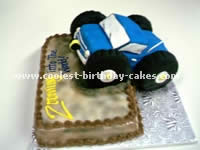
I placed a piece of cake upon the sheet cake after using the rectangle piece to see where I would need it to hold up the front of the truck and one just on the side of the cake to hold up that end. I covered it with icing and airbrushed to look like part of the mud hole. I then attached the tires carefully to the base of the truck while placing them on top of the sheet cake with small 3″ dowels in each tire. I covered the hole with icing as I made the rims.
I made a license plate for it and a couple of bumper stickers. I added wipers to the windshield and door handles. This was so much fun to come up with. It all just evolved as I was making it.
Monster Truck Picture by Steph D., Willard, MO
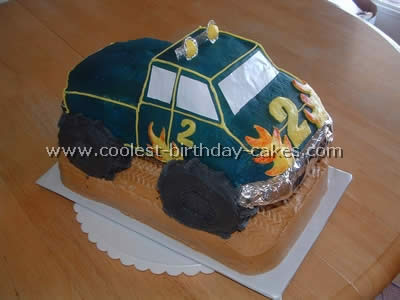
This cake was made for a friend’s birthday. He loves monster trucks! It was made using Wilton’s car pan plus a monster truck picture but I shaved off some areas to give it more of a truck shape.
I used foil to create the windows and it all rested on pillars which were hidden by the tires. The bottom ‘dirt’ area gave a few extra servings of cake. P.S. This did not travel so well- definitely would have been better if made for a home party!
Monster Truck Picture by Lisa G., Winnipeg, Canada
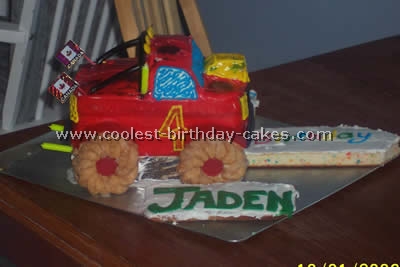
We made the cake from a monster truck picture. Once it had cooled we cut a rectangle that was the same size as the box we were going to elevate it on. With the left over pieces we cut another rectangle the same size to make it higher.
We used a smaller and piece to create the cab of the truck. Once we had the shape we iced the cake with regular frosting. My son insisted on having a red and yellow monster truck that shot fire.
I am not good at decorating with icing. I assumed that if I added red coloring to the white icing it would turn out pink and he wouldn’t be very happy. We decided to wrap the cake in fruit roll-ups. We used yellow fruit rollups to cut out a 4 and the headlights. It was pretty easy to work with and stuck well.
We used honey crueler donuts for the wheels, round gummys for the hubcaps and licorice for the bumpers and grills. The candles were placed right behind the cab and also sticking out the back so it shot fire. We iced the windows blue just because we thought it looked better than white. It was very easy to make because we just copies the monster truck picture that we had.
Monster Truck Picture by Deb G., Becker, MN
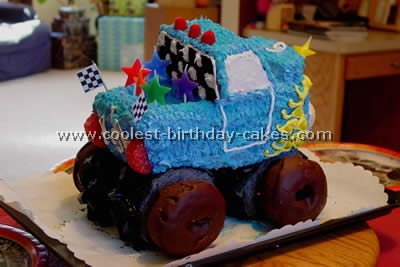
The idea for this cake I got from a monster truck picture. I baked the “tires” in a clean coffee can, one for each axle/set of wheels. I carved out one small groove about 1/2 wide and 1 inch deep on each coffee can cake piece – to make it appear that each piece was two separate tires instead of one steam roller.
I frosted the “cans” and rolled in black sugar – placing them on the serving tray with the groove facing out (solid facing in). I used black licorice bites to make the tire treads and then added chocolate frosted donuts to the front of the wheel.
The base of the truck is two loaf pans – one cut to be the windshield. I used raspberry shaped jelly beans for the lights on top, cherry slices for the rear lights and mini white chocolate Reese’s peanut butter cups for the headlights.
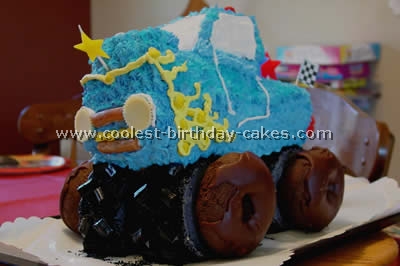
In frosting the black/white checkerboard on the back window I first frosted the black checkers and then sprinkled with black decorating sugar – before setting that cake piece onto the rest of the cake. I later piped in the white checkerboards with frosting.
Monster Truck Picture by Kristi C., Kansas City, MO
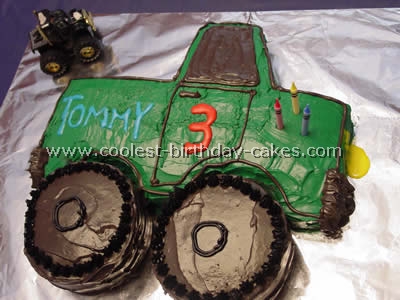
Tommy loves monster trucks and the color green, so for his 3rd birthday he wanted a green monster truck cake. It was pretty easy; it took two cake mixes and a lot of icing. It might be a good idea to have a monster truck picture around while you’re creating your cake (as reference).
For the wheels I used round Pyrex dishes (4 inches round), double stacked them and for the truck I used a standard 9×11 cake pan and cut out the truck shape. I had a lot of good ideas but as usual I’m a last minute planner. I wanted to use little silver balls (we used to decorate Christmas cookies with them when I was little) for the wheels but I couldn’t find them on my last minute run to the store! The kids loved the cake!
Monster Truck Picture by Stephanie B., Huntersville, NC
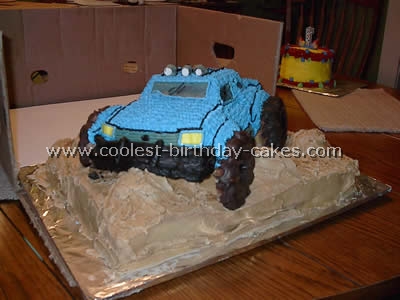
For my 1st nephew’s first birthday my sister-in-law wanted to do a car/truck theme. I saw a monster truck picture in a cake book that I thought I would like to try. Although I altered it a bit… I thought mine turned out pretty well.
I baked a regular sheet cake, a car-pan cake and a pan of cupcakes.
I then decorated the whole sheet cake with brown tinted icing and then placed a few of the cupcakes on top to look like rocks. I covered them with brown icing as well.
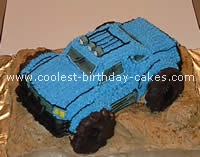
I then took the car cake that I had baked and shaped it to look more like a truck adding some of the pieces I shaved off to the back to give it more height.
Then I decorated it with blue icing using a star tip. I then took sugar wafers and made the grill covering it with store bought black icing. The tires are two crueler doughnuts that my husband dipped in dark chocolate and the sand is brown sugar. The fog lights were mini marshmallows that I covered in gray icing. The trim windows and headlights were done by hand with the black gray and yellow icing. Everyone loved this cake!
Monster Truck Picture by Chandra D., Manitoba, Canada
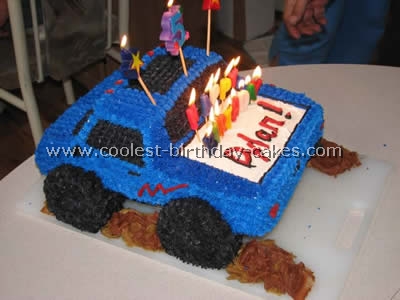
For my son’s monster truck birthday cake I doubled a regular 9×13 cake recipe and baked one 9×13, one brownie cake pan size and used 4 small round pans for the wheels. It makes it easier to look at a monster truck picture while making this cake.
Once they had cooled I cut them to shape and arranged on a cutting board using the brownie pan underneath to help the wheels support the body of the truck. I used icing to hold the whole thing together. Then decorate to your own taste. It was a great hit with my 5 year old!
Monster Truck Picture by Bev P., Powell River, BC
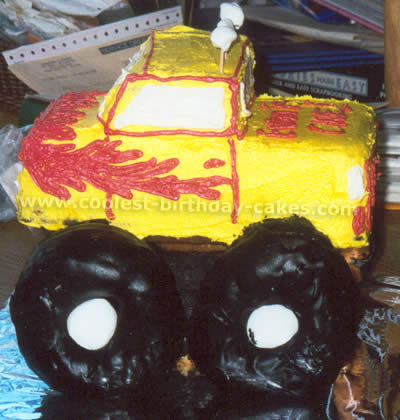
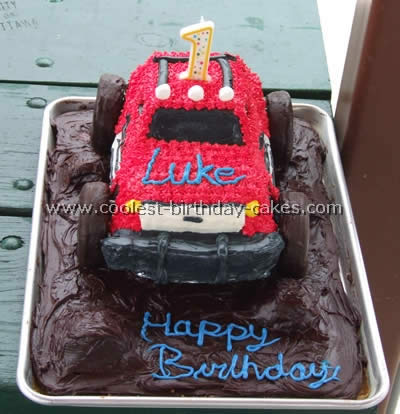
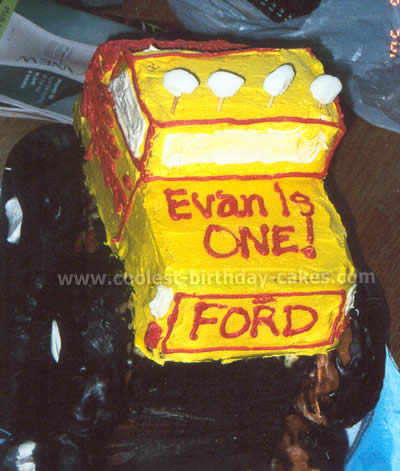
When my nephew turned one, my sister-in-law asked me to make the cake. Since he loves trucks we decided on a monster truck.
I started with 2 loaf cakes. I left one cake whole and cut a piece of the other one and placed in top to make the cab of the truck. I then cut the remaining cake into pieces and stacked them up underneath the truck to give it a lift. Donuts were used for the tires and that was the kid’s favorite part!
I used mini marshmallows stuck on toothpicks for the lights on top of the truck. I painted flames on the side and front using an icing bag with a writing tip, and added the other details the same way. The cake was definitely a hit.
Monster Truck picture by Laurel D., Calgary, Alberta, Canada
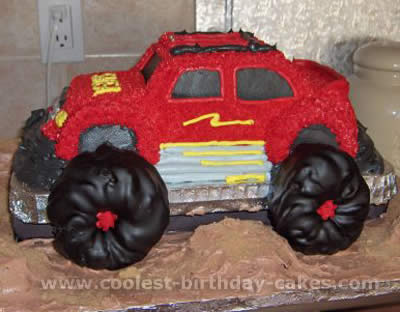
For this monster truck cake I used a 3D Cruiser cake pan. I elevated the platform to make it look like a monster truck. I used frosting to frost and Crueller donuts were used for wheels.
Monster Truck picture
by Diane L., Hebron, KY
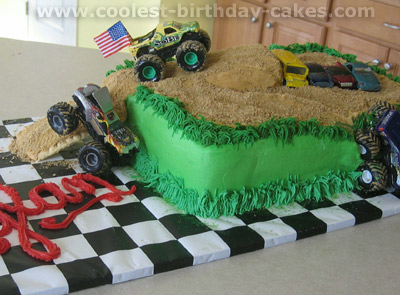
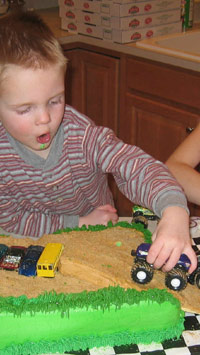
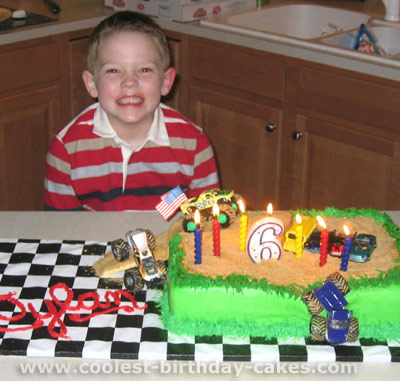
This is a very simple cake, but a big hit. My kids couldn’t keep their hands off of it and got lots of playtime on it before we ate it!
The cake is made of two 9×13 layers. The dirt is tan-colored icing covered with graham cracker crumbs. The ramp, from board to cake, is a cinnamon pop tart covered with icing and crumbs, which was put over a wedge of cake comprised of left over slivers from leveling the cakes.
I used the monster trucks that break apart for the crash effect. I bought the flag toothpicks for the truck bed and trimmed the cake with icing grass ( Wilton tip 233). The board was leftover from my other son’s racecar cake. It is an 11×13 cut in half and added to a full 11×13. There are two layers of boards, and boards are covered with checkered vinyl tablecloth.
