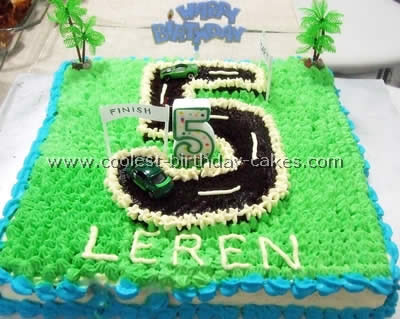
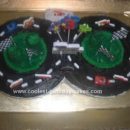
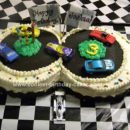
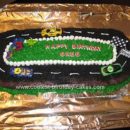
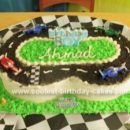
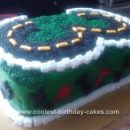
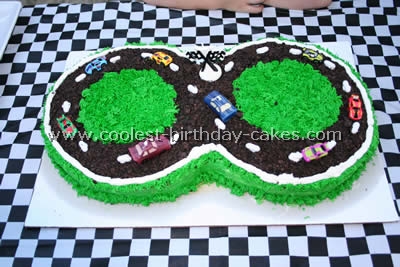
I love these NASCAR birthday cakes. For this one, I used a 12×12 inch cake pan. This is chocolate cake with fudge filling. I used whipping cream to cover the cake. I divided the cream and colored it green for the grass, blue for the border and plain for the track lines.
I used crushed Oreo biscuits for the race track itself. I also used plastic tress and some chocolate stones which I placed on the top most corner.
I copied the idea of the cake from this site for Nascar birthday cakes.
More NASCAR Birthday Cakes
NASCAR birthday cakes – Race Track by Sarah H., Brantford, Ontario, Canada
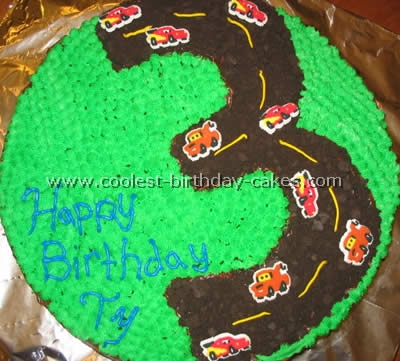
I got some ideas for Nascar birthday cakes from this site. This was the easiest cake I have made. I used store bought cake mix and pre made icing from the bulk store. I traced out a large number three(you could use any number) for the track and used chocolate icing to fill it in. then used crushed up cookie crumbs on top to look like a road. The grass is just green icing. The road lines are yellow icing. And I bought edible icing car shapes.
NASCAR birthday cakes – Race Track by Deborah L., Castaic, CA
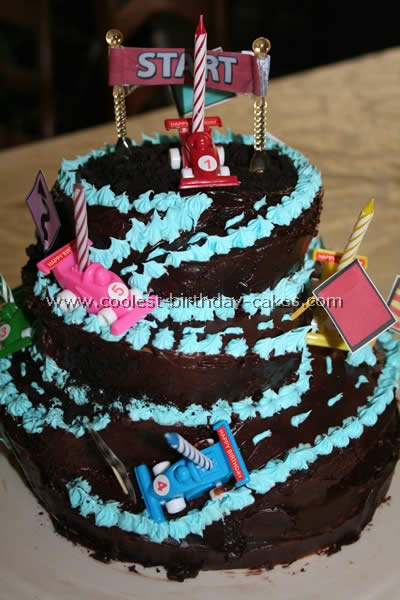
We Loved the Race Track cake by Rebecca S. from Virginia! Her cake was truly our inspiration and our guide for Nascar birthday cakes! Additions include a fourth layer and ground Oreos with frosting for dirt.
I used two regular cake mixes and made four layers from them. I highly recommend making the cakes the night before, individually wrapping them in plastic wrap and freezing them in a plastic container. When they’re cold the cakes tend to be stronger while you’re working with them. They’re less likely to break while you’re moving them around. They’re also less likely to crumble while you’re trimming them down to size and frosting them.
My four year old son loved the cake! He helped frost the top of the cake. He also chose the NASCAR flags and road signs that we printed off from our Google images search. He was very excited about his birthday. He loves cars! He even learned the meaning of each of the NASCAR flags we put on the cake. Thanks so much for the ideas and the suggestions on Nascar birthday cakes.
NASCAR birthday cakes – Race Track by Shannon K., Virginia Beach, VA
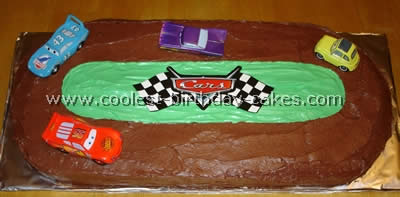
This cake was a surprise for my son’s Zack 5th Birthday. Super easy to make! I used this site for NASCAR birthday cakes and this is what I made. You will need two boxes of cake mix. I used a 9″x13″ rectangle pan and (an approx) 9″ round pan. Bake as directed on box. After cooling I simply cut the 9″ round cake in half and placed the half-circles on either side of the 9″x13″ cake.
Trim to fit if needed and place a little frosting in between the sections to help secure. I used regular out-of-the-can icing chocolate for the track and sides; and vanilla mixed with green icing coloring to make grass for the inside of the track.
I used Disney’s “Cars” on top of the cake as well as the cut-out emblem for the grass infield. It was quick and easy and Zack was beyond thrilled!
NASCAR birthday cakes – Race Track by Carrie, Dallas, TX
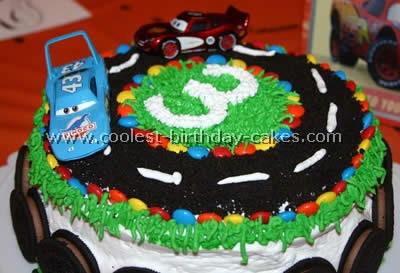
Thanks to Shannon L’s cake for the original inspiration which I copied from Nascar birthday cakes! I loved the idea for green grass and M&M’s around the track. We bought two new CARS to race around the two layer 8″ cake. I used chocolate filled Oreo’s crushed in the blender for the track.
For grass I used my smallest tip (#3). Perhaps more powder sugar or meringue in the frosting would have helped it stick straight up rather than bend over with gravity. It took most of the jar of green frosting dye to become the shade of green I wanted. I used Oreo “tires” all around the base with tufts of grass peeking out the bottom. The only drawback to this cake is that my son will forever think his little metal cars can be smashed into frosted cakes.
NASCAR birthday cakes – Race Track by Kristy S., South Riding, VA
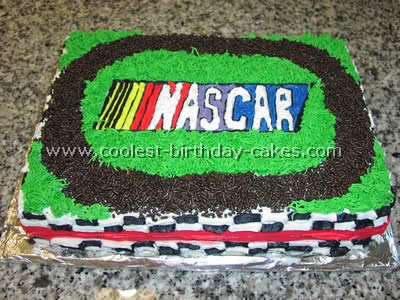
I made a basic 12×18 cake cut in half. Each half was cut into two layers (to make a four layer cake when stacked). The cake was iced between each layer. I used grass tip to create “grassy” areas, chocolate sprinkles to create the “track”.
Finally I used a fine tip to outline letters of the NASCAR image I found online for NASCAR birthday cakes. Basket tip used to create checkered flag on edges.
NASCAR birthday cakes – Race Track by Ana T., San Pedro, Mexico
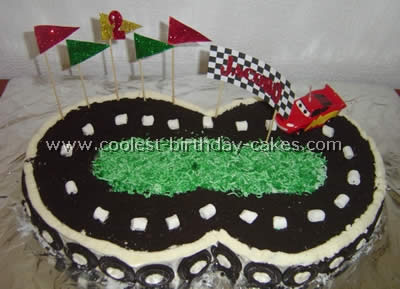
I made this cake for my friend’s son 2nd birthday. As much as I love to make cakes I am not really the creative cake maker. So, I surfed around looking for Nascar birthday cakes and was able to create a birthday cake which turned out to be quite the hit with the kids.
It was made with two round pans cut a little bit to be able to “glue” them together. I iced the whole cake with butter cream icing (Wilton recipe) then made the middle design with a toothpick. I added chocolate sandwich cookie crumbs. What I did was to separate them and the ones with the filling ended up being the tires and the ones without it went to the food processor to make the “road”.
I used mini marshmallows to make the line in between and then tainted coconut (food color bowl messy green fingers :) to make the grass. It is important to do the road first because then you can cover up and “spillage” with the coconut which is easier to control than the crumbs. In order to make the cookies look like tires I added the white dollop of icing in the middle. I had the candle which gave it the “Cars” look to make it perfect for the birthday boy.
The flags were made out of construction paper and then with clear glue and glitter. The checkered banner was actually a printout with the boy’s name (on really thick paper) and then I enhanced that also with glitter. It was really easy to do and there are loads of possibilities to personalize it. My three year old girl was really excited about the whole thing and helped me throughout the process in baking the cake (an easy family blender recipe not from the box) and of course in glittering the flags and then in guarding it from the other kids in the party! Enjoy your Nascar birthday cakes!
NASCAR birthday cakes – Race Track by Tracie H., Purdon, TX
I used the race car cake from Family Fun website. It was a great recipe but I found that the green sprinkles it called for did not look that great. I chose to use the Wilton grass tip to make grass out of icing. I think it taste much better and looks better too. The grass is very easy to make with the right tip.
Thanks for sharing all the great Nascar birthday cakes on this site!
NASCAR birthday cakes – Race Track by Janel S., Greeley CO
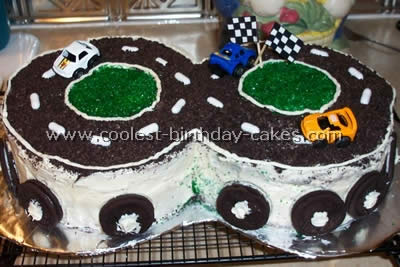
I made two double layer round cakes for this race car cake and then cut one edge off each to make a straight edge to join together. I frosted the entire cake white then crushed Oreos to form the track. I used green sprinkles to make the interior of the track and then piped white frosting for the outline.
I used white “Good and Plenty’s” for the dotted line.
The flags were made by folding a white address label around a toothpick and making a checker board design with a black marker.
I added Oreo “tires” around the bottom of the race car cake and borrowed a couple of small penny racers from my son.
As you can see from the pictures he loved it and it was one of the easiest cakes that I’ve ever done.
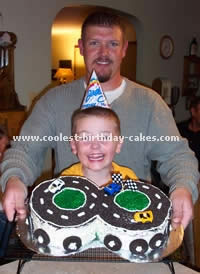
NASCAR birthday cakes – Race Track by Cheri P., Baton Rouge, LA
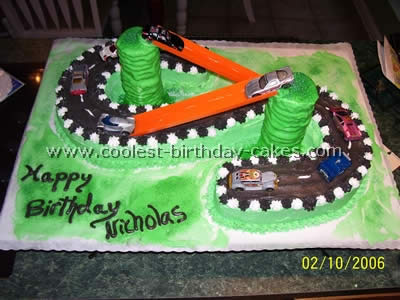
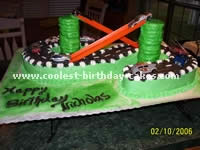
My son wanted a track or race car cake so after much searching I found directions for a water slide cake from the Wilton site and transformed it in to a race track complete with ramps!
The cake was a huge hit-fun to transport to the bowling alley too! The track was made from 2 horse shoe cakes and the towers from chocolate chip cookies iced together then frosted with green royal icing. The ramps were from a hot wheel track .
Some kids wanted to eat the towers instead of the cake. Too funny! Really was not a hard cake but time consuming. I have to say it was worth the time though.
NASCAR birthday cakes – Race Track by Suzanne Wright, Bradenton, FL
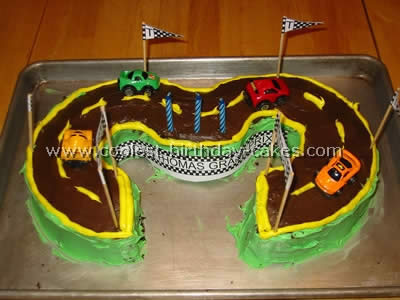
My inspiration for my son’s #3 race car cake came from a cake on this website shaped like the number 2. I started with 2 boxes of Duncan Hines Devil’s Food Cake and black, yellow and green Wilton food coloring (in the little jars) and two cans of frosting…one white one chocolate. If I did it again I would get butter cream frosting instead of just “classic white” because of the taste or I would make my own frosting…more on that later! If you want to frost the left over pieces (there are a lot!) get another can of frosting.
Make four 9-inch round cakes and let them cool overnight. I should have refrigerated them or put them in the freezer for a few minutes so I would not have had so many crumbs everywhere. Cut out a 3-inch circle from the center of every cake (I used an old-fashioned hand chopper but a biscuit cutter or round cookie cutter would work fine) and save the pieces for the leftover cake. Then cut off one quarter of each layer…think of a clock then cut off from 12 to 3. You can lay these together and see the shape of the 3 starting to form.
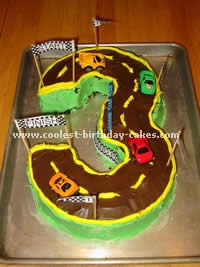
My husband then cut out a rounded pie-shaped piece from two cakes so they would fit together with the other two pieces like a puzzle. It also helps to shave down the layers to make them flatter so the cake doesn’t slope. Now you have a two layer cake shaped like a 3. Darken the chocolate frosting a little with black Wilton food coloring and frost between the layers. Scoop some of the white icing into a cup (about 1/3 cup?) and dye yellow. The rest of the white becomes the green.
I frosted the top of the race car cake first then the sides. Put it on thick. The yellow was piped on by putting the frosting in a cheap plastic baggie down in one corner then cutting the tiniest tip of the bag off. The race cars came from a party store and my husband made the start/finish signs flags and “John Thomas’ Grand Prix” sign on the computer and glued them to wooden shish-kebob skewers. The funny part was that I ran out of icing for the “leftover” parts so I made some homemade icing from my mom’s recipe.
All the adults at the party wanted the messy looking leftovers because of the homemade icing! The leftovers actually formed either an angel or a butterfly depending on which way you turned the plate! It was all good and John Thomas loved it…he couldn’t wait to get his hands on the racecars!
NASCAR birthday cakes – Race Track by Laura F., Joplin, MO
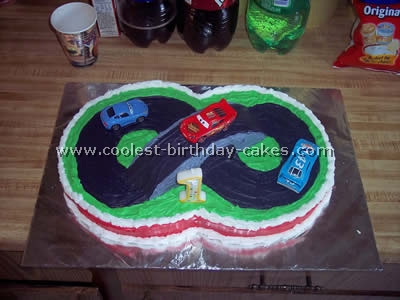
I used a regular box cake mix to make two round Nascar birthday cakes. Once the cakes have cooled down, level off the top of both cakes. Cut off a portion of the cake from both so that you can make the bridge.
I didn’t measure how far to cut in to the cake but use your own judgment. Just make sure that you’ll have enough height for a tunnel under the bridge and you also don’t want to cut off too much or your track will be small and the bridge will be too long.
After you’ve cut off a piece from both your Nascar birthday cakes, ice one of the pieces on the top part of the cake then stick them both together. Make sure that the pieces are together top-to-top. After you assemble the bridge move the two round cakes together so that they are connected. Position the bridge so that you can begin icing the cake.
I used a pre-made icing in a container similar to the normal ready-to-use icings. This one was found in the cake decorating section. I believe it’s the brand Wilton and it’s called “Decorator’s Icing”. It’s the next best thing to making your own icing. Ready-to-use icings just do not work with a decorator tip but this one does and it tastes good.
I used car figurines from the “Cars” movie for this cake. It was my son’s first Birthday and his dad loved anything to do with racing. The Cars movie hadn’t been out long so I opted to use Cars figurines instead of Nascar or Hot Wheels but any would do for Nascar birthday cakes.
