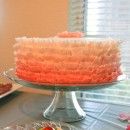
I wanted to give my daughter a first birthday cake that would ‘wow’ everyone. Not just any cake. I wanted an over-the-top, breathtaking, jaw dropping, best-ever first birthday cake. However, I wasn’t willing to shell out the $175 we paid for my first born’s custom first birthday cake (which ALMOST cost more than our dang wedding cake). I know, we’re crazy right? Well I decided to take my chances and made this pink Ombre Ruffle cake for princess’ first birthday myself, which proved to be the best decision ever.
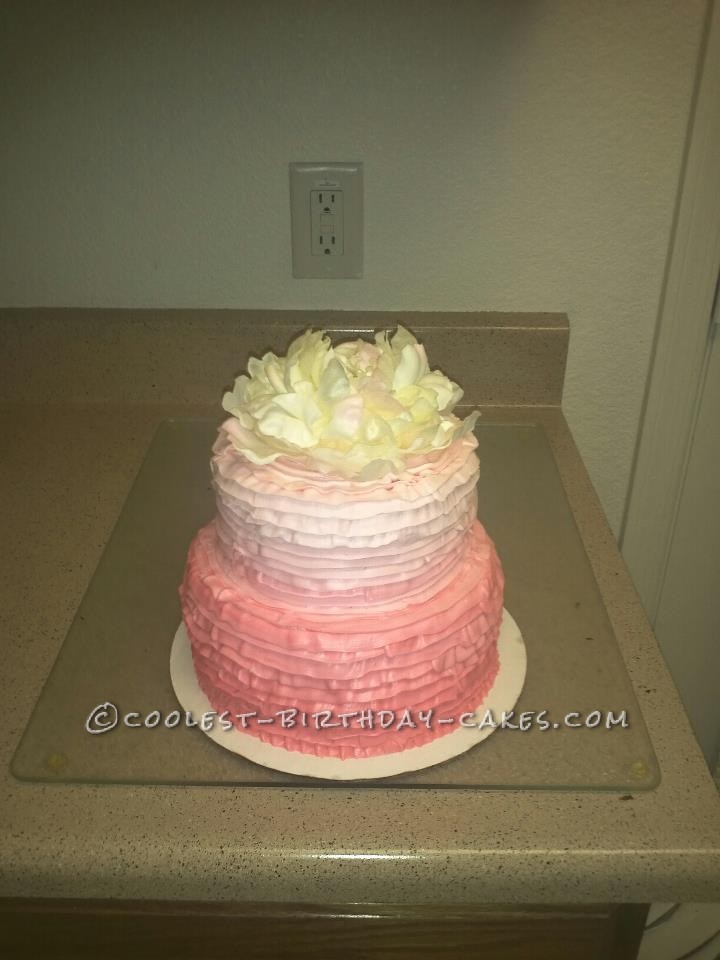
I chose to make a 2-tier pink ombre ruffle cake for the adults and a pink rosette smash cake for my princess. The flavors for the big cake were ‘death-by-chocolate’ (super-rich chocolate cake with whipped chocolate ganache and chocolate ganache filling) and a white cake with whipped white chocolate ganache and raspberry filling. They tasted divine. Seriously, the best tasting cakes I’ve made to date. I also did a simple vanilla cake and butter cream for the smash cake.
To decorate the cakes, I decided against using fondant for the ruffles. I mean, seriously, who wants to eat THAT much fondant? So ‘bleh’ and icky tasting, not to mention hard to work with. And put it on top of my amazing tasting cakes? I think not.
To start the big cake, I stacked the cake layers with their fillings and ganache and used 3 dowel rods and a cake board between the top and bottom tiers. Lord knows I didn’t want anything falling over (especially with my luck). Next, I ‘dirty iced’ the whole thing with a super thin layer of the vanilla butter cream and let it harden a little. Butter cream over a ganache, you ask? Yes. It works. How was I going to make pink ruffles with chocolate ganache….exactly. Not possible. Moving on…
I did the ruffles with a vanilla butter cream and a ruffle decorator’s tip. I made 4 different bowls of pink color for the ombre colors. I started with the darkest color on bottom and worked my way up to almost white at the top. To make the ruffle layers (starting from the bottom) I just put the tip to the cake at a 45 degree angle and rotated the cake to make one complete circle (think ‘a piece of ribbon circled around the cake’). Then I moved up to the next level and kept adding layer after layer of beautiful ruffles. When the ruffles were done, I used a silk flower for the cake topper. I think it finished it off perfectly.
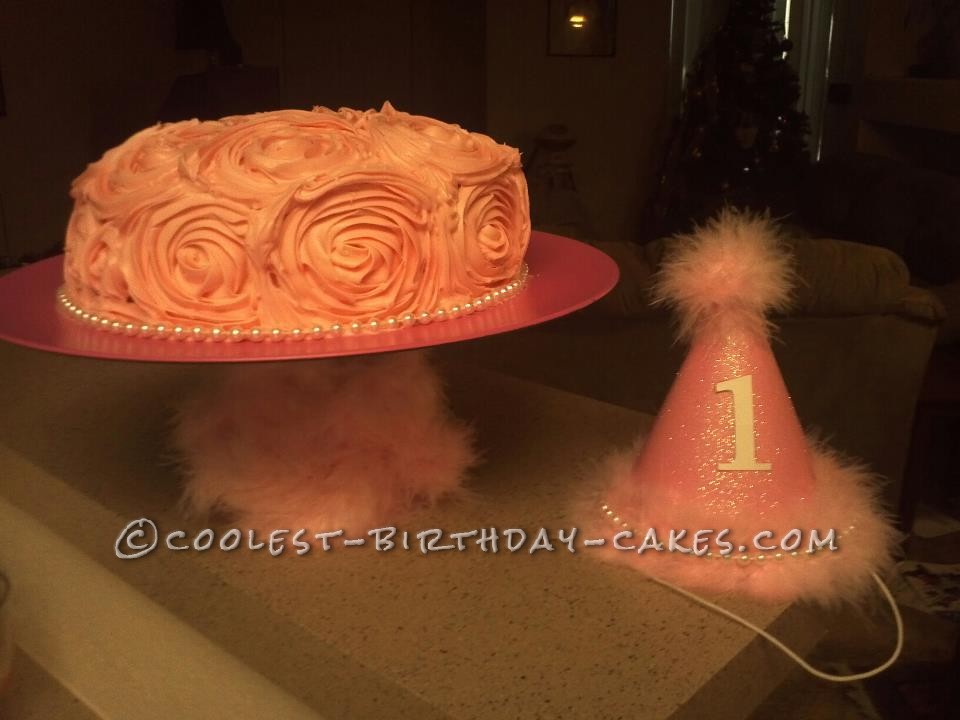
For her smash cake, I stacked the layers and dirty iced again. Then I used an open star tip and (starting from the bottom) circled the pink butter cream icing. I worked my way out and around in small circles to make little rosettes. After the cake was covered, I filled in the holes between the rosettes with a few lines of pipes icing. This made it look like the roses were all together. I finished the bottom off with a string of ‘pearls’. The perfect finish for any princess.
I even made her smash cake stand with a dollar store cup and plate hot glued together. Then I added the feather boa ribbon to the base. For her hat I used glitter card stock and the same boa ribbon. I found a hat template online!
No one could believe that I (known for being especially clumsy) had actually made the cakes. No, really. They couldn’t believe it. My daughter LOVED them both. Even if she couldn’t say it. Her eyes lit up when she saw it! That’s what counts. It was so easy to make these both!


Can I have the recipe please??… This is exactly what I’m looking for my daughter’s 1st birthday!
Can I have the recipe please??… This is exactly what I’m looking for my daughter’s 1st birthday!