The thought of making a pony head cake was a little daunting for me!
When I was asked to make a pony head I cake I have to say I was a little worried. The first image that sprung to mind was that terrible scene from The Godfather
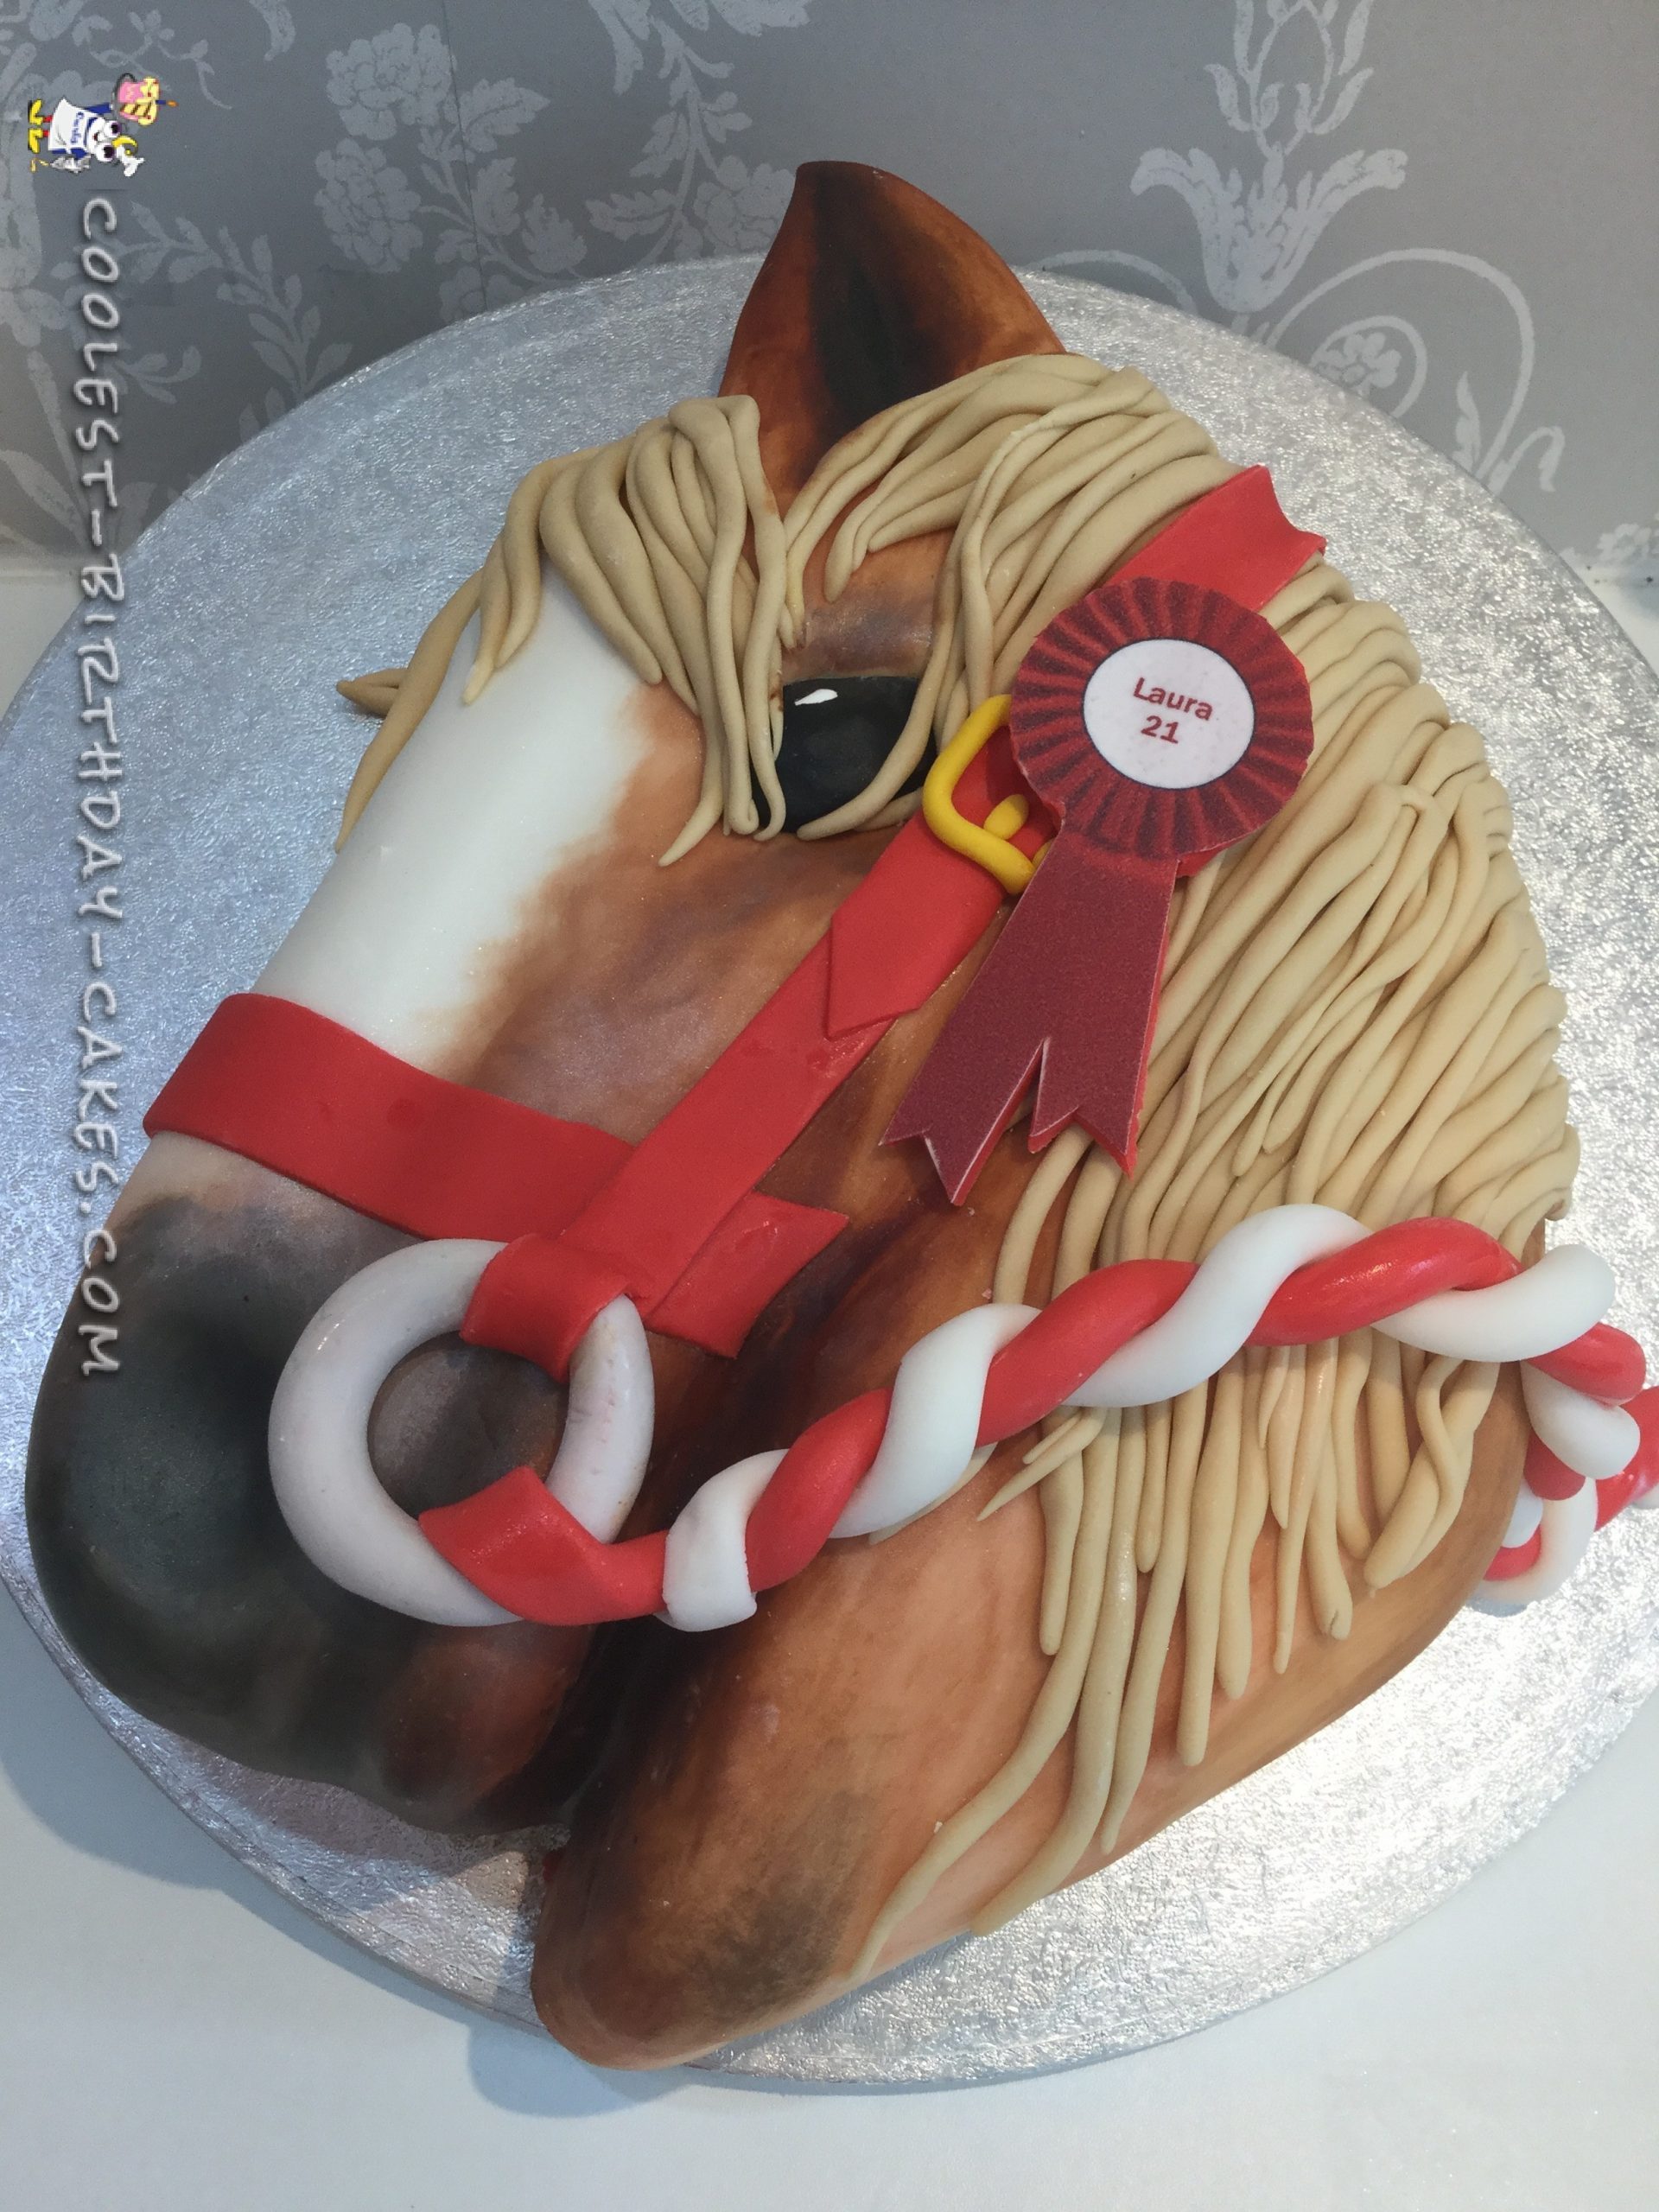
However, I am always up for a challenge. I studied the specific pony and, once over the initial shock, I broke down all the elements of making a pony head cake. I started to see how the shape and curves of the horse’s head would look and how I could create the fold of the mane and forelock.
The color was the next important thing because the cake had to look exactly like the little girl’s pony, which has very specific markings.
After hours of deliberating, I set about baking the cakes.
Making the Pony Head Cake
My plan was to start with flat, 2-D cakes and then sculpt the pony cake’s face into a 3-D shape.
After baking rectangular cakes, I was ready. I looked at the two rectangular cakes and the photograph of the pony before me. After a moment of disbelief, I set about cutting the outline.
Sculpting came next. I wanted to it have a rounded, realistic look so I started to sculpt the sides, cheekbones and nose and eyes. I have to say at this point it was still looking a little scary and not exactly horse-like.
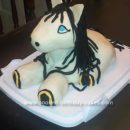
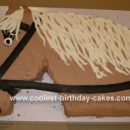
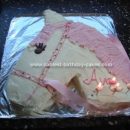
The next job was covering the pony head cake with fondant icing. After doing so, I used edible lusters to color to the specific markings of the pony. Eyes in, nose shaped and onto the forelock and mane. It was finally starting to come together! A bridle and lead rope completed the cake and after 6 hours was done!
I was really pleased with the way it turned out. I think it looked lovely and so did the birthday girl!

Your comment has been sent successfully.