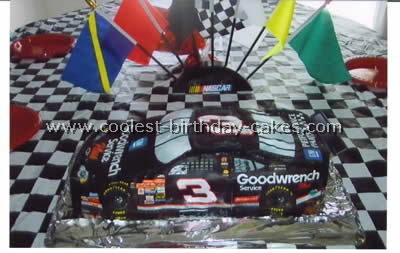
My husband is a big Dale Earnhardt fan so I decided to give him a #3 birthday party. This cake is made from a race car cake pan and I ordered the edible decals on line. It makes it easier to look at a race car picture while creating the cake. This was a great party but I will warn you that black icing will stain your teeth and lips!
More Race Car Cakes
Race car picture cake by Judi H., Union
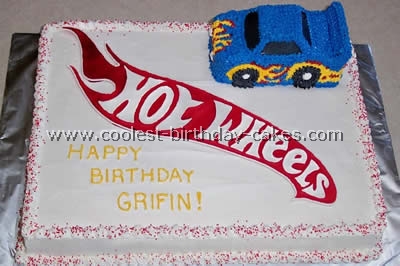
The emblem on this cake will need at least 48 hours to dry and harden so plan accordingly and make the emblem plenty of time in advance. You can use my race car picture or a race car picture from the internet to help you while you do this. I used regular boxed cake mixes and baked an 11 x 15 sheet cake. I then baked a yellow butter recipe boxed cake mix in a loaf pan; this cake will be carved into the race car.
Homemade buttercream frosting was used to frost and decorate the cakes. The Hot Wheels emblem is made from Wilton Color Flow icing. I sketched the emblem on paper, which I taped flat on a cardboard cake board (you may tape onto a cookie sheet instead. If cookie sheet has sides to it tape to the back of the cookie sheet.) Tape a large enough piece of waxed paper (to cover emblem and extending over the outside lines by an 1″ or more) over the sketched image.
Use white color flow and a #2 or 3 decorators tip follow the outline of the letters and the shape of the emblem. Allow to set for 5 to 10 minutes. Thin color flow per instructions for Color Flow. Using white thinned Color Flow icing, load a plastic disposable decorators bag, which the tip has been snipped of. Be sure to only snip a small bit off and not too much. You only want a small controlled amount to flow out of bag. Following the Wilton technique for Color Flow fill in the Hot Wheels letters.
Tint thinned Color Flow red and repeat as you did for the letters filling in the flame portion of the emblem. Allow Color Flow to dry for at least 48 hours, longer if humid. Carefully remove taped waxed paper from board or cookie sheet. Use the edge of a table or counter to help aid in removing the icing emblem from the waxed paper. To do this bring waxed paper to the edge and slowly and carefully pull the waxed paper down and away from the icing decoration being careful to fully support the decoration with your other hand. Since this decoration is very long and large with thin areas projecting from it, be extremely careful as it can break very easily!
Once it is removed from the waxed paper, place it on a flat safe surface away from grease or moisture, as these elements will breakdown the Color Flow icing.
Frost sheet cake smooth with white buttercream frosting. Using a serrated knife and your artistic talents carve the car from the loaf cake (recommended to look at a race car picture while doing this). Be sure to measure how wide and long the car should be to fit onto the area of the sheet cake where it will be positioned. Remember to allow for frosting border on sheet cake and frosting on car. This added allowance is important otherwise the car will overlap the cake edge and possibly interfere with the emblem.
I used extra pieces of cake to carve a separate spoiler for the car, and then attached it using toothpicks (if you use this method please remember to remove the toothpicks before eating the cake to avoid choking!). Use frosting to secure car cake onto a cake board that has been trimmed so board is flush with edges of car cake. This will be needed for support once you later place it on the sheet cake. Using black frosting and a spatula, smooth areas for windows (don’t worry about being exact as you will cover edges with blue icing and star tip).
Use a #14 star tip and black frosting to pipe the four tires. Use white frosting and a large round tip to build up the center of the tires. If needed flatten this area using your finger dipped in cornstarch or powdered sugar. Star tip #14 is used for covering the car. Use yellow and red frosting for the flames. Fill in the entire car with blue frosting stars. Use round tips for white headlights and red rear lights.
Cut 5 dowel rods for car cake support. These should be cut flush with the top of the sheet cake. Push them down into the sheet cake where the car cake will be positioned. Put one rod in the center and the other four, one in each corner.
Carefully place car cake on the dowel rods making sure the board (the car cake is on) is resting on each rod for support. If needed use frosting and star tip and following car decor and colors edge along bottom of car cake to cover any edges of cake board it is on that may be showing. Use tip 3 or 4 to write message on cake in yellow frosting. Use tip 21 to make white frosting rosette cake border and base border around sheet cake. Sprinkle rosettes with red sugar sprinkles.
Just before serving, place Color Flow decor on top of the sheet cake. Color Flow will break down from the grease in the buttercream if placed on top and allowed to sit too long. It absorbs the grease and darkens the color causing it to look blotchy. If you wish to have the decoration on for a long period of time cut a piece of plastic wrap to fit under the decoration, or foil or place decoration on top of sugar cubes or mini marshmallows. Do not store cake in fridge prior to showing and serving as humidity is too high and will affect the Color Flow.
Race car picture cake by Lynsey B., Nesbit, MS
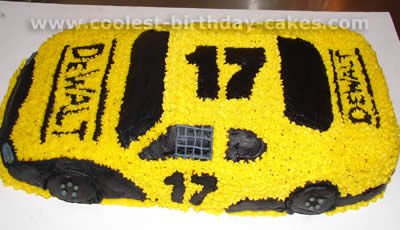
I created this Race Car picture cake as a birthday cake. I wanted to use the NASCAR cake kit with all the emblems of the sponsors but I didn’t have enough time to order it. I used a car cake pan and frosted with yellow and black frosting. I think it turned out pretty good.
Race car picture cake by Cynthia T.
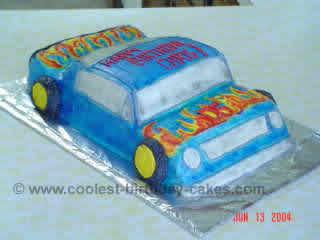
This turned out to be one of those tricky race car picture cakes because I didn’t use a car-shaped pan. I made if for my grandchild. It is a rather funny, but cute cake, modeled after a ’69 Mustang. I enjoyed doing this and my son, Daniel, 16, helped me with the logistics of it. I really didn’t think I could do these type of kids birthday cakes.
I made a quarter sheet cake, and sliced it in two layers, then slant cut the front with the top layer still there, and then I removed the top layer, and cut it into a piece to mimic the root shape.
The back, I cut straight down, and made the tires from cupcakes that I cut the tops off of. I then did the colors and designs by airbrush and piping the outlines for windows, flames, doors first. It calls for very close work and concentration on the flames. It is best to coat crumb, and then freeze only until the frosting is set. Over-freezing will cause the frosting to bead and make it difficult to spray without the colors beading and/or running.
Race car picture cake by Lin P., Flint, Michigan
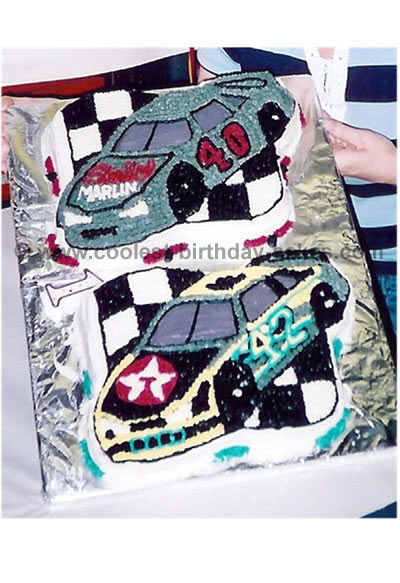
My husband and I are huge NASCAR fans, and since our son was also showing interest in cars, we decided for his first birthday we would do a NASCAR theme. Of course, we had to have kids birthday cakes for each of our favorite drivers: Sterling Marlin #40, and Jamie McMurray #42 (also teammates).
I used the Wilton race car pan to make this race car picture cake, then used a toothpick to draw the car and numbers on top. I used white canned icing for the white parts, yellow and gray, but bought the red and black. Gray icing was very hard to make so I would suggest buying the gray paste, because you actually have to use black and green to make it not look purple. I also suggest using a photo from a children’s book because they are usually larger than magazines and ads, and any inappropriate sponsors are changed to just the drivers name. For example, Sterling’s car usually says Coors Light, but in all children’s versions it just has his name as I put on the cake.
Race car sugar cookies are fun to add, just put the numbers of all family/friends drivers on them with colored icing, and they’ll disappear for sure.
Race car picture cake by Karisma V., Mayaguez, Puerto Rico
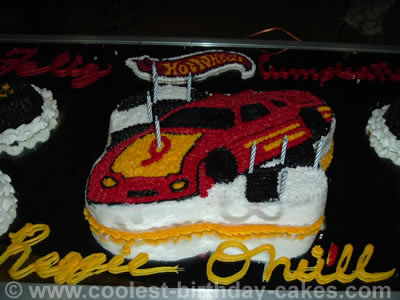
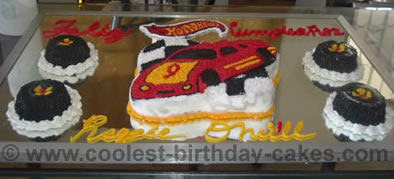
I made this cake for one of my cousins on his 9th birthday. He wanted a race car. I used the Wilton racer can pan and four cup cakes (tires). It is an almond flavored sponge cake with butter cream icing, with red, yellow, white and black colors (the children’s favorite color because everyone had their mouths painted black).
Race car picture cake by Diane L., Hebron, KY
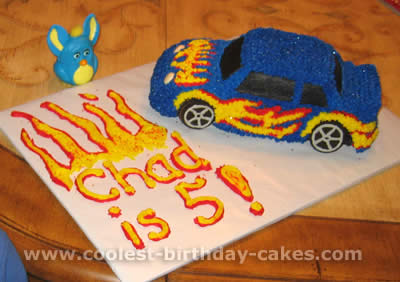
My 5 yr old requested a Hotwheels cake with real flames for his birthday, and this is what we came up with! Basic supplies needed: Wilton 3D car cake pan, icing, cake sparkles (used blue, and red) and chocolate cream Oreos for wheels.
Wilton car pan came with directions and baked up great. I did use a mixture of flour and Crisco for greasing the pan, and coated it very carefully to ensure that the cake would fully release. I did not level the bottom of the car cake after baking (which was the top while the cake was baking) because the slight hump was just the perfect height to raise the car bottom off the board.
I carved out the wheel areas and inserted Oreos for wheels – turning the front ones to look like a showroom car pose. I also carved out the outside of the bottom around the wheels to make it look like it the cake was resting on it’s wheels only. I iced the windows first, let them crust then smoothed with a non-patterned paper towel.
Next, iced the entire cake in a blue base. Using a toothpick, I freehanded the flames, and then I piped in the red outline and yellow fill with a star tip. I built up the back of the cake with icing to form a spoiler. Next I piped blue stars over the rest of the cake. As I went I would periodically stop and sprinkle with cake sparkles, so they would stick while the icing was soft.
Last, I piped in headlights, wrote ‘CHAD’ on the rear license plate and used a star tip to draw flames and write a birthday message on the board. Since Chad wanted real flames on his Hotwheels car, I stuck candles into both sides of the car where the flames were and lit them, in addition to the 5 birthday candles in the flames on the cake board.
Race car picture cake by Kaori G., Des Moines, WA
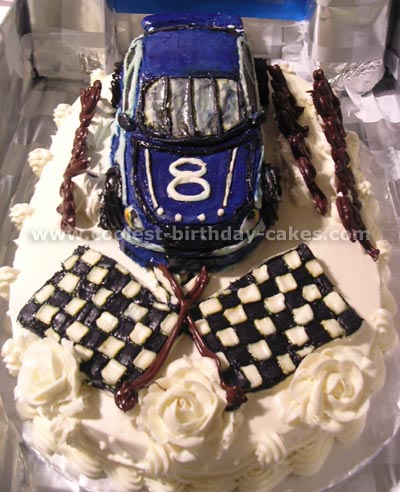
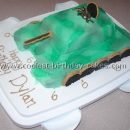
The sponge is chiffon cake. I baked the base cake in a lasagna dish and carved the corner. For the race car part, I baked in a pound cake pan and carved into the sports car shape. For the tires, I used black licorice. Filling is apricot layer plus heavy whipping cream (vanilla).
For the icing, I made cream cheese white chocolate frosting. The finishing flags are solid chocolate. This cake is all edible with covered icing except the foil part for the wheels.
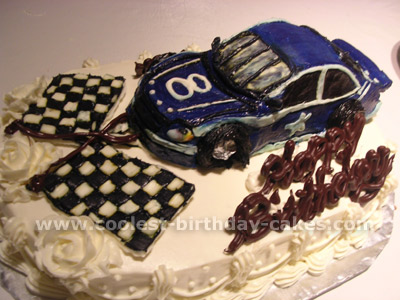
Race car picture cake by Michelle K., Roscoe, IL
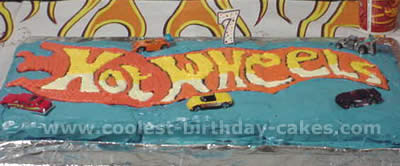
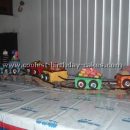
I made this cake for my son’s 7th birthday. He was into Hot wheels at the time and I was really having a hard time deciding what cake to make. So, I made three 9×13 cakes, placed them next to each other on a cake board, and hoped for the best.
The Lord blessed my hands and I drew the Hot wheels emblem and decorated it. After it was all iced I put Happy Birthday Hot wheel cars on the cake. It came out good and my son loved it. Happy decorating!
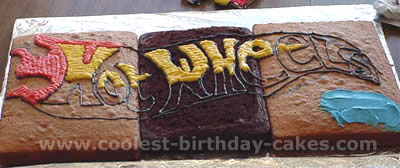
Race car picture cake by Patricia S., Cedar, MI
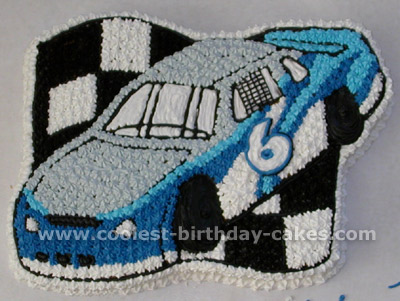
I prepared this kids birthday cake using a car shape pan. I then decorated it using a photo of Mark Martin’s car to get the design right. I always let my kids choose the theme of their cake. This is the first kids birthday cake I have done using a shaped pan.
Race car picture cake by Angela N., Singapore
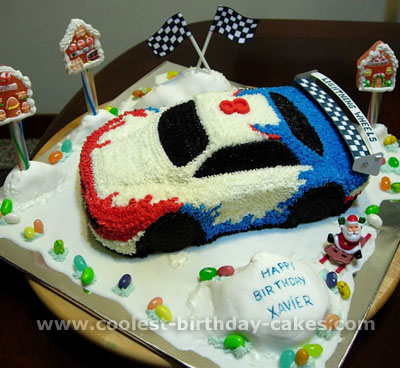
I made this cake for my son’s 8th birthday party. The party was held in Snow City so I decided to put the cake in snow environment too. He is into Hotwheels, and had told me particularly what colors he wanted his car cake to be.
I made a large loaf cake and cut the shape out freehand, using a toycar as my model. Crumbcoate it and place cake in fridge to set. Meantime cover cakeboard with royal icing and leave to dry several hours. Prepare buttercream icing in royal blue, red, black and white. Mark with toothpick outlines for windows and design of ‘flames’. Outline with thinned icing, and fill in accordingly. Then mould fondant icing to look like icecles and place around the car.
I found some Christmas theme lollies and used them to add interest to the cake and then sprinkled jellybeans around. It was very well received! For goody bags, I found black and white wrapping paper (like the flag) and used that to wrap a toy (3D car models to be assembled) and some candies. I put a colorful piece of card with words “Congratulations! You survived the Race” with a mini toy car on each of them. They look pretty impressive.,
Race car picture cake by Angie K., Sikeston, MO
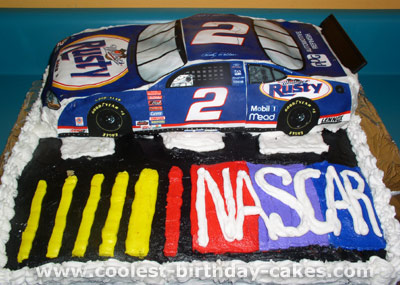
For my son’s 2nd birthday I decided to make a Nascar cake. I purchased a racecar cake pan, which came with edible decals. I chose Rusty Wallace since he drives the #2 Car, but there are many drivers to use from.
The cake mix and frosting that came with the cake pan were not very tasty so I threw it out and used some funfetti cake mix and made some butter cream frosting.
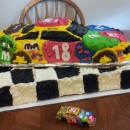
I also baked a second cake in a large 16×16 square pan. I iced the square cake with black and white squares on the top half (I was going for a checkered flag look). On the second half of the cake I used the Nascar logo.
