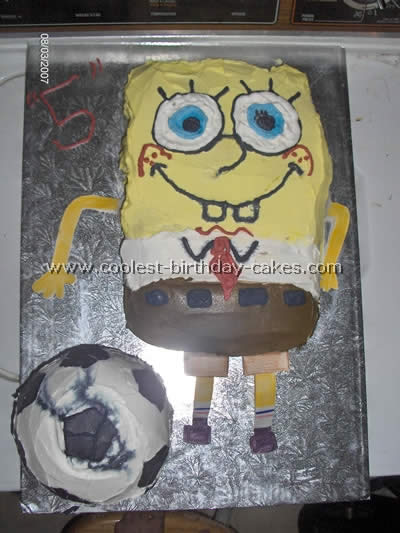
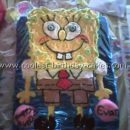
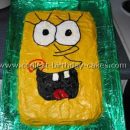
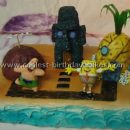
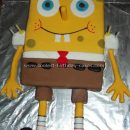
This was Sponge Bob cake was made for my son’s fifth birthday party. He wanted a SpongeBob playing soccer theme birthday. So I decided to make him a SpongeBob cake to go with the theme. After I was done baking the cakes I put them in the freezer over night. It gave me better cutting and shaping with the frozen cakes.
The SpongeBob cake is two 9×13″ pans. For the frosting it was all buttercream made by myself. I colored the frosting with Wilton’s color gels. As for the soccer ball it was made with Wilton’s Sports Ball 3D cake pan. This was a little challenging because you need to decorate one part of the ball at a time. Plus I had a little difficulty placing the hexagon shapes on the iced parts. My son was very surprised and the visitors that attended the party were as surprised with the cake as well. It was very challenging and fun to make.
More Sponge Bob Cake Ideas
Sponge Bob cake by Laura H., Las Vegas, NV
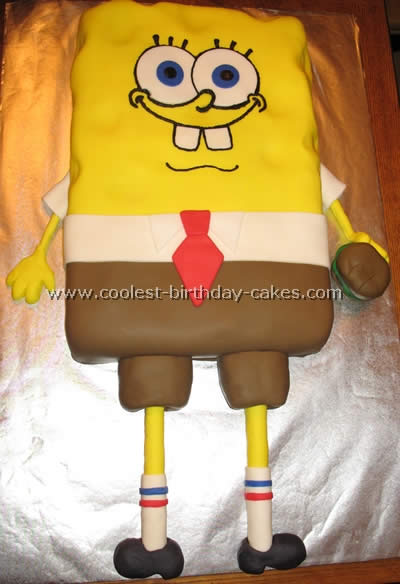
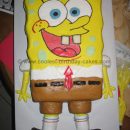
This SpongeBob cake was for my nephew’s birthday. I used a sheet cake to make the body. I iced it with buttercream frosting. I bought a big box of white fondant at Michael’s Crafts store and I colored half of it yellow with gel food coloring. I rolled it flat and covered the cake three quarter of the way down. I used the back of a spoon to push into the cake to make it look “spongey”.
I colored more fondant brown and covered the bottom third of the cake. I rolled the rest of the brown into a log and cut it into two for the pant legs. I cut off the top of each pant leg so it was flat and pushed them up under the pants. Then I used plain white fondant for the sleeves and the shirt collar and the socks.
I used wood dowels covered in fondant for the arms and fat plastic wedding cake dowels for the legs. I molded the hands and shoes out of fondant also. I took the tops of the legs that I had cut off and I used them to make the krabby patty bun. I used the leftover black fondant from the shoes and mixed it with a little white to make the gray patty and I dented it with a paintbrush to give it some texture.
The green lettuce and the necktie were made from pre-colored fondant. For the face I cut circles of white, blue and black fondant and two squares of white for the teeth. I used a picture of another SpongeBob cake for reference and I piped on the face with black decorator icing.
Sponge Bob cake by Jennifer G., Antelope, CA
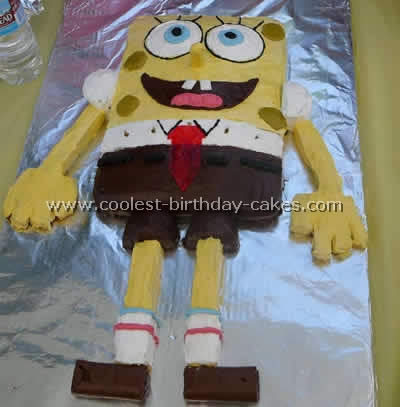
My son just had to have a Sponge Bob party for his 5th birthday. So I first started looking online to get some ideas for a Sponge Bob cake, which I suggest should be everyone’s first step.
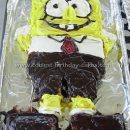
I baked two 9×13 yellow cakes. One would be for the body and the other would be for the limbs. I bought two fluffy white frostings and one milk chocolate. Using food coloring I made an entire can of the white into yellow. I frosted 3/4 of the cake yellow then about 1” white for the shirt, and chocolate for the rest.
Then I wet the knife and went over the frosted cake again to smooth it out. Then it works best to put what you just frosted in the fridge to harden up. The drawing part can become difficult if the frosting is warm. While I waited for it to harden up I began to cut out the arms and legs as well as the hands and frosted those yellow.
Then I began the décor for the Sponge Bob cake. I first cut out the tie using a red fruit roll up. Then I added the black licorice. I traced out the eyes with a lid from a Pringles can. Filled it in with white frosting then I made up some blue and put it in a zip lock bag. Cut a very small hole and used it as a pastry bag. I filled in a circle of blue then made up some black and did the same. The nose is a piece of licorice frosted with a toothpick inserted in it to help it stand up. You may need to frost it, then put it in the freezer to harden up then frost again. I just drew in the smile and the teeth are two pieces of gum.
The shirt, sleeves and pants legs are ding dongs frosted and cut in half. The shoes are Swiss HoHos. I frosted white over the legs for the socks and then used a bag to place the strips on the socks. I also mixed some yellowish green, made circles and placed it on wax paper and put it in the freezer. When they hardened up I placed them on the cake.
Another pointer for making the Sponge Bob cake easier is to bake the cakes the night before you want to decorate. Not only does the cake need to be very cool but it also helps break up the time involved.
Sponge Bob cake by Ebony M., Greensboro, NC
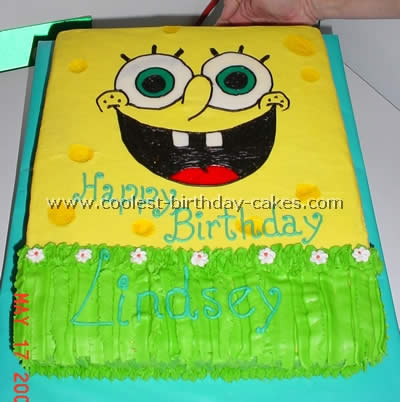
I made this Sponge bob cake for my nephew’s first birthday. His decorations were Sponge bob so I made the colors to match. For his pictures I cut out a piece of construction paper and made a collage of him. I then laminated the pictures and placed them on top of the iced cake BEFORE filling the cake in with stars (I put a strip of wax paper before actually placing the picture on the cake).
This was my first decorated cake!
Sponge Bob cake by Lindsey K., Kent, UK
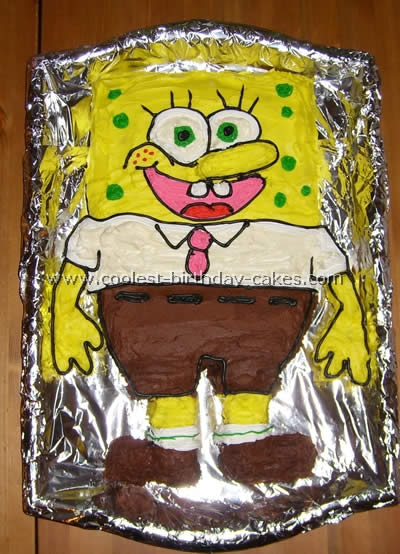
For this Sponge bob cake I made two square sponges and let them cool. Then laying the first sponge on a foil lined tray I cut 1/4 of the other sponge and added it to the first one to make a rectangle. With the remaining sponge I cut out the shapes to make the arms and legs.
Using butter cream tinted with cocoa I covered the shorts and the feet which was time consuming and tricky! Then I used yellow colored butter cream to do the top half. I then used writing icing pens to line the shirt area (using a big chunky white icing pen) and filled it in using frosting.
For the face I used the icing pens again and then outlined the whole thing in black. I got the photo from a nickelodeon comic my daughter had.
Sponge Bob cake by Theresa T., Bunker Hill, WV
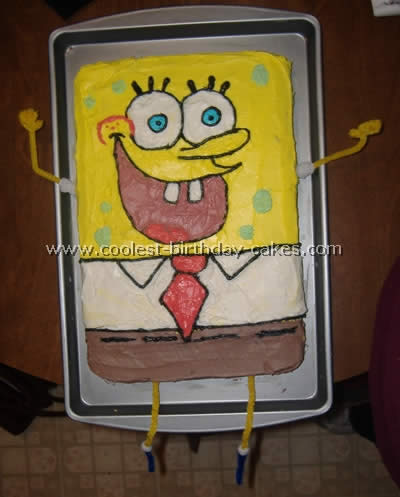
My son wanted a sponge bob cake for his 6th birthday. I made this using a regular rectangle cake pan since this is his shape anyway. I iced a little over half of the top of the cake yellow. I actually “draw” a rough draft of my lines on the actual cake with a toothpick before I got started. The eyes I actually used the top of a Pam cooking spray bottle to make them good and round and then traced over my lines with black.
The whole cake was done free hand. The arms legs and feet are pipe cleaners. Some of the smaller spots and tweaks are done with a toothpick.
Sponge Bob cake by Nicole W., Shirley, NY
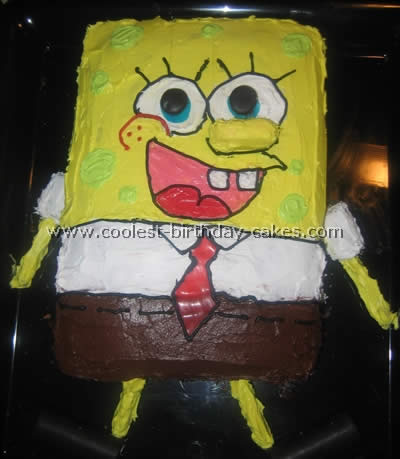
I made this Sponge bob cake for our friends’ son’s 1st birthday. I made two 13×9 cakes and iced it with white icing dyed yellow with food coloring. The middle section is plain white icing and the bottom is chocolate icing. I used plain white icing to make the circles of his eyes and place a blue fruit roll-up cut into a smaller circle on top of each. On top of the fruit roll-up I placed a junior mint.
The nose is a circus peanut covered in yellow icing. The mouth is white icing with red food coloring. For the tongue I added more red dye to darken the color.
The tie was made out of red fruit rollup cut to shape. The arms and legs are pretzel rods covered in yellow icing. The shoulders are a yodel cut in half for each side. The feet are yodels too. I outlined the Sponge Bob cake for detail in black tubing icing.
Sponge Bob cake by Becky M., Peterborough, Canada
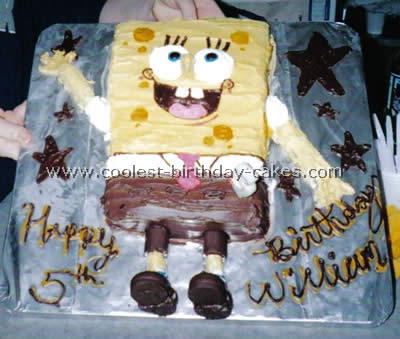
Bake one rectangle cake and one small square cake, any choice of flavor. Use one large rectangle cake for main body use small cake to cut two arms and small nose.
Now to put together you SpongeBob cake, attach arms and nose with toothpicks. Add coloring to four cups of vanilla frosting. For SpongeBob ensure to leave a little white for shirt, socks, eyes and shirt sleeves and for making the red for the tie. Use remainder yellow icing and add a touch more yellow for darker spots on Sponge bob. Use chocolate icing for everything else.
For the pant legs cut one chocolate Swiss roll in half and attach at bottom of pants. For socks I used two pull and peels candy licorice, one blue, one red for top stripes and the shoes are chocolate covered marshmallow cookies cut in half for heels.
My son loves SpongeBob so what is better than a SpongeBob cake. It went over great, none of the kids wanted to eat it. They all wanted to take it home and keep it. What a fun cake. Refrigerate between steps to ensure a better working surface. Have fun and enjoy.
Sponge Bob cake by Judith Y., San Antonio, TX
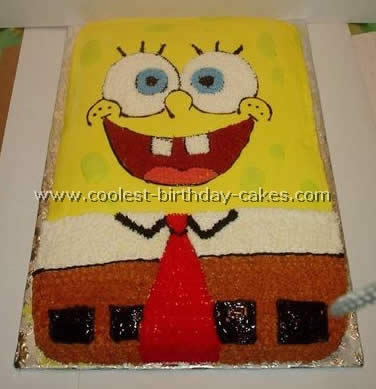
I made this Sponge Bob cake for the daughter of one of our Den Mothers in my son’s Boy Scout pack. The cake was made using a 14X19 cake pan (takes three cake mixes). The cake was split in half and filled with strawberry filling. I used Lemon Yellow color for Sponge Bob, smoothing it over the cake.
A small star tip was used for his eyes and his shirt. A large star tip was used for his pants and tie. I used black gel for his belt and to outline his eyes eyelashes and his mouth. I used Christmas red for his tie and his tongue. I used Christmas red mixed with a little purple (very little) to make the color for the inside of his mouth.
For his pants I mixed brown with some red to get the right tint. For SpongeBob’s “holes” I used some remaining yellow frosting and mixed it with a drop or two of Leaf Green coloring.
This SpongeBob cake was a fairly simple cake to make. It was a lot of fun and from what I have heard…a real hit with the kids too!
Sponge Bob cake by Mark B., Charlotte, NC
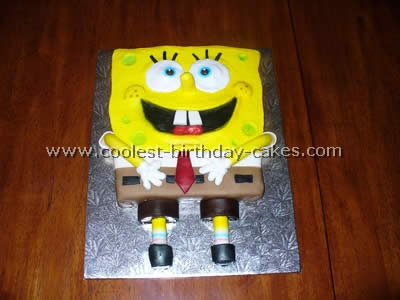
For this sponge bob cake I started with a standard yellow 1/2 sheet cake and cut out the shape of the body. I used butter crème icing to cover the cake and create the face and eyes. I used rolled fondant icing for the pants, legs, arms and shoes and used an air brush for all the coloring.
Sponge Bob cake by Georgina S., London
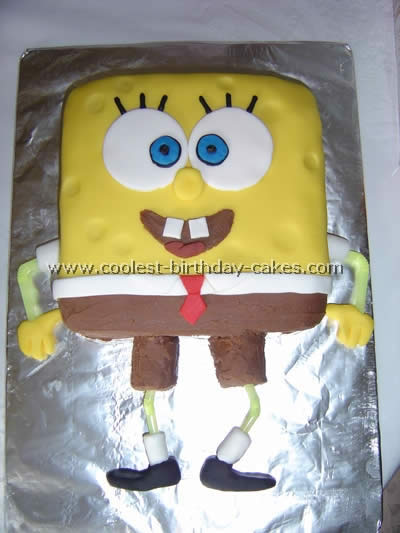
This sponge bob cake was made by my mum for my brother’s birthday. She used a normal sponge base and cut it into the shape of sponge bob. She then used roll out icing to place over the top and used straws for his arms and legs.
Sponge Bob cake by Darci F., Ardmore, OK
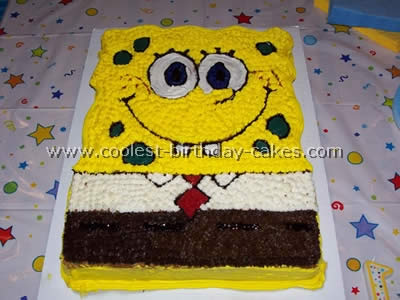
This is the SpongeBob cake that I made last year for my son’s first birthday. I used an ordinary rectangular cake pan and after baking the cake scalloped the top edge to complete the shape. Then I sketched out a template of his face only onto wax paper and cut it out.
I used food markers to trace his eyes and nose and was able to freehand the rest. I piped the outlines mostly in black and then filled in each color using a star frosting tip. I think it turned out okay for my first try.
