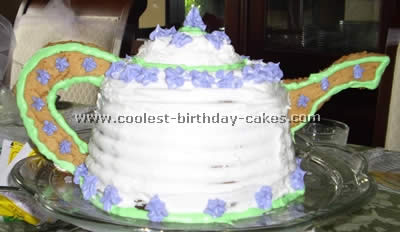
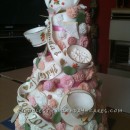
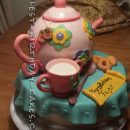
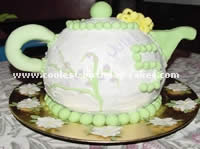
I saw someone else’s tea cake recipe online. I thought the idea of using cookie for the handle and spout was a good one. Basically I used a bowl shape that I thought landed itself to a teapot. But the center never would fully cook so rather than burning the outside of the cake I scooped out the insides and replaced with strawberries and frosting. It was a great party!
More Tea Party Cakes
Cake by, Cate D., Mt Airy, MD,
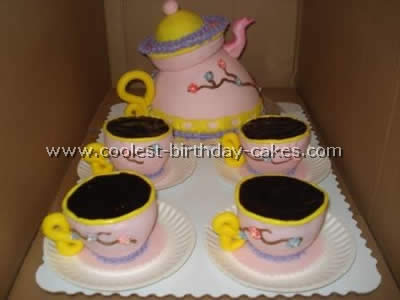
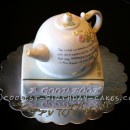
This was my first attempt at a tea party using a tea cake recipe. I think it came out well. Everything is covered in fondant and the tea is colored piping gel.
Cake by Tonya J., Knoxville, TN
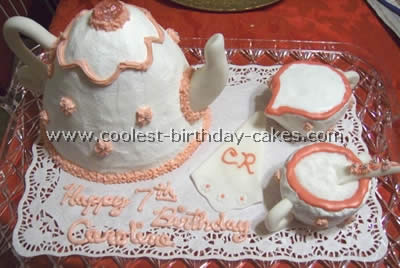
This cake was done for a seven years old girl’s birthday at a local Tea Room. I used a Pampered Chef batter bowl and small Pyrex bowl for the teapot and two smaller Pyrex bowls for the sugar and creamer using a tea cake recipe. I formed the handles and spout from fondant about a week earlier so that it could harden. When forming them I stuck wooden skewers in the pieces for the teapot and toothpicks in the handles for the sugar and creamer so they could easily be attached to the cakes. I also used fondant to form a napkin and the spoon for the sugar bowl. I let these harden as well.
I cut about a 1/4″ well into the sugar bowl and filled it will real sugar after icing the cake. I used white writing gel for the cream in the creamer. I bought a hard plastic tray and a rectangle paper doily to display the tea party set on instead of a cake board. The top of the teapot is a bachelorette party favor ring that I found in the wedding section of a party store. I iced the cakes with homemade vanilla buttercream icing and embellished with pink icing and silver dragees.
The cake was a hit at the Tea Room and the birthday girl was pleased.
Cake by Jessica K., Steubenville, OH
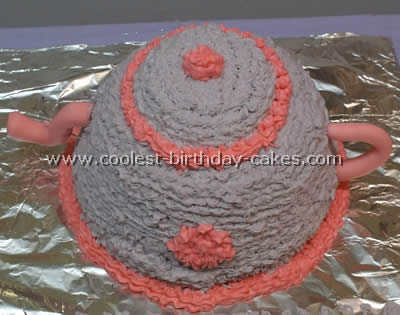
For this tea cake recipe that I made for my stepdaughter’s 12th birthday party I used the largest Pyrex bowl that I had to bake the main section of the cake in. All told I used three cake mixes for this cake with about 1/2 a cake mix leftover. It took two and a quarter cake mixes to fill the large Pyrex bowl about 2/3 full (left room for cake to expand in oven) and about a 1/4 cake mix was used in a regular cereal-size bowl to bake the “lid” of the teapot. In our case she liked marble cake so I did one butter cake mix and two devil’s food mixes. It took approximately 40 minutes to get the “lid” baked and just over an hour for the main “teapot” part to fully bake.
Once cool enough to handle I just turned the cake out onto a cooling rack and let it cool entirely before attempting to decorate it. I used a little more than one full batch of buttercream but that was because I made the first batch all lavender and needed to make more so that I had the pink. If you split up the colors of buttercream out of one batch it would’ve been fine. This cake was decorated using different sized star tips and the “Happy Birthday” was written with a small ‘pearl’ tip. The handle and spout are made of store-bought Wilton fondant that I colored to match the icing. It was really easy to work with I just should’ve let it set a bit longer to harden before putting the spout on. I used toothpicks to attach them both.
This tea cake recipe is really easy and is definitely one I would suggest for a beginning decorator. It was a huge hit with all the girls and their mothers!
Cake by Heather B., Lincoln, NE
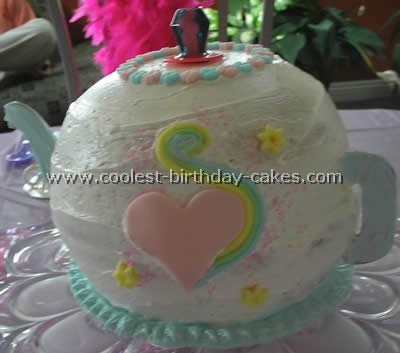
For my daughter’s fourth birthday she wanted a tea party. So after a search on the net I found lots of ideas for a tea cake recipe. I took a combination of a few ideas and added some of my own. I got the stuff together and had my friend actually put the cake together. She is better at cooking than I am.
We used three pound cake mixes and four containers of white frosting. Pound cake is heavier so the cake will be more stable. We used the Pampered Chef smaller batter bowl to cook the cake in. We did this twice then stuck the two half spheres together with frosting.
The tea cups were made with the Pampered Chef prep bowls. The lid of the tea pot was a candy ring pop. Fondant flowers showed the lid of the tea pot. Then fondant heart and swirl are the pattern on the side. We used edible glitter around the heart pattern on the center of the cake. We used a cardboard spout and handle covered with frosting then stuck it in the cake. The tea cups were put on a frosted sugar cookie which we made from a tea cake recipe found online and used for the saucer. Chocolate frosting on the top of the tea cup represents the tea. The handles were made of fondant attached with toothpicks.
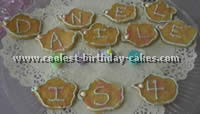
We made little construction paper “tea bags” with each girls name on it as a place holder. Ribbon was used for the “string” on the tea bags. I found a tea pot shaped cookie cutter so we spelled out my daughter’s name and age on the cookies. Then placed the tea pot and tea cup shaped candles amongst the cookies for her to blow out.
We also served grapes on jeweled skewers and cheese cut in fun shapes. We served hot chocolate at our tea party since none of the girls would have actually drunk hot tea.

All the girls came dressed in their favorite princess dresses. Each princess received a pink feather boa and lace gloves to also wear. We made tea bag shaped sachets for the princesses to put in their pajama drawers and made paper/lace doily fans. For games we played “Tea Hee” which is played like telephone and “Hot Tea Bag” which is played like hot potato. Every one had a great time!
Tea cake recipe by Kim S., Fresno, CA
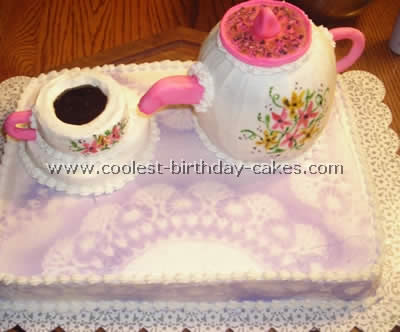
I started by baking a sheet cake from a tea cake recipe. Then I baked two cakes in a metal mixing bowl for the teapot and a little cake in a small metal mixing bowl. I made the lid and handle and spout out of gum paste. I frosted the sheet cake and then held a doily over it and sprayed Wilton color spray to get the effect of a tablecloth. It turns out really cool.
Then I frosted the two halves to make the teapot and placed them on the sheet cake. I put a wooden dowel through the middle to help support it. I hand painted the flowers on it for decoration with food coloring. The handle and spout had toothpicks in them to poke into the cake. Then I placed the lid on top. I carved a little cake out of the cake I used for the teacup. I had some extra cake I used for the saucer. Frosted them and put the handle on the cup. I filled the teacup with Wilton’s brown gel frosting to look like the tea inside the cup.
Cake by Jennifer A, Southampton, UK
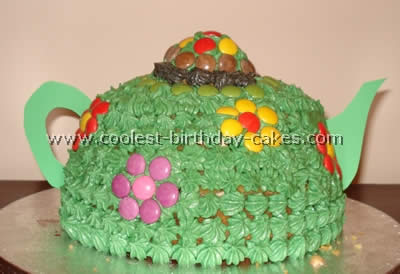
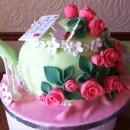
I took Lisa B’s idea for the teapot cake and recreated it for a friend’s wedding where a green teapot was particularly appropriate. I found a tea cake recipe but the cake didn’t cook particularly well in the middle so I hollowed it out with cutters and its do-nut style. Had I had time I might even have filled it up with chocolate buttons (for the tea).
A fairy (cup) cake inverted made a good lid. The green card soaked up the grease from the butter cream icing and ended up looking a bit damp the next day – if I were doing it again I’d put the teapot/handle in just before serving.
Tea cake recipe by Becki B., Woods Cross
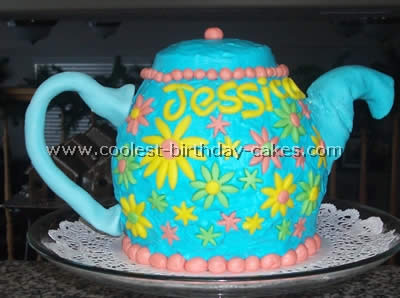
My daughter had a tea party for her seventh birthday complete with finger sandwiches scones and tea. All of the little girls dressed up for the affair and used their best manners; it was a very relaxing birthday party for a change. The cake was a big hit.
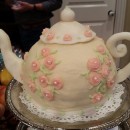
I used a tea cake recipe and baked it in two Pyrex bowls of the same size and inverted one on top of the other after baking. Be sure to grease and flour well. I covered them in fondant and decorated with rolled out fondant. The handle was made of fondant and secured with dowels (be sure to make this far enough in advance so it will dry and hold its shape insert the dowels before it dries.
Cake by Alison C, Murfreesboro, TN
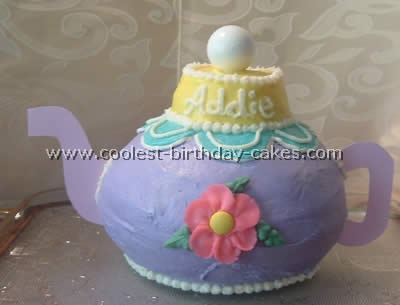
This is a teapot cake that I made from a tea cake recipe for my daughter’s first birthday. The cake was shaped by baking two cake layers in a Pyrex bowl. The “lid” of the cake was made by baking a bit of cake batter in a custard cup. (The bottom of a cupcake would have worked well too). The cooking time took quite a bit longer in the Pyrex bowl than baking in a regular cake pan so be sure to allot some extra time and be sure to grease and flour your bowl really well!
After the cake layers cooled I leveled them and sandwiched them together and iced the pot with buttercream icing. It was difficult to get that rounded cake smooth however after letting the icing harden a little I used a paper towel to help me smooth the icing. (Just lay a paper towel over the cake and use your hands rub the icing smooth. The warmth from your hands is just enough to smooth the icing without a big meltdown! However be sure the frosting has set long enough to form a bit of a “crust” or you’ll have a huge mess!)
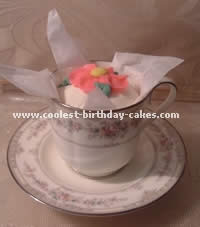
After getting the teapot iced I iced the “lid” (the custard cup) and stuck a lollipop through the top of it to hold it place. After that it was just fun to decorate! When I had decorated to my heart’s content I cut the spout and handle out of cardstock and pushed it into the sides of the cake. And just as a little extra I made cupcakes and served them in teacups! As each person was served they simply lifted their cupcake out of the teacup and set it on the saucer. Then we put their ice cream in the teacup!
Everyone thought it was so creative and a great little extra for our tea party! (It was my own addition to this tea cake recipe).
Cake by Christina S., Wagontown, PA
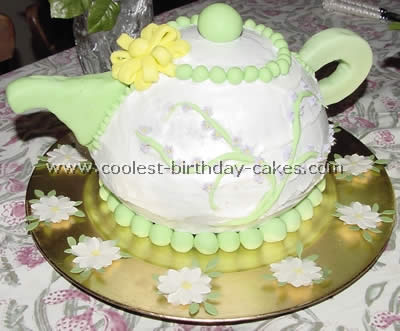
I made this cake for my five year old niece’s birthday party. She is princess all the way so we had a tea party/spa day for all the girls. They started off with manicures and pedicures administered by my sister and me. And they got to wait their turns in a massaging chair and foot bath. Then they had cake and tea and danced their little hearts out. This cake was a huge hit though I had never done this before!
For this tea cake recipe I used the Betty Crocker bake ‘n fill kit and followed the directions to make a chocolate layered dome cake. Once the cake cooled I used regular white icing inside the cake and put the one dome on top of the other. Then I covered the outside with white Wilton decorator icing. Mostly all of the items on the outside were done by Wilton ready made fondant that I colored using a teeny bit of food coloring.
All the small pieces stuck on to the icing and the handle and spout I affixed with cut wooden skewers.
The lilac colored writing and flowers was just decorator icing with food coloring in a small pastry bag with straight and flowered tips. I have never done this before so I just played around on wax paper to see what looked neat.
