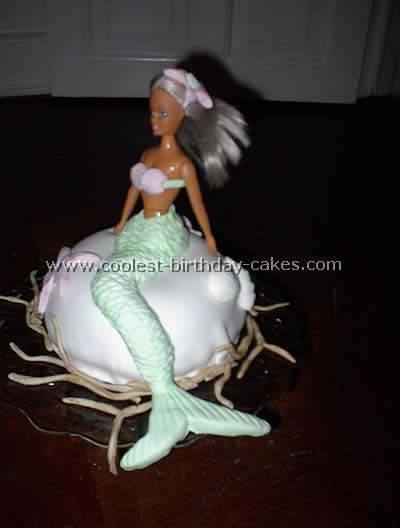
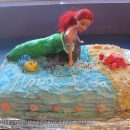
I made the little mermaid using ready-made cake layers that I put in a bowl. I layered with crème. Finally I turned it upside down to get the cake out. (No baking involved here). The icing is sugar paste that I colored with food dye. The doll is a regular Barbie that I removed the legs from and added a pin instead for stability.
Beautiful Buttercream The Little Mermaid Cake
Ariel The Little Mermaid Cake by Lisa G., Croton on Hudson, NY
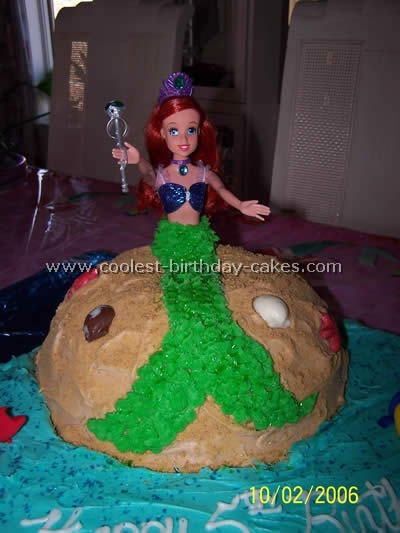
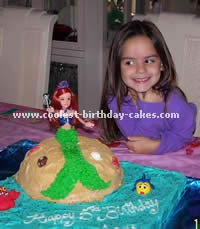
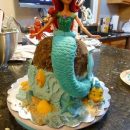
I used a large bowl to create the “sandbar” Ariel is sitting on. It was bigger than the Doll Cake mold and looked less like a skirt to me. Ariel’s legs are wrapped tightly in plastic wrap and she is placed in the cake on an angle. When baking the cake in the bowl I used the heating core from my Wilton Stand-up Teddy Bear mold. It helped the cake cook through as well as giving me a hole to put the doll in. I placed that cake on a square cake to give it a little more height as well as to make the water.
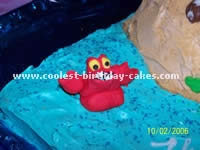
The sand is made from crushed graham crackers and the sea shells are chocolate I made from molds. That was the first time I’d made them. They were easy and fun to make and the kid’s loved them. Sebastian and Flounder are made from pre-colored fondant. It was just like playing with play-dough I tinted homemade cream cheese icing for the water and added crystal-like blue and clear sprinkles to give it a little sparkle. Ariel’s tail is made from a Wilton Icing tube and tip.
Adorable Little Mermaid Cake
Ariel The Little Mermaid Cake by Emily B., Tampa, FL
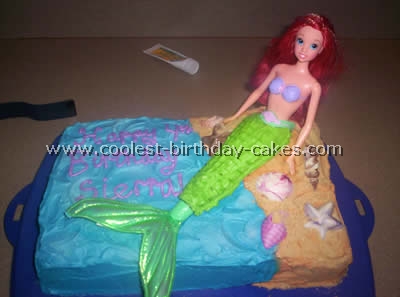
I made a regular cake and added a cupcake to the top for the little mermaid, Ariel, to sit on. I used blue frosting for the water, swirled it and tan for the sand. Also, I used graham cracker crumbs to make it look more like sand. I made shells out of white chocolate and swirled coloring in them so you could see everything but the topper.
Unique Birthday Cake
Ariel The Little Mermaid Cake by Peni S., South Africa
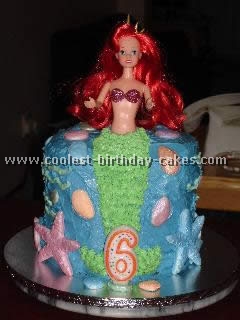
My daughter Taylor who turned six wanted “The Little Mermaid Cake – Ariel”. So a friend (Barbara) and I set out searching for pictures and ideas. We came across this site and decided to attempt a cake of our own (note: none of us are bakers).
We used three round sponge cakes as the base on which Ariel would be sitting. These sponge cakes are sandwiched together with caramel. Ariel was placed inside the cake by making a round hole in the centre of the three sponge cakes. (We managed to get the Ariel doll, with a moving tail, therefore we had to insert her into the cake with cling wrap to protect her tail).
With icing we decorated her tail and the ocean. We had edible sea shells made for decoration purposes.
Ariel was a hit with all at the party and it made myself and Barbara very proud that we could create something so beautiful and simple.
Cool Ariel The Little Mermaid Cake
Ariel The Little Mermaid Cake by Shianne de K., UK
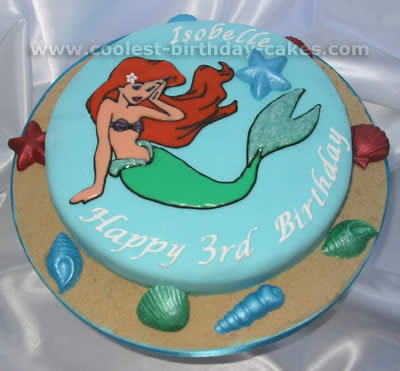
I was asked by a friend to bake a cake for her daughter who was turning 3. She knew exactly what she wanted, The Little Mermaid. I find using a cake mix easiest and so that’s what I used.
I used a 9″ round cake tin. Once the cake had cooked and cooled, I covered the cake in Clingfilm and kept it in the fridge ready to ice the next evening. I covered the cake in buttercream and then covered it with rolled icing (sugar paste). This is best done on a surface dusted with corn flour to prevent it sticking. I also covered the cake board with rolled icing.
Then I placed the cake on the board and traced the outline of The Little Mermaid with a little tube of shop bought icing. I made runny royal icing and filled in the gaps. I made the ‘sand’ from brown sugar and the shells out of sugar paste. For the shells, I used a chocolate mold. Then I added the lettering and a ribbon on the base of the board and voila! I was pretty pleased with this one.
Happiest Ariel and Friends Cake
Ariel Cake by Michele A., Clayton, NC
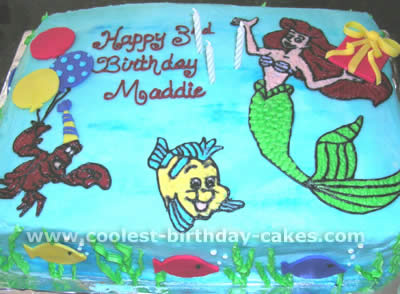
My daughter was an Ariel fanatic, so she had to have “The Little Mermaid” as the theme for her 3rd birthday.
The Little Mermaid cake is a simple sheet cake – 2-layer chocolate with chocolate buttercream filling. To make the “water” I mixed Wilton’s sky blue into my buttercream and then streaked it while I smoothed it.
The character designs came from various coloring pages that I traced onto wax paper and then basically stenciled onto the cake. I used store-bought fondant icing in various colors to make the present, fish, balloons, etc.
Cool Wilton Doll Mold Cake
Ariel Cake by Jaime M., Freehold, NJ
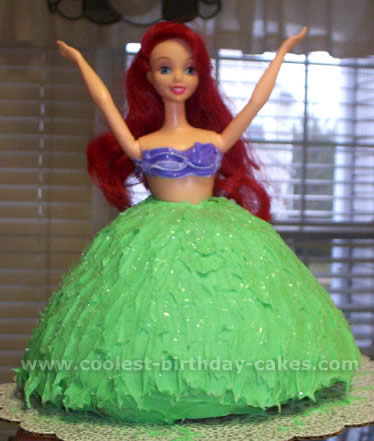
I Had a Disney princess theme for my Daughter Olivia’s 1st birthday. I wanted to have the exact Ariel, the little mermaid doll. So, I found her for a great price on eBay. I used the Wilton doll cake pan. It wasn’t hard to do. My mom always created doll cakes for bridal showers. She recently passed away and I wanted to keep the tradition going.
Coolest Under the Sea Cake
Ariel The Little Mermaid Cake by Angela N., Singapore
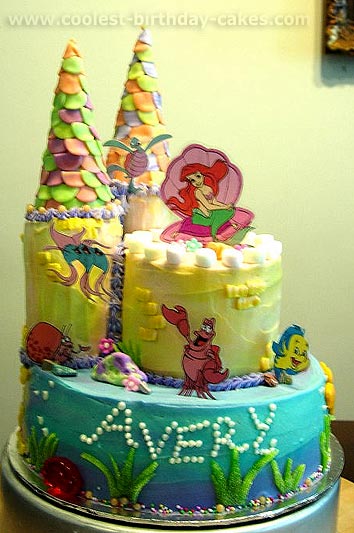
Fun Homemade Birthday Cake
Ariel The Little Mermaid Cake by Trinity J., Auckland, New Zealand
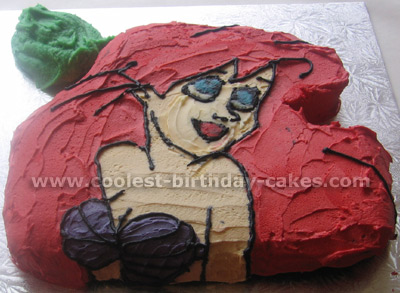
I made this mermaid cake for my niece’s 5th birthday. It’s a chocolate wacky cake, iced with butter icing. I printed a picture of Ariel, which I used to cut out the shape. I iced each section and then piped it for detail.
Cool and Simple Decorating Technique
Ariel The Little Mermaid Cake by Shara M., Fairfield, CA
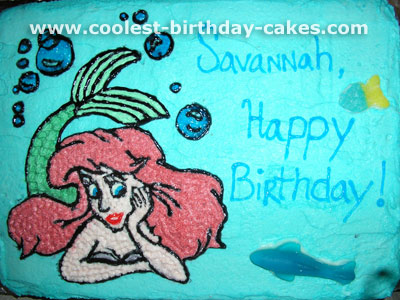
I made the little mermaid cake for my daughter’s 1st birthday. Ariel is the one character that she recognizes so it seemed fitting.
The little mermaid cake was really quite simple to make. Just a two layer boxed banana cake, a basic vanilla frosting, black, red, and blue writing gel, and lots of food coloring!
After baking the little mermaid cake, I took a portion of my frosting and started mixing, and mixing, and MIXING blue food coloring until I got it just the right shade of blue for the base color. I frosted the top and sides and then (a little trick) I froze the little mermaid cake! It works like a dream. The hard frozen frosting is so much easier to decorate.
Drawing Ariel
I took a picture of the little mermaid, Ariel that I found on the internet and outlined it in black permanent marker (to see the lines better). Then I took silicone treated parchment paper and lightly sprayed it with some cooking spray, and with a paper towel wiped off the excess.
I then taped the picture of Ariel to the non-oiled side of the parchment paper, and began to trace with the black gel (do this step as quickly as possible because if the gel dries it becomes very stretchy and won’t come off the parchment). I then froze the little mermaid cake again (about 20 minutes).
First I got my desired greens for the tail, then the flesh tone, purple, then red (red is hard to achieve with food coloring- I used about a bottle-full). I filled each section with a pastry bag with a star tip.
After everything was filled with the appropriate colors I re-traced over the black to give it definition. I used the blue gel to fill in the eyes and red for the lips. This all was time consuming but very well worth it. My daughter loved the little mermaid cake and so did our guests. I’d do it again in a heartbeat!
Cute Birthday Cake
Ariel The Little Mermaid Cake by Mary Ann B., Westwego, LA
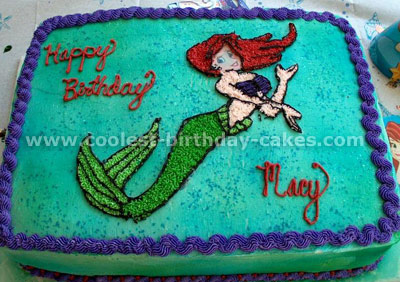
I made this mermaid cake for my Granddaughter’s second birthday. I found a picture of the little mermaid in a coloring book that I liked. Then I traced it onto parchment paper. Using piping gel I traced the picture.
After icing the mermaid cake and sprinkling with sugar sprinkles I put the picture gel side down on the cake. I outlined the picture in black icing and then filled in the rest with a star tip.
I knew that I would not be able to make her face look right so I found a color picture of little mermaid on the Internet and printed it. So, I cut it out and placed it where her face belonged. We removed it before serving the mermaid cake.
Two Awesome Ariel the Little Mermaid Cakes
Ariel The Little Mermaid Cake by MaryKay C., Kiev, Ukraine
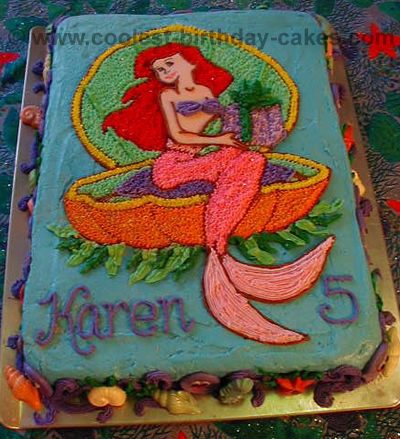
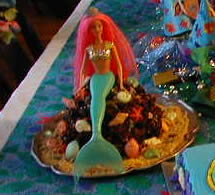
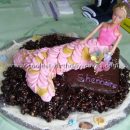
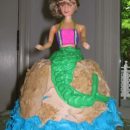
Here are two mermaid cakes I made. The mermaid Barbie on top of a rock/shell cake with graham cracker sand around it was the easy one. You bake a cake in an oven-proof bowl, then cover with chocolate covered nuts (melt chocolate and stir in nuts; lay out on wax paper to form “rocks”) and add candy melt molded shells.
Unfortunately, I couldn’t sell my daughter on this mermaid cake (I had shown her a photo of a similar one I did several years ago for a friend’s child’s party). It just wasn’t what she wanted. So I did two – the mermaid cake she wanted, and the mermaid cake I wanted!
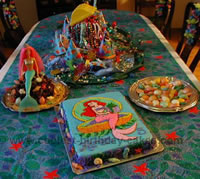
Also visible here are a plate of candy shells, which we made from shell-shaped candy molds with candy melts (like white chocolate) and the table centerpiece.

Your comment has been sent successfully.