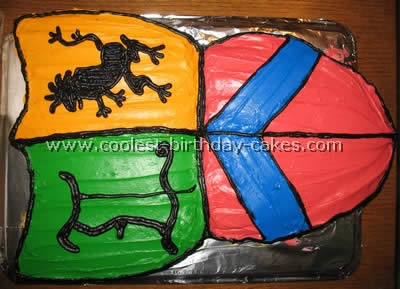
This cake was really simple, two 13×9 cakes trimmed to make the top and bottom of the shield and then “glued” together with frosting. The piping was free hand (can’t you tell?) but I’ve heard of people using chocolate or fondant to be more detailed. You can get more ideas from this site for theme cakes.
More Knight Cakes
Cake by Angel M., Wentzville, MO
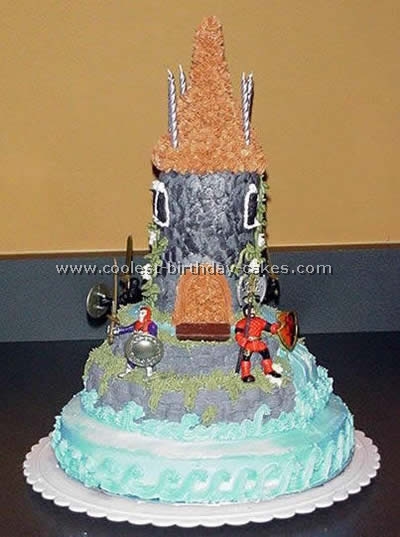
Inspiration comes from everything. The inspiration for this Celtic Castle cake came from the cover from an Irish folk tune CD my son sleeps to. The theme cakes were made for a little boy’s “Knight in Shining Armor” party.
The cake was made from two layers each of a 10″ round an 8″ round a 6″ round and a cylindrical bread mold. It was topped with a sugar cone. All layers were held together with dowel rods.
The castle sits atop a large body of water with a waterfall that cascades from the moat down one side of the castle wall. Gray and black icing was combined in one piping bag to make variegated stones on the castle walls. As with any old castle ivy is creeping up the castle walls and retaining walls.
The birthday boy’s favorite action heroes were placed around the castle to protect the fortress.
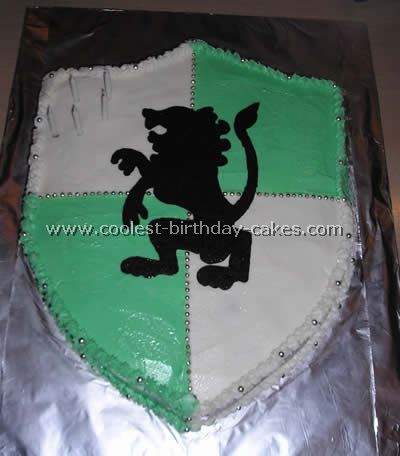
I make all our festive theme cakes. For this, I made a sheet cake (chocolate, of course) and cut the desired shield shape. For the lion on the front, I drew a picture of it on blank paper with dark magic marker, I put wax paper over the top, with a cake tube filled with melted chocolate (chocolate chips) I drew the outline, and then filled it in evenly. I put it in the freezer.
It has to be a little thick so you can peel it off the wax paper without it breaking – you flip it over so you have the shiny smooth side of the emblem face up on the cake (figure out how you want the shape to face when you have to flip it over). Just turn the paper over and you can see through the paper to trace it with chocolate.
I added edible silver rivets – easy if you need a cake fast. You can make anything with the chocolate shapes. The kids loved it!
Cake by Melissa S., Springfield, Ohio
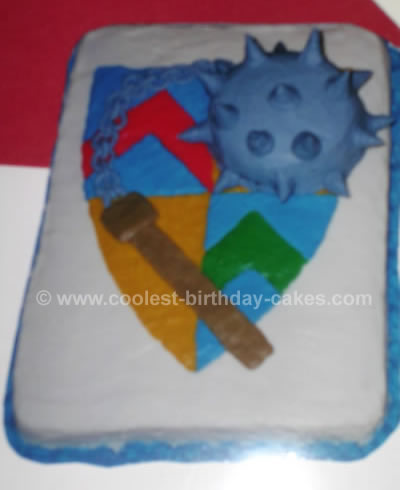
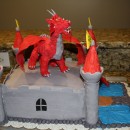
I made this cake for my son’s “mid-evil” party.
I found a dragon picture in my printing software and printed it out, put wax paper over it and traced it with piping gel (bought at grocery store), using a small dot decorating tip. I let this sit open to air for about 3 days so it would become dry.
I prepared a cake from a mix and iced it white. I let the cake sit for several minutes to allow top of icing to become “hard” or no longer sticky to the touch. I then laid the piping gel picture face down on the cake and rubbed gently. Then I carefully peeled off the wax paper picture.
I was then able to fill in the picture with decorating tips just like coloring.
For the 3D “mace”, I baked a small cake in a metal mixing bowl. I set it on top of the “shield” and iced it grey. I added points and a chain with the grey icing.


Your comment has been sent successfully.