Take a look at these cool homemade Toy Story scene cakes shared with us by cake decorators from around the world. Along with the birthday cakes here, you’ll also find loads DIY birthday cake-making ideas and how-to tips to inspire your next birthday cake project. Enjoy!
And don’t forget… if you end up with a cool cake, have great tips to share or pictures of awesome birthday cakes you’ve made in the past, share them here and be a part of our coolest birthday cake community.
Latest Toy Story Cakes
- Coolest Toy Story Birthday CakeI made this Toy Story birthday cake for my 3rd son’s 2nd birthday party. He is the biggest Toy Story … Read more
- Coolest Toy Story Birthday CakeI have been cake decorating for exactly 1 year :-). This Toy Story birthday cake all started when I decided … Read more
- Coolest Toy Story Birthday CakeI just finished this Toy Story birthday cake, tonight actually, for my best friend’s 3 year old son, Irah. I have … Read more
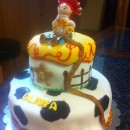
- Jesse Toy Story CakeThis Jesse Toy Story Cake was one of the first cakes I made with a fondant figure. It is a two … Read more
- Coolest Toy Story Birthday CakeI had a friend with a very special kiddo that was getting ready to turn two and his favorite movie … Read more
- Coolest Toy Story Birthday CakeToy Story was watched, several times over, so being the grand-mom I created a birthday cake just for him to … Read more
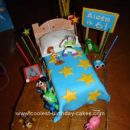
- Coolest Toy Story Cake EverThe bed is the actual cake so I baked it in a large rectangle pan. Then cut it in half, … Read more
- Coolest Toy Story Birthday Cake DesignMy son wanted the bed from Toy Story with all the characters so I just made a square cake and … Read more
- Coolest Toy Story Birthday Cake DesignI made this Toy Story Birthday Cake Design for my son’s 8th birthday. All of the pieces were made by … Read more
- Coolest Toy Story Birthday Cake DesignAfter checking out the other Toy Story cakes here, I came up with my Homemade Toy Story Birthday Cake Design. … Read more
- Coolest Toy Story Cake Photos and How-To Tips 4My son is in love with Woody, Buzz Lightyear and all the other Toy Story toys, but all you can … Read more
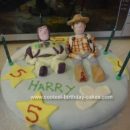
- Coolest Buzz and Woody CakeI made this Buzz and Woody Cake for my son’s 5th birthday. He’s really into toy story so I decided … Read more
Featured Cakes
Cake by Beth M., Columbus Grove, OH
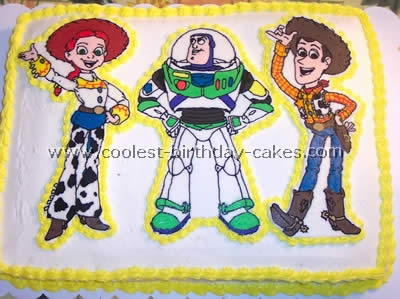
I made this cake for my son’s fourth birthday. He wanted a Toy Story cake with Jessie Buzz and Woody and I could not find a cake pan anywhere! I downloaded coloring book pages off the net and I made three buttercream transfers.
This is how you make a buttercream transfer: Tape your coloring sheet down on a flat surface that will fit in your freezer. (I used a cutting board). Cover the coloring sheet with plastic wrap pulled tight. I used black icing, piped over all the black lines of the coloring sheet. Then using thinned icing (thinned with corn syrup) fill in the colored areas. Put in freezer for 15 minutes.
Then pipe a thick layer of your background color of your cake onto the frozen icing. Smooth out and refreeze. This can be stored for weeks wrapped and frozen in your freezer. The day of my son’s birthday, I made two 9×13 cakes, one yellow and one chocolate. I frosted the cakes side by side and turned the Buttercream Transfers over on to the cake where I wanted them. Then I piped a shell boarder around the Toy Story Characters and on the edges of the cake. My son loved it!
Cake by Kellie A., Youngstown, OH
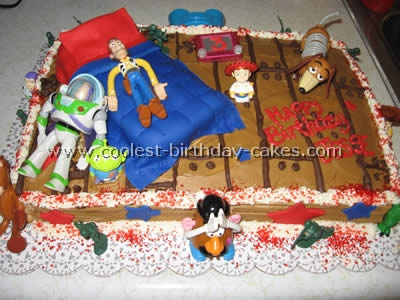
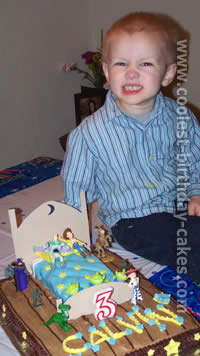
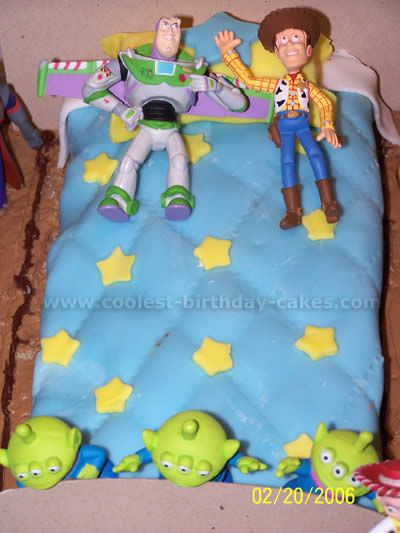
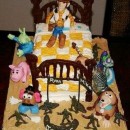
Toy Story was a SUPER hard theme to find Birthday items for!! I decided to take an idea from your web site and spice it up a bit! I loved the Fondant Icing idea and must admit I never used it before this cake!
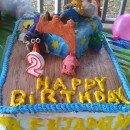
It was super fun and easy to make and create Andy’s Bed from the movie! I then added Fondant Stars around the side of the cake. I made the actual sheet cake look like Hardwood floors by tinting the frosting with Wilton Brown food coloring to butter cream frosting! I then went on EBAY and found all the Toys as cake toppers! Everyone loved and complimented this cake and my three year old loved IT!! (Especially since he kept all the toys!)
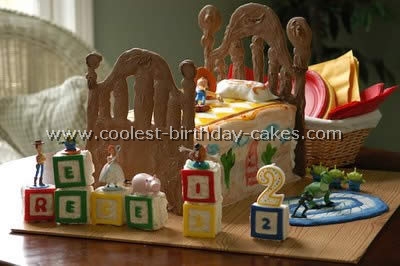
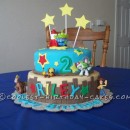
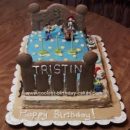
My 2-year-old loves Toy Story, so of course that’s the theme I wanted to do his cake in. I wanted something original and actually saw the idea of Andy’s bed on this website. Several weeks ahead of time I used primary colored fondant to cut our letter and outline of alphabet blocks spelling ‘Reece is 2’.
These are all from Wilton. They will harden if left out to dry which is what I did. I made the headboard and footboard from chocolate candy melts.
I printed out pictures from the movie, enlarged to the appropriate size, taped them on cake board, covered them with parchment paper, used a squeeze bottle with melted chocolate and just traced. I put them in the freezer for a few minutes until hard (don’t leave too long or they’ll crack). This can be done days ahead of time.
I used a 13×9 Wilton cake pan and made 3 cake layers and 1 rice Krispie layer for the cake. You can do any flavor and frost anyway— it’ll all be covered. The treats were the bottom layer for stability.
Each cake was on a cake board for easy separation. I used some dowel rods in the layers for stability too— Wilton yearbooks explain how in detail. I made another batch of rice Krispies, cut the same size as the block outline, covered with white candy melts and applied my letters before candy hardened.
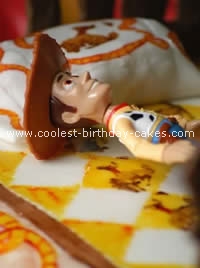
The quilt and pillow are fondant. The pillow has rice Krispies on the inside. I painted with food coloring.
I bought a broncho stamp from eBay to make the print. I also purchased the Toy Story figures from eBay as well. The rug is braided and from fondant as well so it is also edible.
I put the entire Toy Story cake on a thin piece of plywood covered with cheap contact paper to look like the wood floor. The larger woody is from a happy meal toy.
I used a toothpick to make the small holes in the quilt to look like it was sewn. Cakes were stacked, fondant put on top, and then headboard and footboard were attached with buttercream icing.
The whole thing was a little time consuming but pretty easy – I have no real training, it’s just a hobby. Putting parchment paper between the layers and on top of the top layer before the fondant made it much easier to separate and kept the icing from sticking to the above cake and fondant.
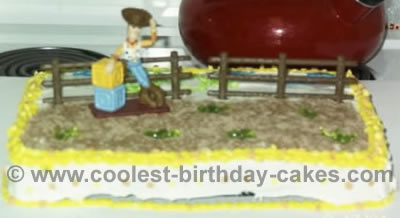
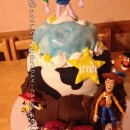
For my son’s 3rd birthday he wanted a Toy Story party. His favorite character was Woody, and all I could seem to find was Buzz Lightyear stuff. So I got creative with the cake.
I purchased a cake kit that contained the Woody figurine and the two pieces of fence. I just used plain white frosting, sifted cocoa on for the dirt, and piped gel tube frosting for the bushes and clouds. I also used yellow and orange star sprinkles on the sides (because Woody is a Sheriff).
My son loved it. I also found cowboy boot candles at the party supply store and these were the perfect touch.
Cake by Vicki F., West Haven, CT
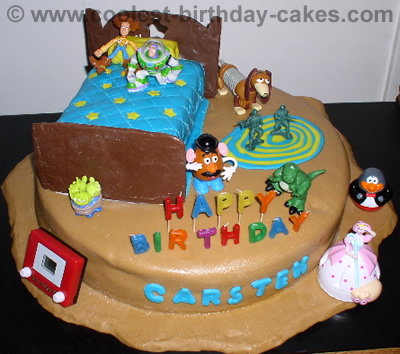
My son is in love with Woody, Buzz Lightyear and all the other Toy Story toys, but all you can find in the stores is Buzz Lightyear. So I decided to make a cake that resembled Andy’s room so that I could incorporate all the toys.
The base of the cake is a 16in round cake with pudding and fruit filling. It was frosted and then covered with fondant. The bed is also cake covered with fondant made to look like a cake. The head board and foot board were made with chocolate. I use foil to create my own mold. Then the toys were added.
Many of them were purchased on eBay. The cake was the hit of the party!
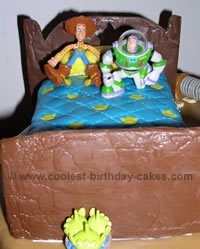
Cake by Melissa B., Fullerton, CA
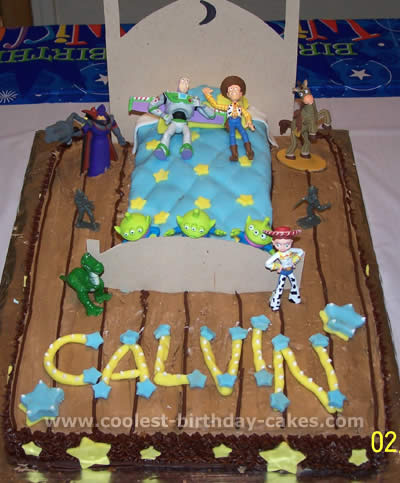
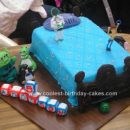
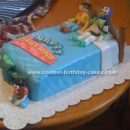
I got this Toy Story idea for Andy’s Bed and Toys from someone else on this site.
The cake is a 13×9 cake, which I frosted with chocolate frosting and then piped lines of darker chocolate on the “floor” to resemble a wooden floor. Andy’s bed was made in a bread pan. I covered the bed with fondant, which I dyed blue. I used a fondant roller to make the quilted look.
I used fondant star cutters to make the yellow stars for the bed. The pillow is fondant rolled over and pinched in the corners. The headboard and footboard are cardstock covered cardboard pieces.
I loved making this Toy Story cake, and the expression on my son’s face when he saw it made the FIVE HOURS it took to make it worthwhile!
Your comment has been sent successfully.